Published 2024-11-05.
Last modified 2025-06-21.
Time to read: 23 minutes.
av_studio collection.
“Buy a drum for each child of your enemy.”
For the impatient, you can skip to the summary.
I have been a percussionist since 1978, and I greatly enjoyed playing a Roland HPD-15 HandSonic for many years.
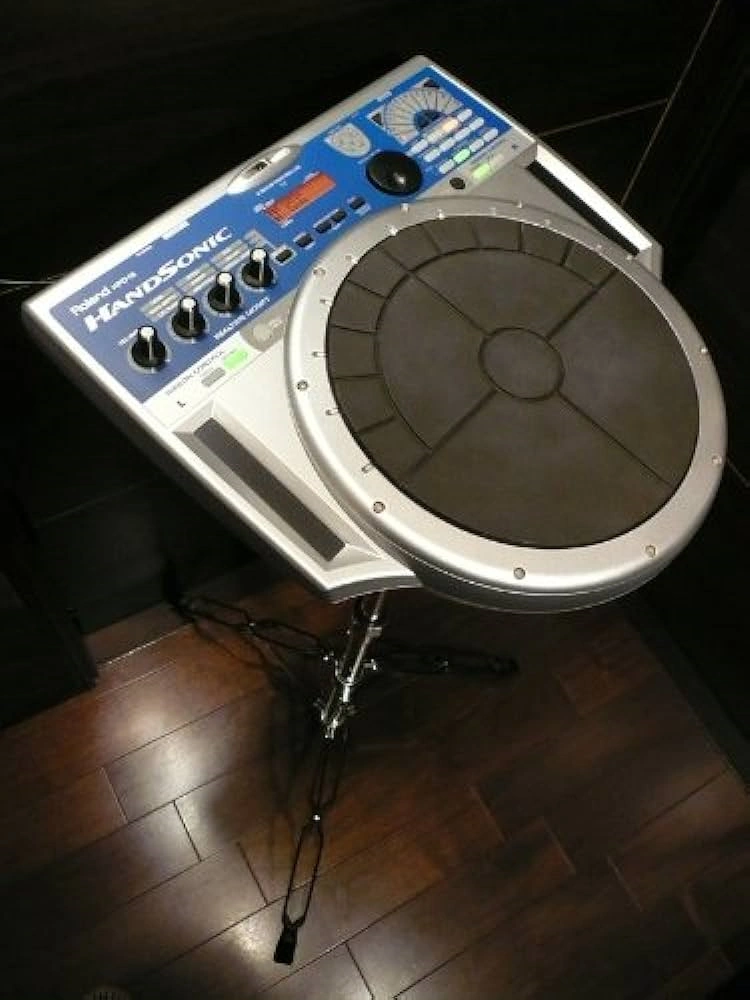
Until now, I have not had the opportunity to play a drum kit. One reason was the noise; like practicing on a saxophone, practicing on a drum kit can be a serious irritation to others. The other problem was space, or rather, the lack of it. At this point in my life, I finally have the necessary space for a full-size drum kit.
Now that I am getting serious about making good recordings of my original music, my need for a proper drum kit in my home studio has become acute. I intend to replace the existing bed drum tracks, which were made with EZ Drummer 3, with a MIDI recording of a “real” drummer playing electronic drums.
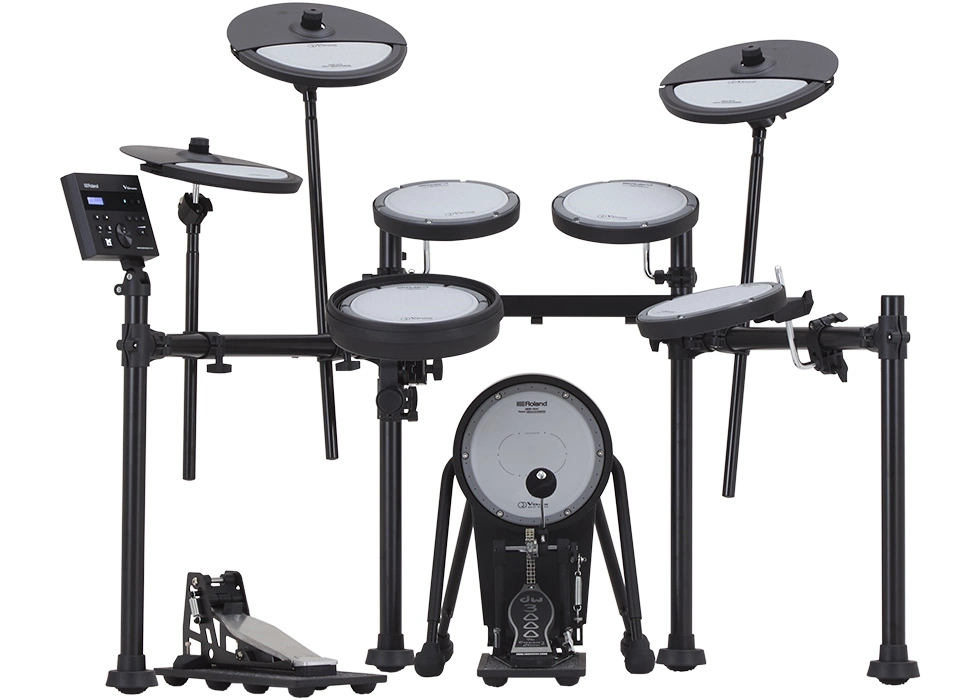
Roland’s new VQD-106, “the world’s quietest drum kit,” was released last month, and I ordered it. This article chronicles my experience setting up the VQD-106 drum kit with Ableton Live Suite 12.1, EZ-Drummer 3, and Pro Tools Artist 2024.10.
Included with the VQD-106
-
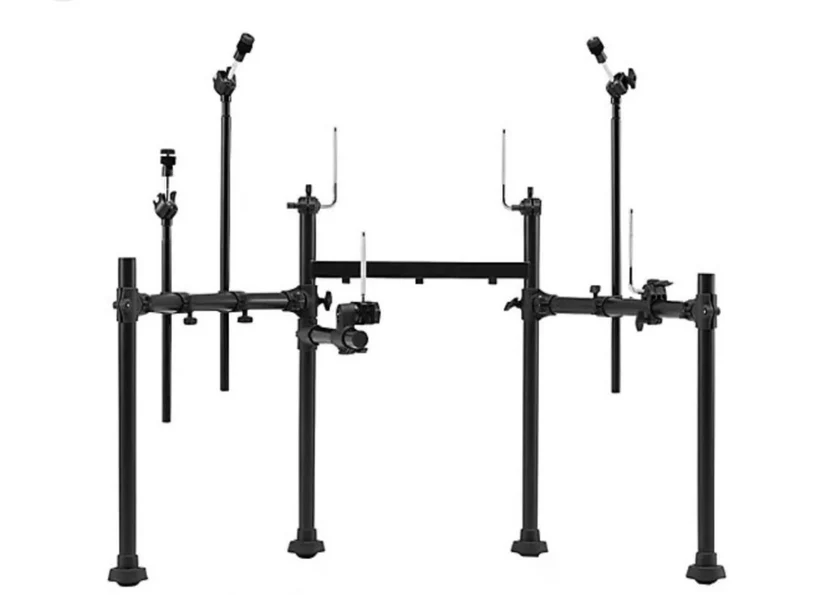
One MDS-Q quiet drum stand.It is odd that although a printed MDS-Q owner’s manual was provided in the box, no such product appears on the Roland website. This is the only component provided that is not listed in the online product description for the VQD-016.
I was able to find the product online here. I would like Roland to explain why they have removed all mention of this product from their website. -
One TD-07 sound module and snake (connection cables).This Roland sound module has a USB B connector, a stereo miniature TRS audio input, and a stereo miniature TRS audio output.
-
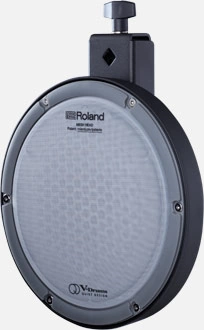
Three PDQ-8 single-trigger tom pads with 8-inch playing surfaces.
-
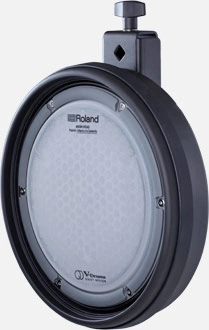
One PDQ-8S snare pad with an 8-inch playing surface, 10-inch rim, and independent head / rim triggering.As you can see, the snare pad consists of a tom pad, surrounded by a rim sensor.
-
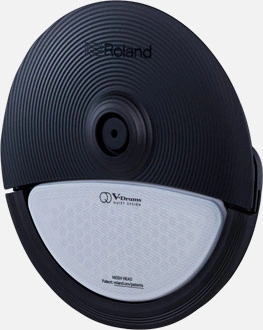
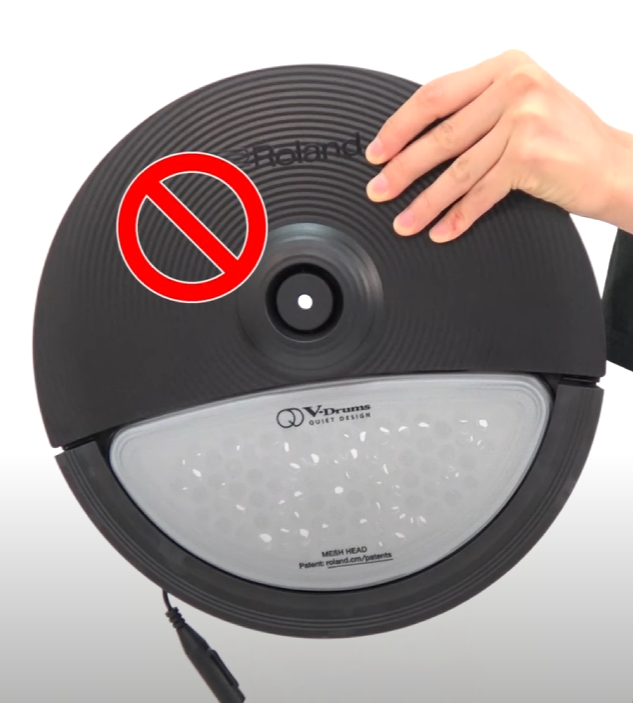
Three 12-inch CYQ-12 cymbal pads for crash and ride with bow/edge triggering and choke support. One CYQ-12 can act as a hi-hat.The User’s Manual for the cymbal pads warns that the cymbals should only be handled by the white area and the black rim in front, not by the large black area to the rear of the cymbal. I would like to understand why.
-
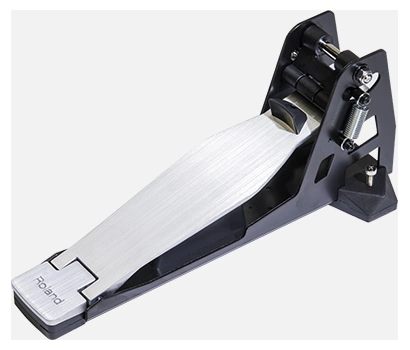
One FD-9 low-noise control pedal for the CYQ-12 hi-hat.
-
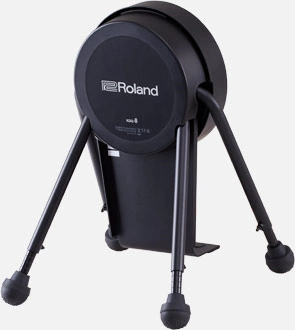
One KDQ-8 kick pad with an 8-inch playing surface and support for single and double kick pedals.
-
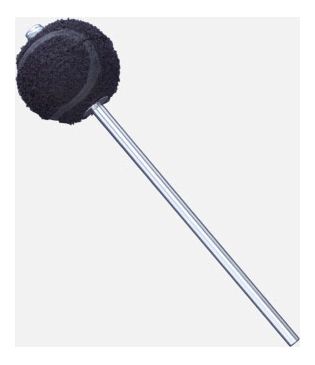
One KDB-Q quiet kick beater.This is meant to replace the beater on the kick drum pedal that is not provided with the VQD-106.
-
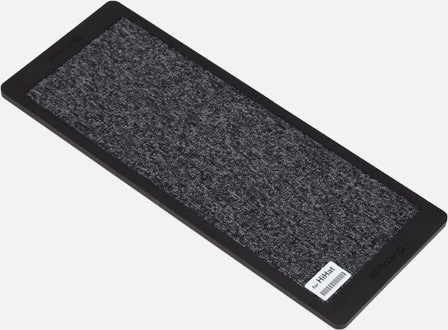
One noise-isolating NEQ-H base for the hi-hat pedal.The Owner’s Manual for the NEQ-H base says:
When the unit is placed on thick pile carpeting, the rubber feet may sink into the pile, reducing the noise-insulating effect.Although at first this might seem counterintuitive, the instructions make sense to me. You could imagine that we are making a multilayered low-noise Roland sandwich:- Use a drum mat on a hard surface.
- Then put the noise-isolating pedal bases on the mat.
- Then put the pedals on the pedal bases.
-
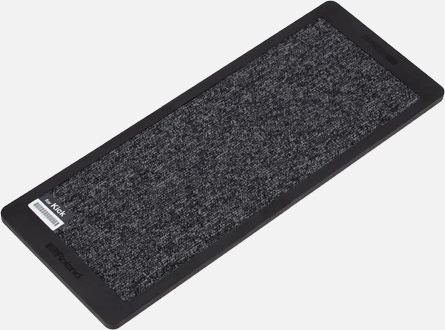
One noise-isolating NEQ-K kick pedal base.The above comments for the NEQ-H also apply to the NEQ-K.
-
40 free drum lessons from Roland Melodics.
-
One plain, unlabeled drum key.I expected that this would be a Roland RDK-1 drum key, but it was not.
-
One piece of unlabeled black tape.Later, I learned that the black tape was for use with the KQD-8 Kick Pad Quiet if the beater was misaligned with the drum.
-
One hex wrench.
Bundle vs. Components
I do not need the three toms or two of the cymbals. I could get by quite well with just a snare, a hi-hat and a kick drum. However, Roland charges quite a lot for individual components, so the cost of the package is competitive. I rationalized that I could sell the components that I did not need and come out ahead.
Features
- Integrated Bluetooth for:
- Streaming sound from smartphones, tablets, and other Bluetooth devices.
- Sending MIDI data to music apps on Bluetooth devices.
- Built-in metronome with adjustable time signature, note value, and click tone.
- The Onboard Coach capability provided by the TD-07 sound module powers interactive tools that help build the drummer’s timing skills and track their progress.
- USB allows computer music software to record audio and MIDI data generated by the VQD-106.
Not Included
- Slot for USB memory stick to save settings to.
- A bell would require a ride cymbal with a three-way trigger; however, only cymbals with two-way triggers are provided with the Roland VQD-106.
- USB A to B cable.
-
1/8-inch TRS to two 1/4-inch splitter cables (for audio).
A generic cable would do just fine.
Roland calls this their Black Series Interconnect Cable, and they provide it in 3 lengths:
- RCC-5-3528: 5 feet/1.5 meters.
- RCC-10-3528: 10 feet/3 meters.
- RCC-15-3528: 15 feet/4.5 meters.
- Drumsticks.
- Kick drum pedal(s)—a single kick pedal or double kick pedals can be used.
- Throne (seat).
- Drum mat.
- If you opt for double kick pedals, you will need to purchase a second noise-isolating NEQ-K kick pedal base and a second KDB-Q quiet kick beater. Otherwise, if you do not purchase the NEQ-K and KDB-Q, the second kick pedal will be much louder than the first.
The optional DAP-3X accessory package provides a kick drum pedal and throne. I felt that I would get better value by purchasing a non-Roland pedal and throne. I found the Roland throne to be rather unyielding—not something I might want to sit on for a long time. Most of the round thrones I tried with thicker pads seemed ‘mushy’, and I felt myself sliding forward. I decided to get a motorcycle-style throne.
Documentation
Support
Additional Purchases
I also purchased:
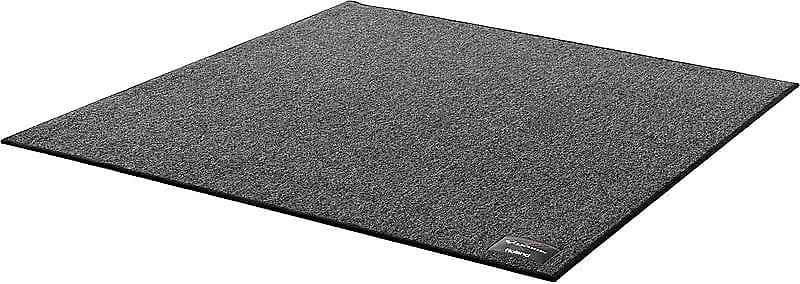
The underside of the drum mat is soft and non-abrasive. I placed mine directly on a varnished wooden floor. I hope that the floor will not be damaged by a properly set-up VQD-106 kit when this drum mat is used.

Presumably, the drum mat represents a greater threat to the wooden floor in a warm or hot environment than in a cold environment, and high humidity might also increase the threat. I would like Roland to provide me with further information about this potential issue, particularly regarding placement on varnished wooden floors.
If you intend to make use of the drum kit with a DAW, then I strongly recommend obtaining a mono 25' long, 1/4" TR extension cable. The Driver Testing section of Roland TD-07 And DAWs talks about how I used this cable for debugging the integration with a DAW like Pro Tools, Ableton Live and EZ Drummer 3.
Purchasing Experience
Amazon
Amazon did not offer the VQD-106.
Sweetwater
After reading the available information, I spoke with my Sweetwater sales representative, and he provided me with good information, as usual. Unfortunately, Roland does not allow their US dealers to ship to Canada, so I thanked him for his time.
Quebec Roland Dealer
Next, I went to a well-known Roland dealer here in Montreal to take a look at the product. The drum kit was set up on the floor and was in good working order.
A Roland employee was permanently stationed in the store, and he provided solid product information. He made it clear that his salary was paid by Roland, and I believe he was implying that he was not a commissioned salesperson, but I do not know his actual remuneration arrangement.
However, it was clear that the store provided demonstration space and had physical inventory, but the product information and demonstration came from a Roland employee, not from a store employee. That being said, everyone in the store seemed very knowledgeable.
As I was about to provide my credit card, the store manager said that they wanted to charge an additional $50 for delivery. I replied that their website said they offered free delivery, but he said that was for online sales only. This did not meet my expectations.
The packages were large and heavy and would require at least a sedan to accommodate them. I definitely did not want to attempt to load them into an extra-large taxi and then carry them up a flight of winding stairs to my apartment. I left the store without purchasing anything.
Ontario Roland Dealer
I ordered online from another Roland dealer, based in Ontario. This allowed me to purchase a better throne than any that the previous store had in stock, and an equally good pedal that cost less than the one the previous store had recommended. UPS brought it all to my front door two days later. I ended up with a slightly better setup for less money and without physically hurting myself.
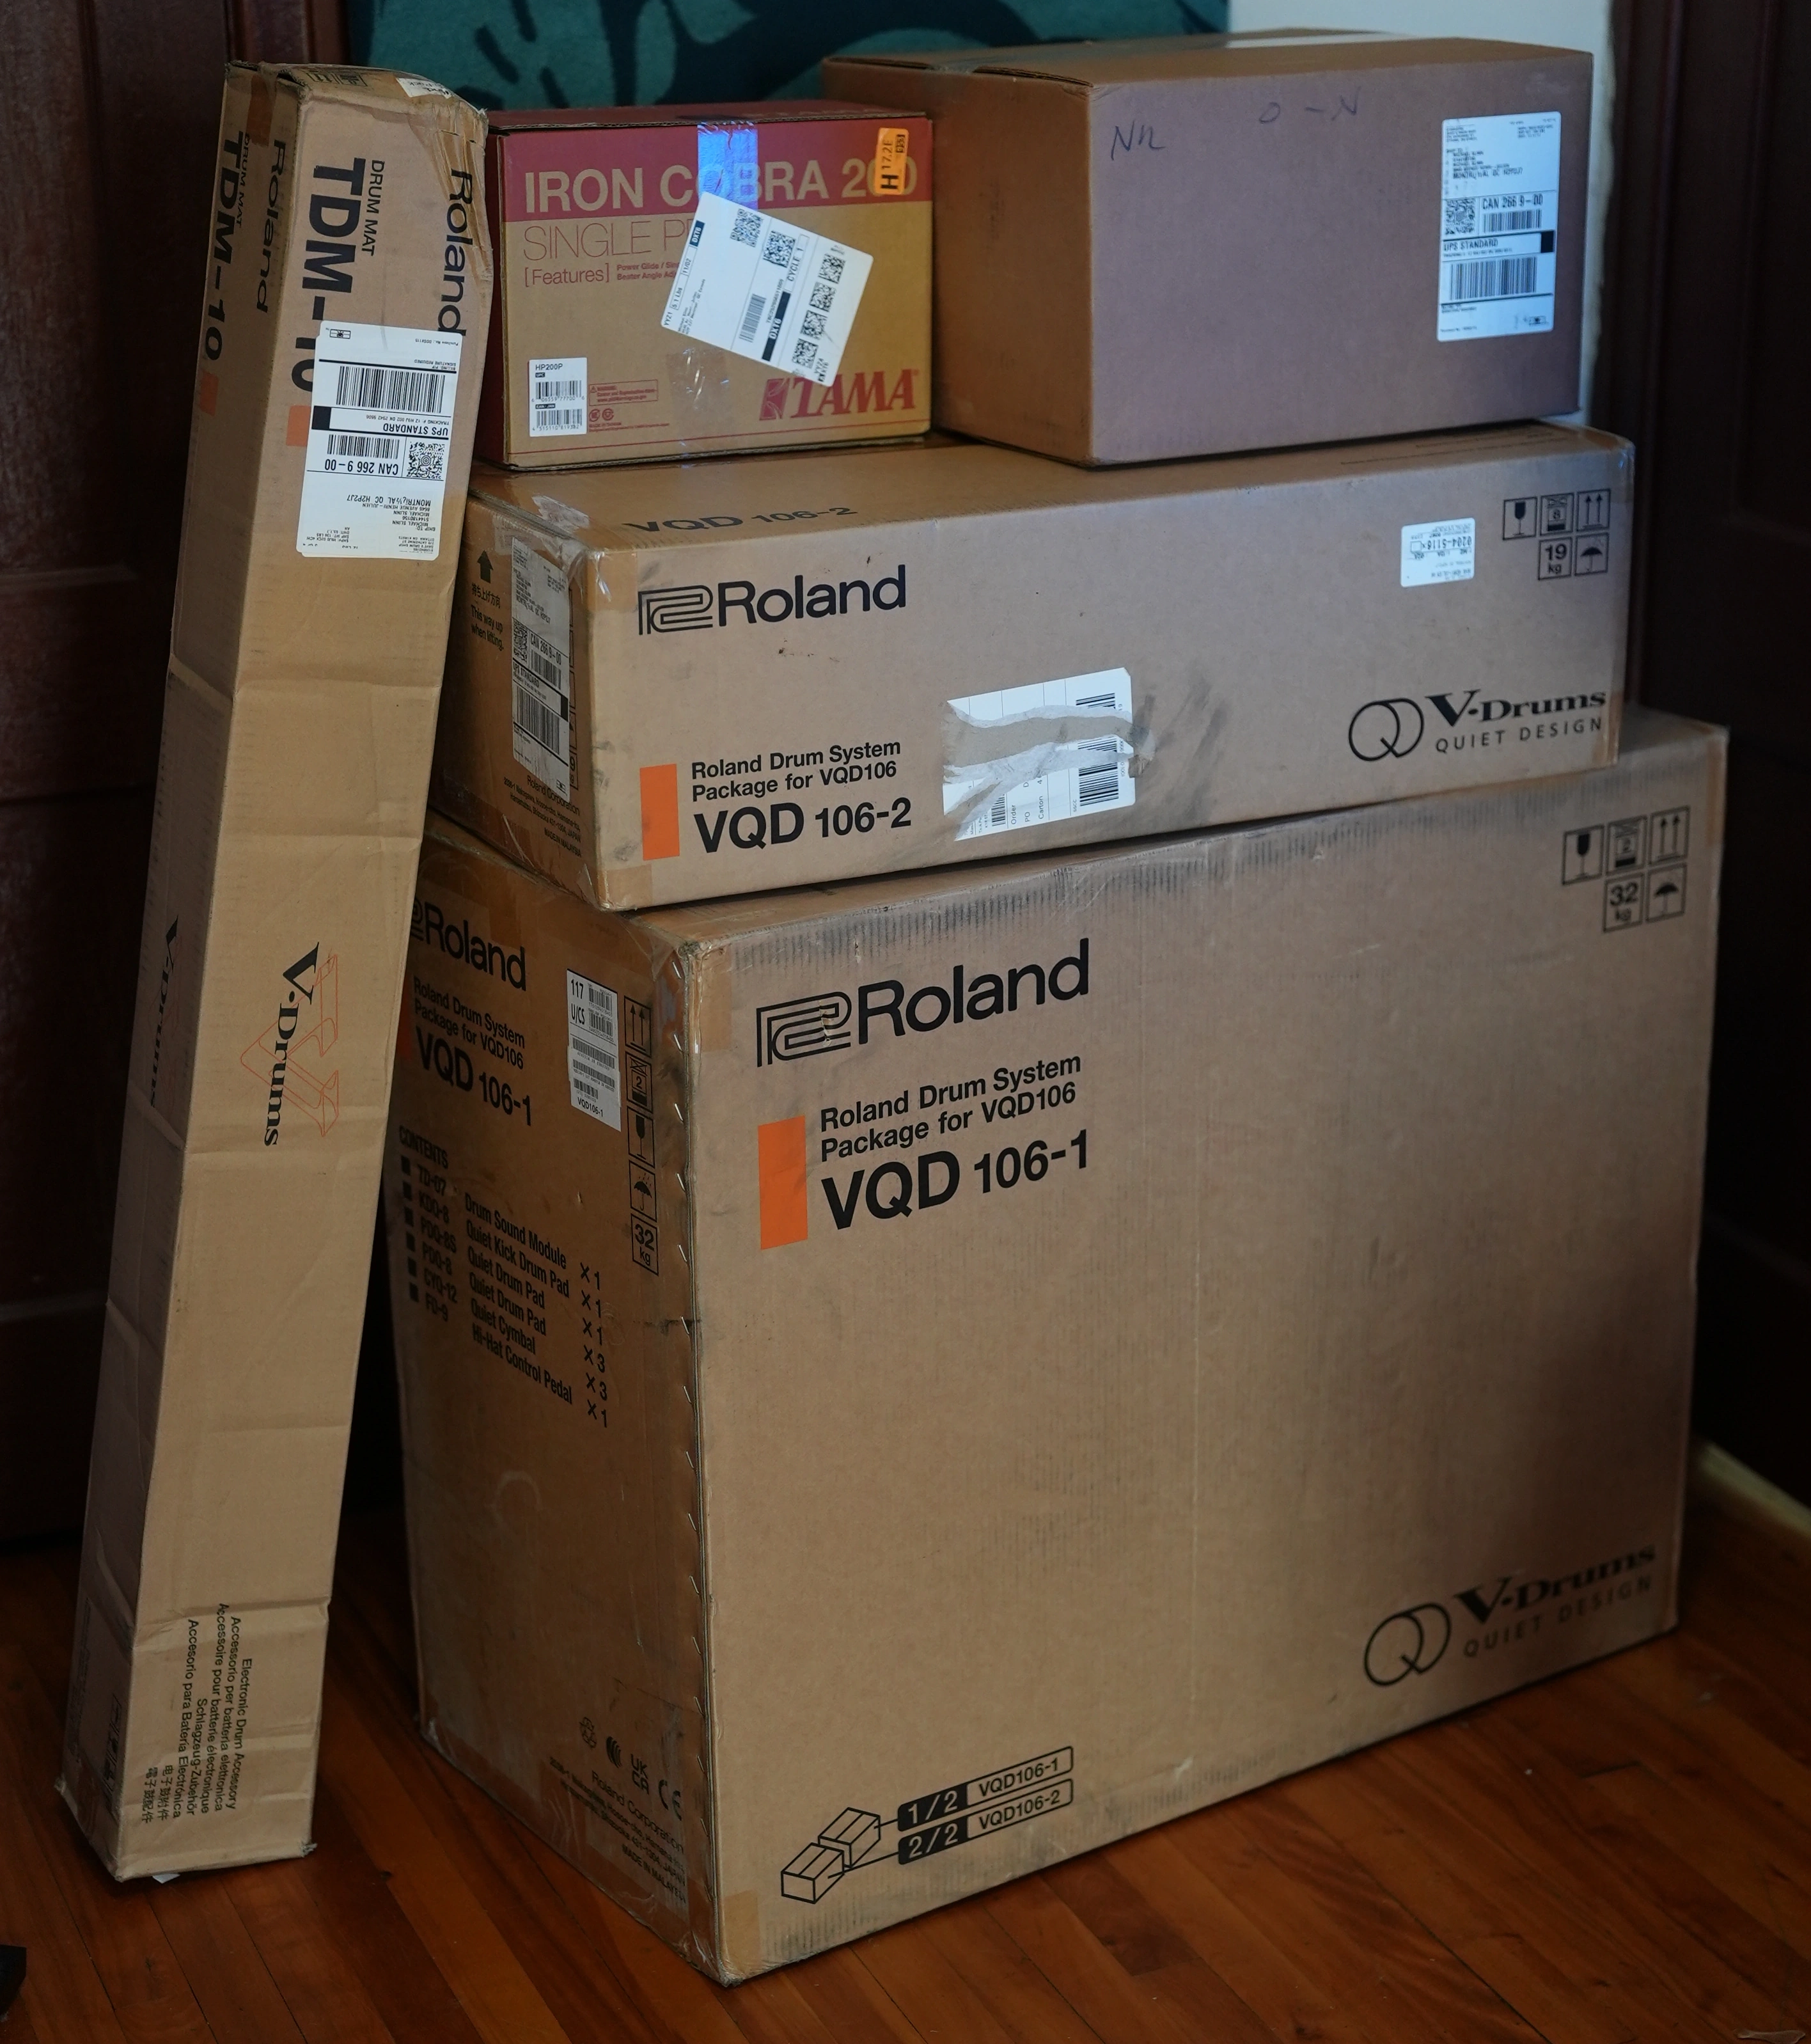
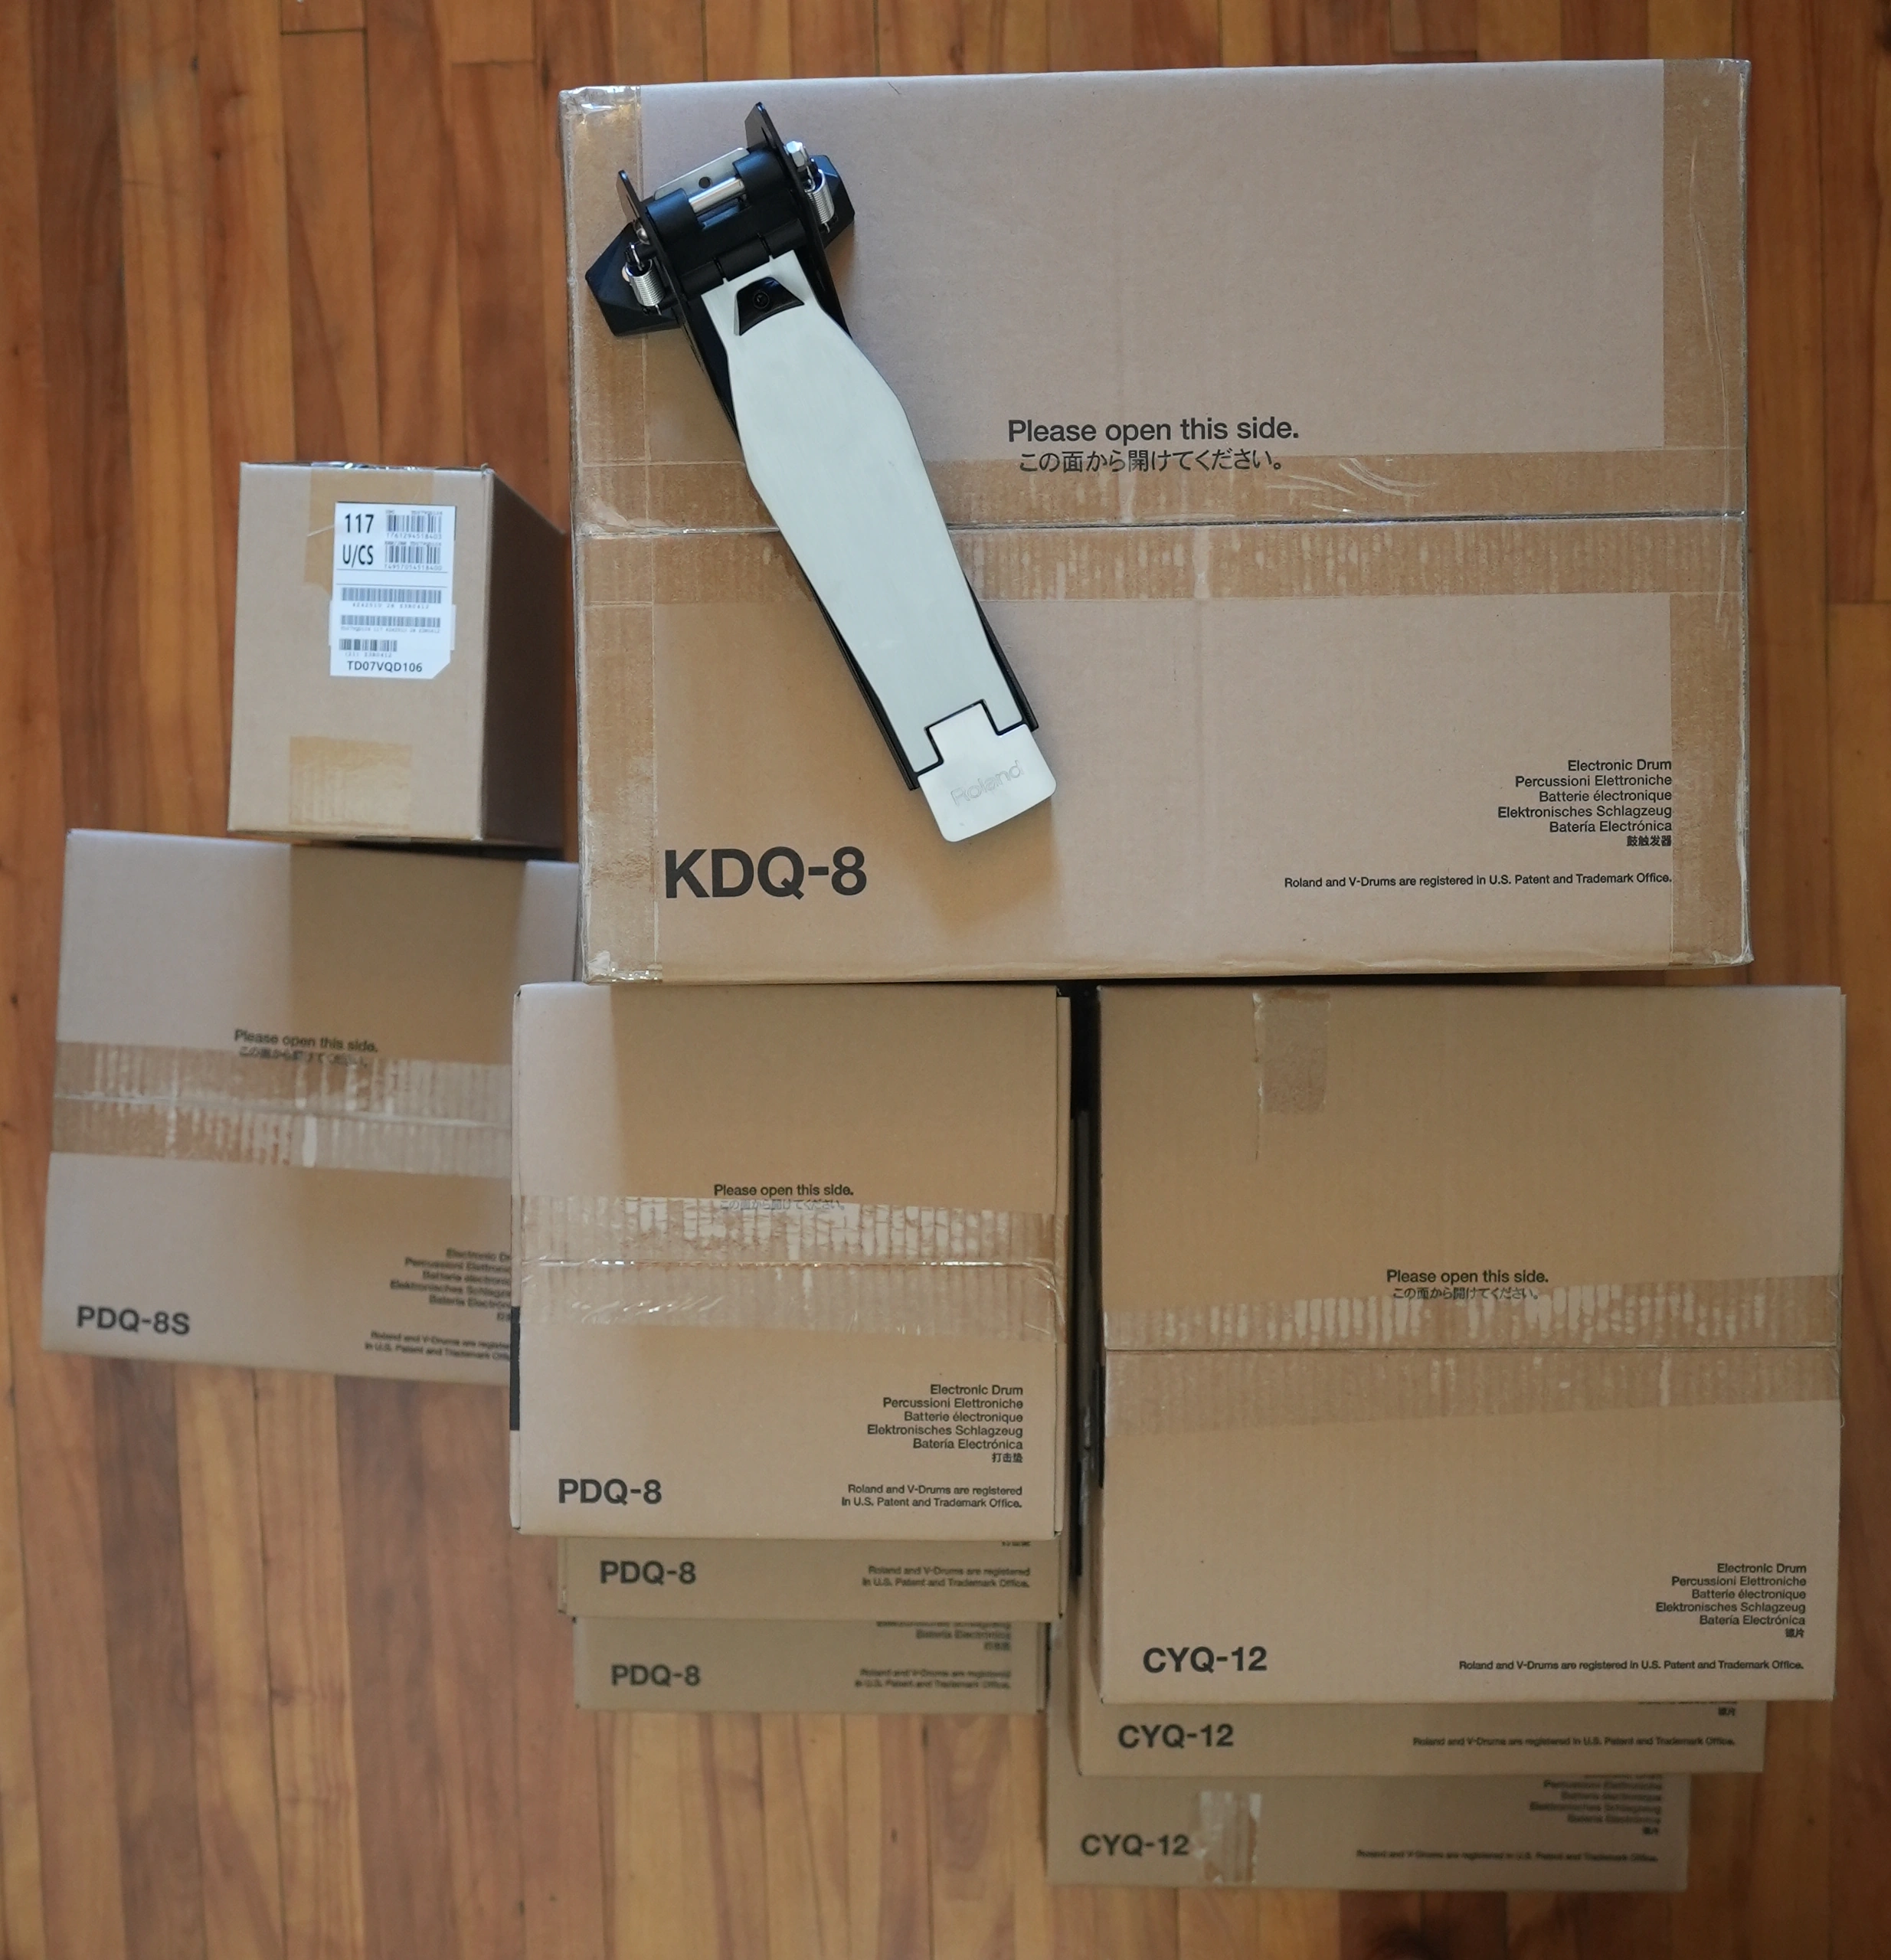
From top right to bottom left in the following picture, the packages were:
- TAMA HP200P box, 5 pounds, 14"x10"x7".
- Roc-N-Soc Nitro Throne box: 16 pounds, 17"x17"x11"
- Roland TDM-10 box: 10 pounds, 53"x6"x6"
- Roland VQD-106-2 box: 42 pounds, 33"x23"x10"; contains the metal instrument stand and the sound-isolating bases that the pedals would rest on.
- Roland VQD-106-1 box: 72 pounds, 19"x31.5"x38.5"
Packaging
The VQD-106 is packaged using a surprising amount of heavy cardboard, packing tape and non-biodegradable low-density polyethylene bags.
More thought could go into producing products that generate less of an environmental load.
Installation
The VQD106 / VQD106PADS Setup Guide is labeled on the Roland website as being the Owner’s Manual, but it is mislabeled. Instead, this document gives highly abbreviated instructions for installing the components. The instructions are so abbreviated that they just add to the plethora of documents that a customer must reconcile before assembly. It also fails as an overview. Customers would be better served if this information was consolidated into the other documents.
The top of the sheet of paper says (sic), “Assemble and connections time requires approx 135 minutes” (for assembling everything).
The assembly time for each step is also shown individually. The printed owner’s manuals provided in the VQD-106-2 box for each of the included components are more detailed, however.
For someone to assemble the completed drum set, connect it to a DAW, and properly adjust it so it is ready for use, the total time would be much greater than the claimed 2 hours and 15 minutes. I spent several days assembling this product, not minutes or hours. Because I had no previous familiarity with the product, a considerable amount of time was required to unpack the many large boxes, take inventory, make sense of the disjointed documentation, and watch the video before doing anything. After assembly, even more time was spent adjusting head tensions, optimizing sensor placements, making cables neat, etc.
Roland provides the following video that describes how to assemble the VQD-106. I found the video somewhat helpful, but it glosses over important information and ends before the job is finished.
TDM-10 Drum Mat
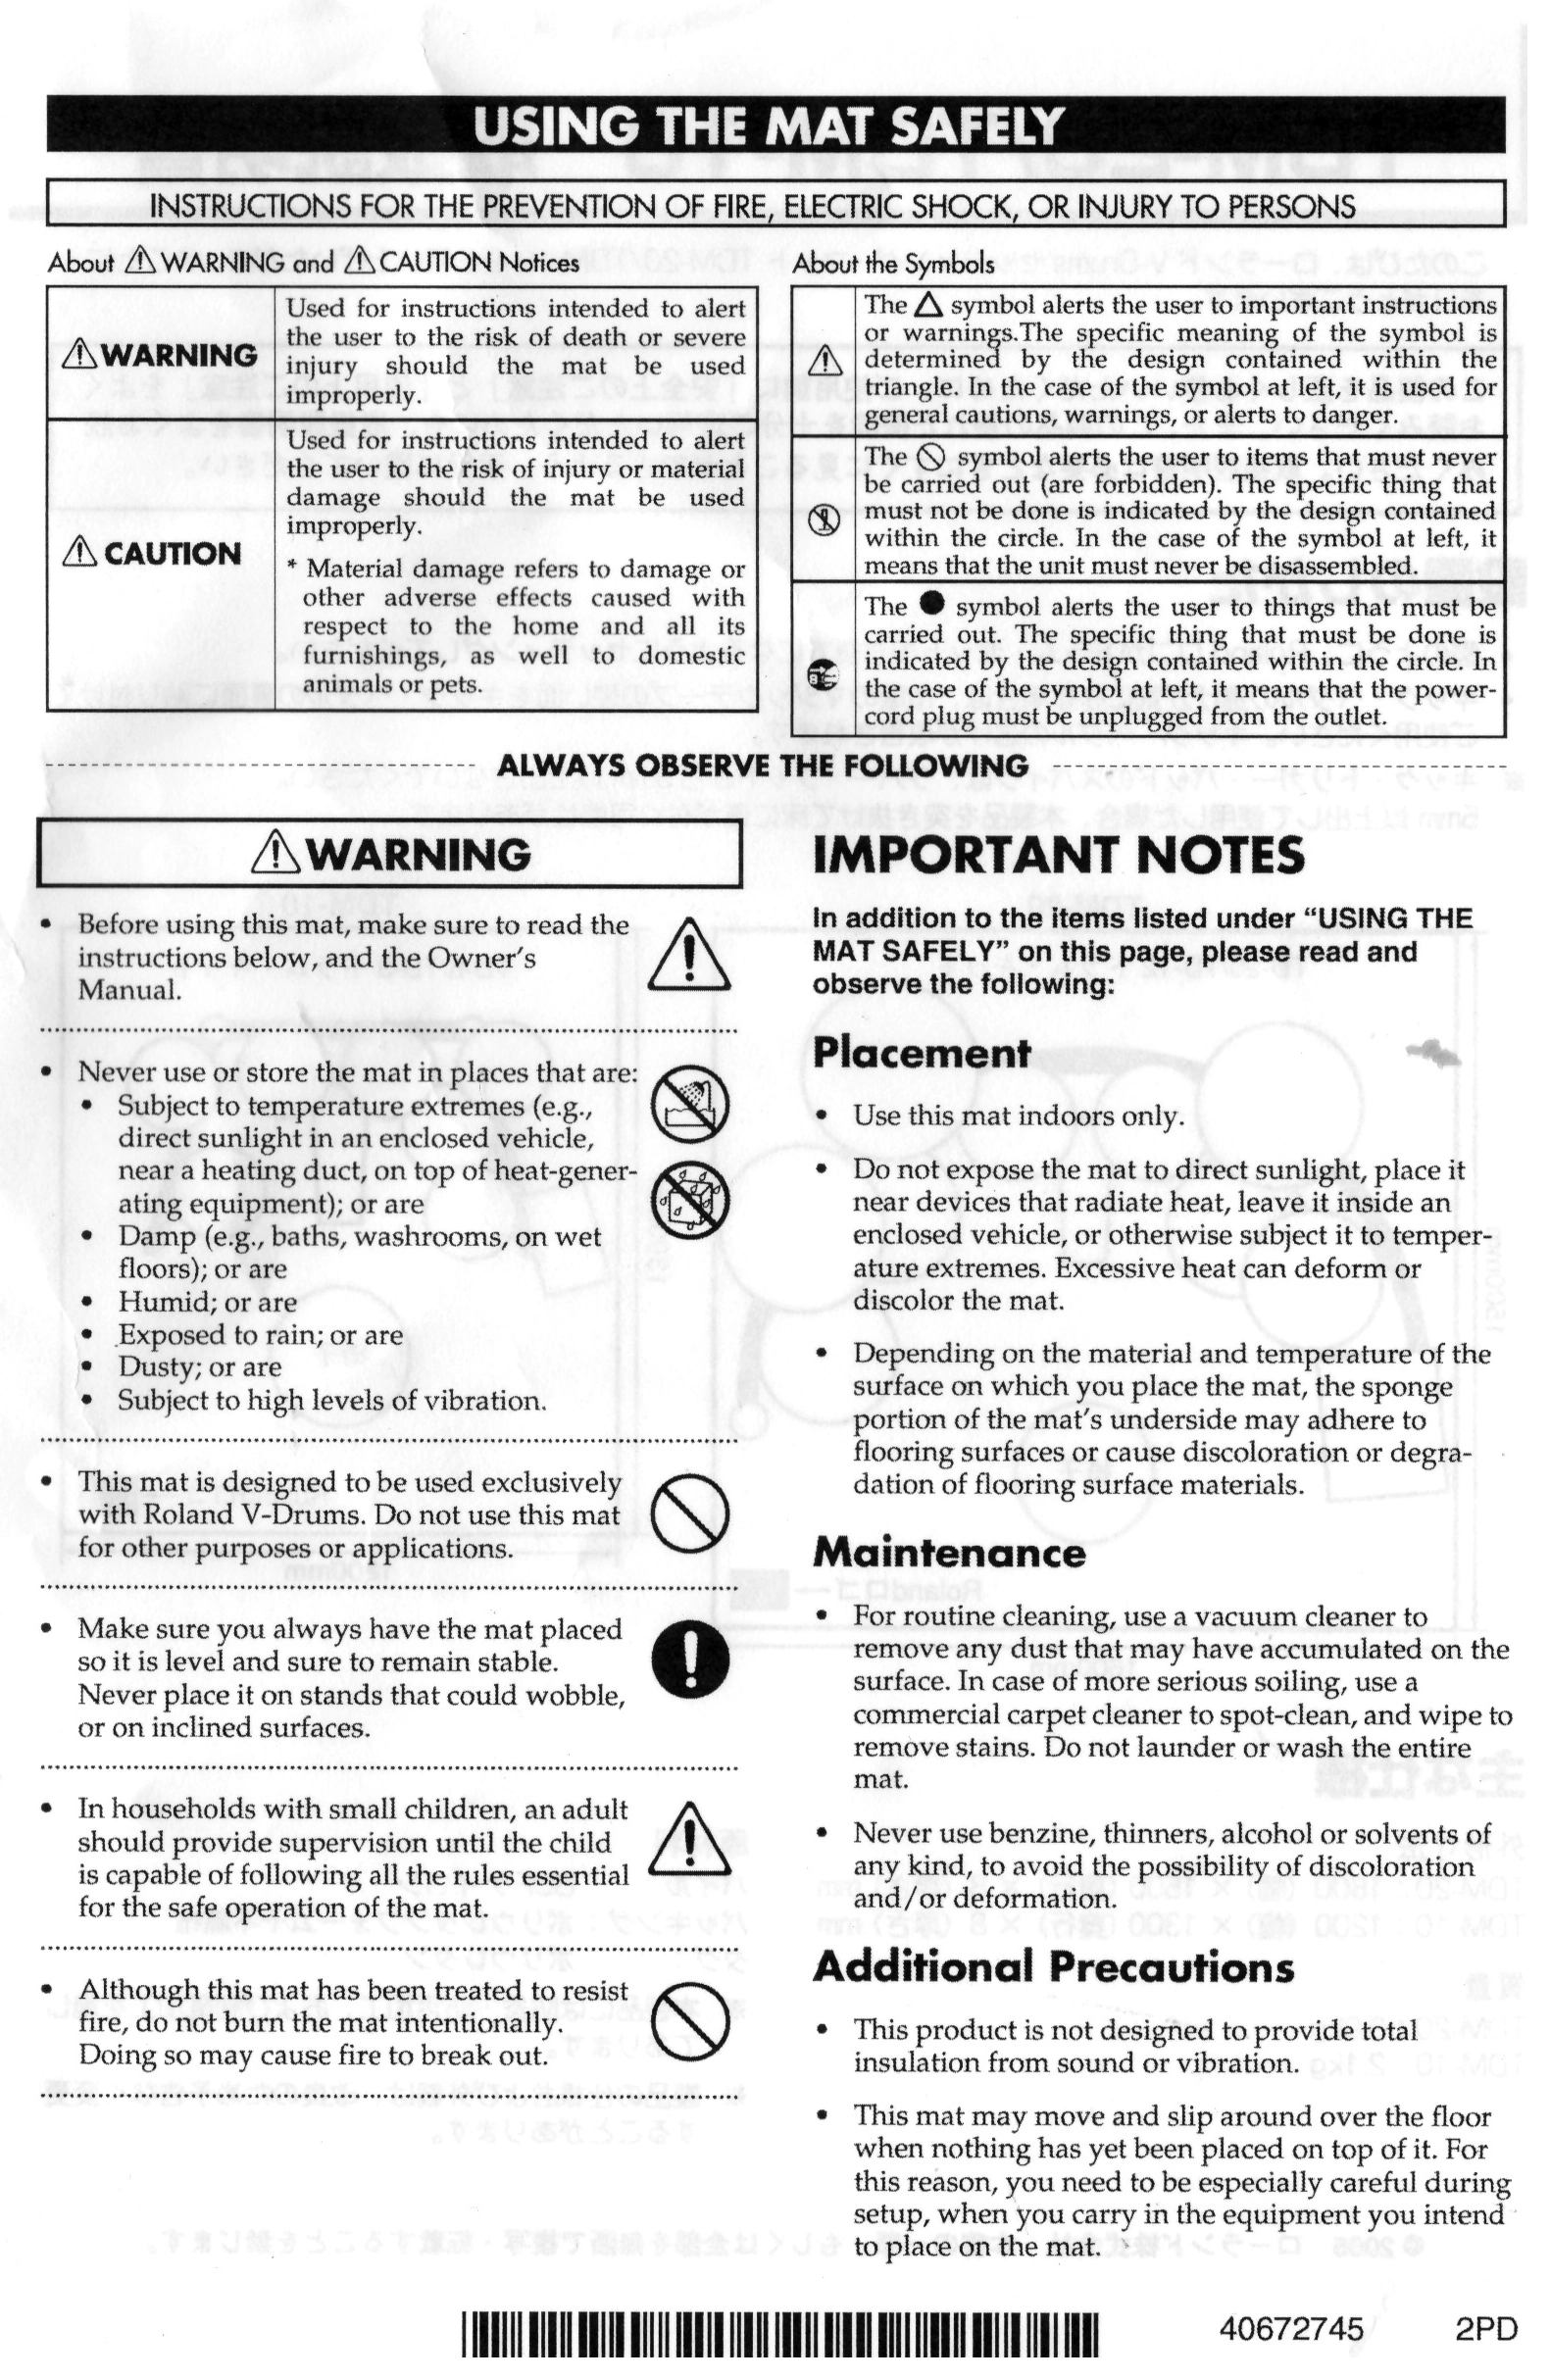
I unpacked the TDM-10 mat first because everything else needed to be positioned on top of it. I knew that this mat was precisely the minimum size that could hold all the components, including the throne. Inside the box containing the mat, the following sheet of paper was provided, which has been enlarged into two images for your reading pleasure. The images show the locations of all the major components, as they should be placed on the drum mat.
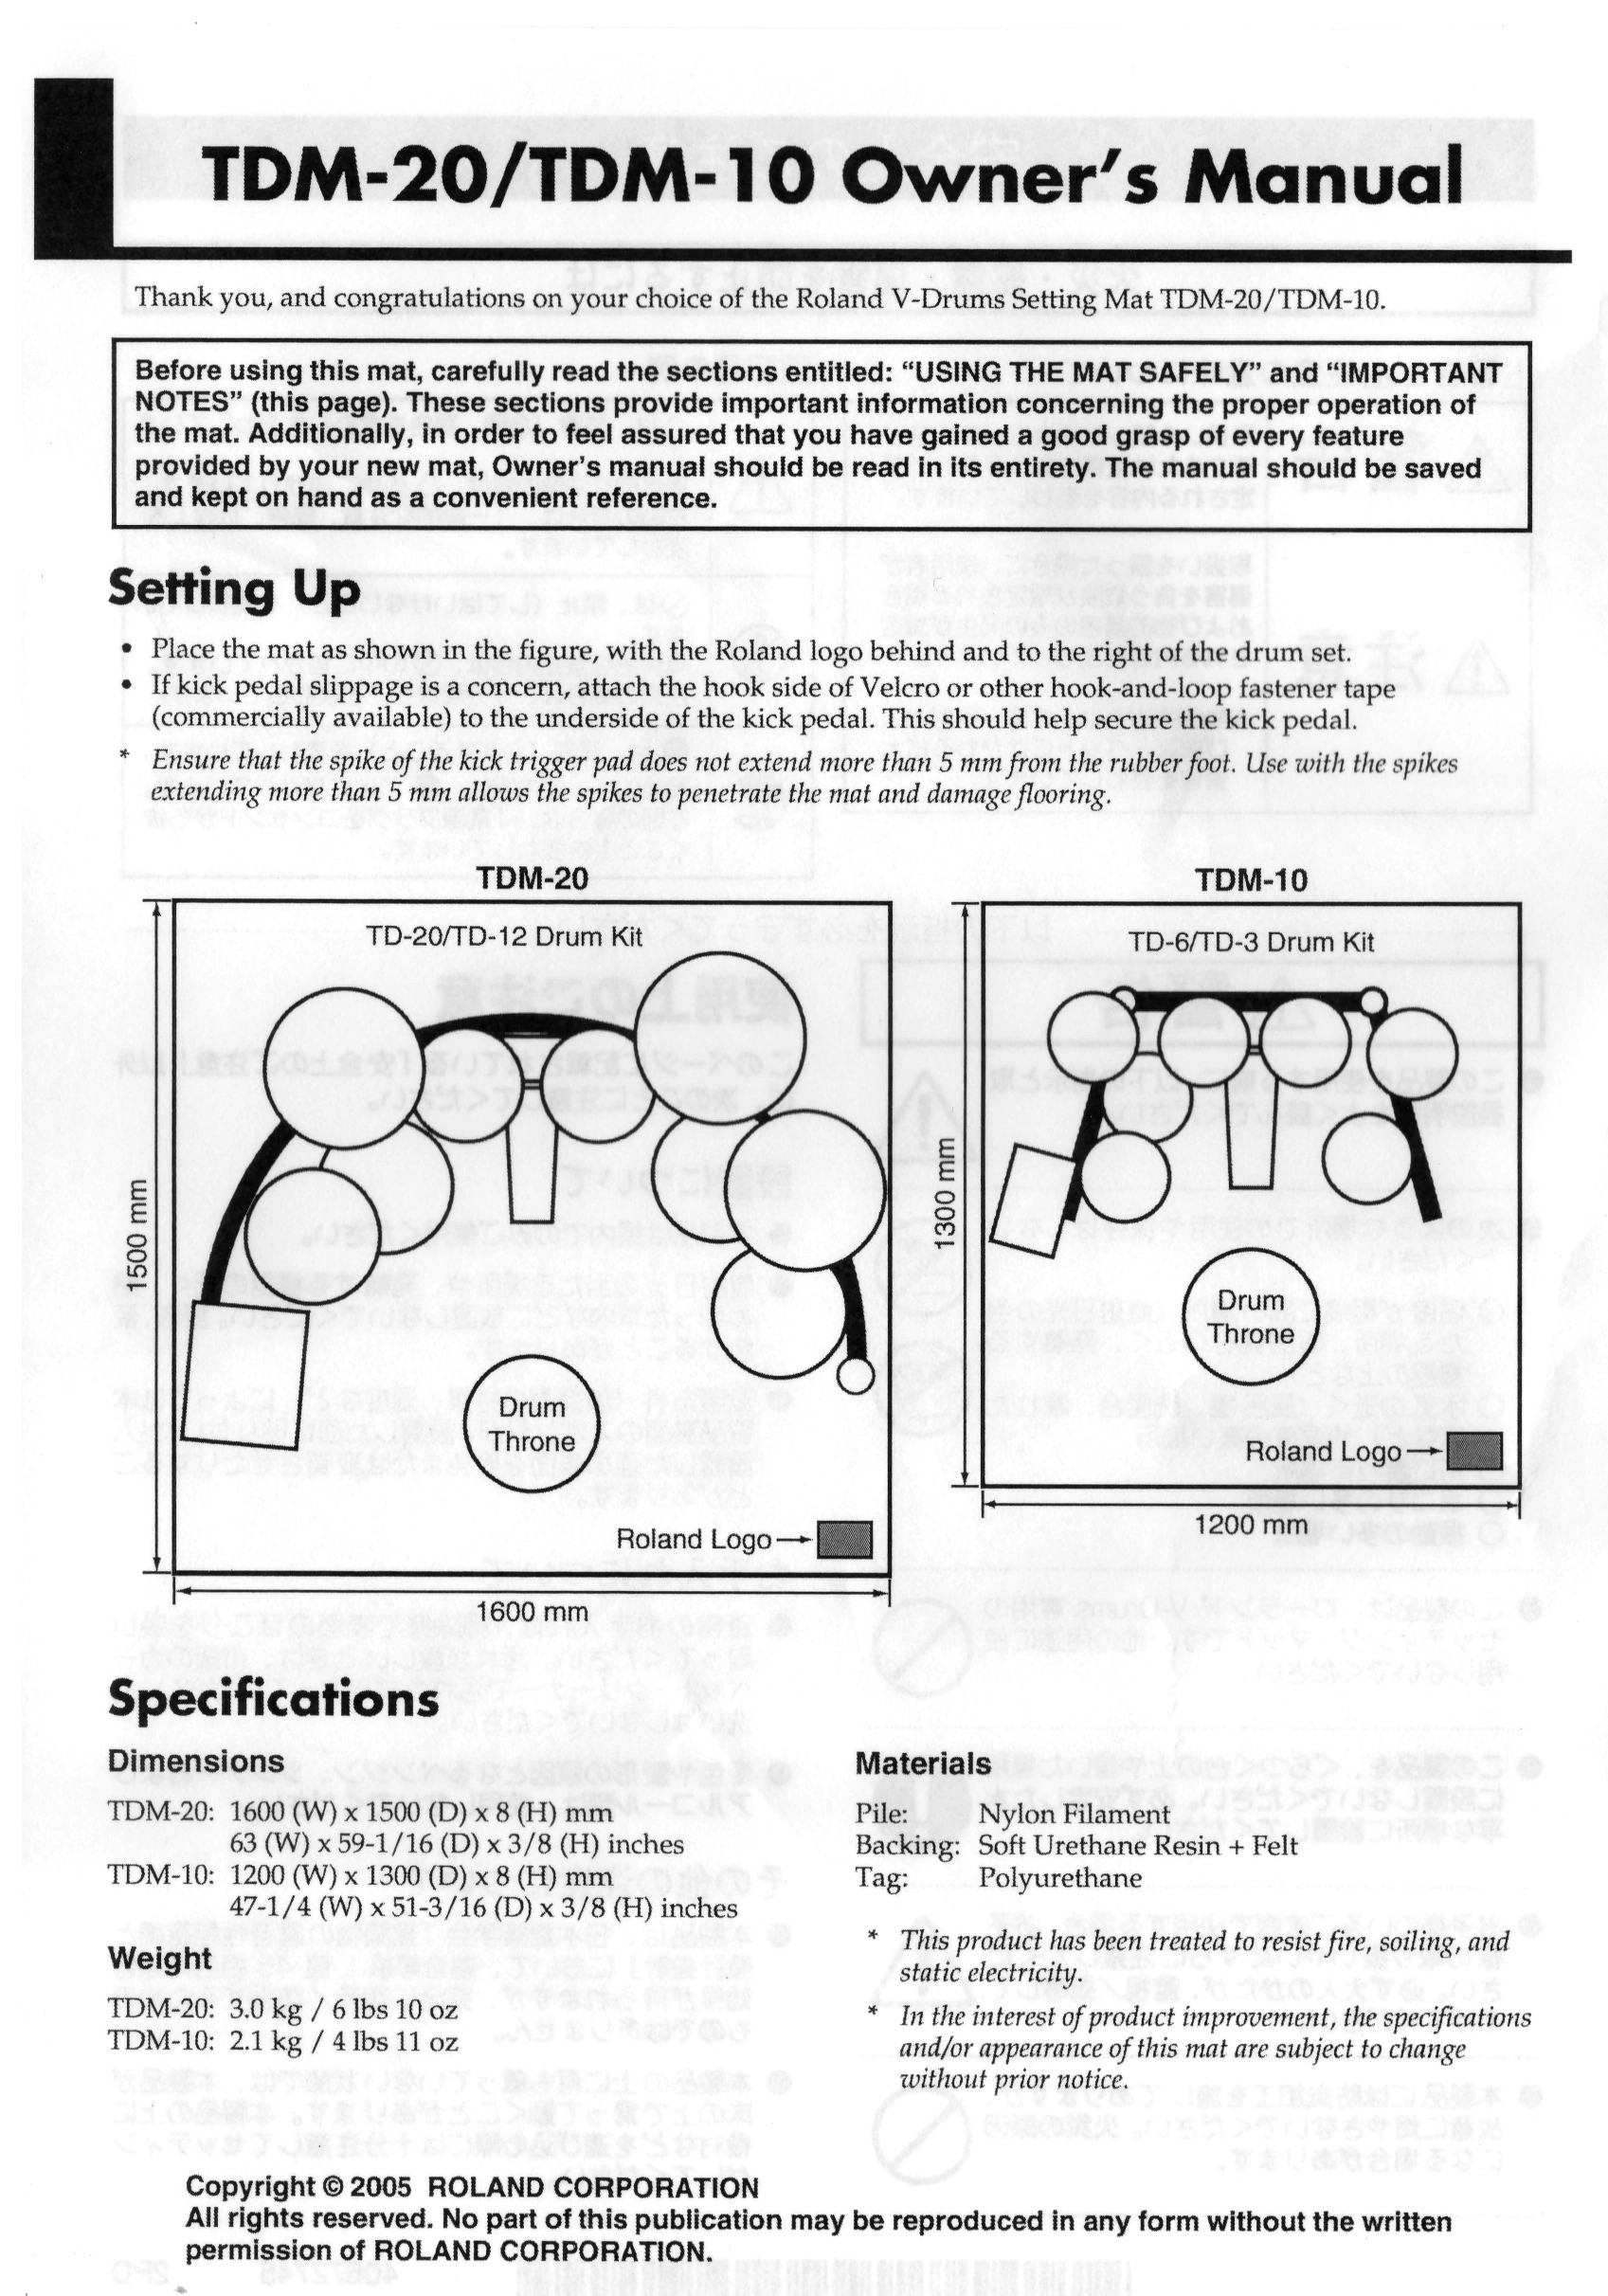
The typical gratuitous legal warning so favored by Japanese electronics manufacturers was present at the bottom of the first sheet. Nowhere in the world does the opening of a box constitute the acceptance of an unknown and unmentioned legal agreement. Notwithstanding copyright laws, the legal interpretation of what might constitute fair use in the US and fair dealing in other parts of the world for an owner’s manual would be generous. This sort of legal foolishness diminishes the respect a customer might otherwise have for the manufacturer.
VQD-106-2 Box
The box labeled VQD-106-2 contained the components of the MDS-Q drum stand and the NEQ-K and NEQ-H noise-isolating bases for the pedals. The top of the box was labeled “Please open this side,” so I did that. The box was packed in two layers:
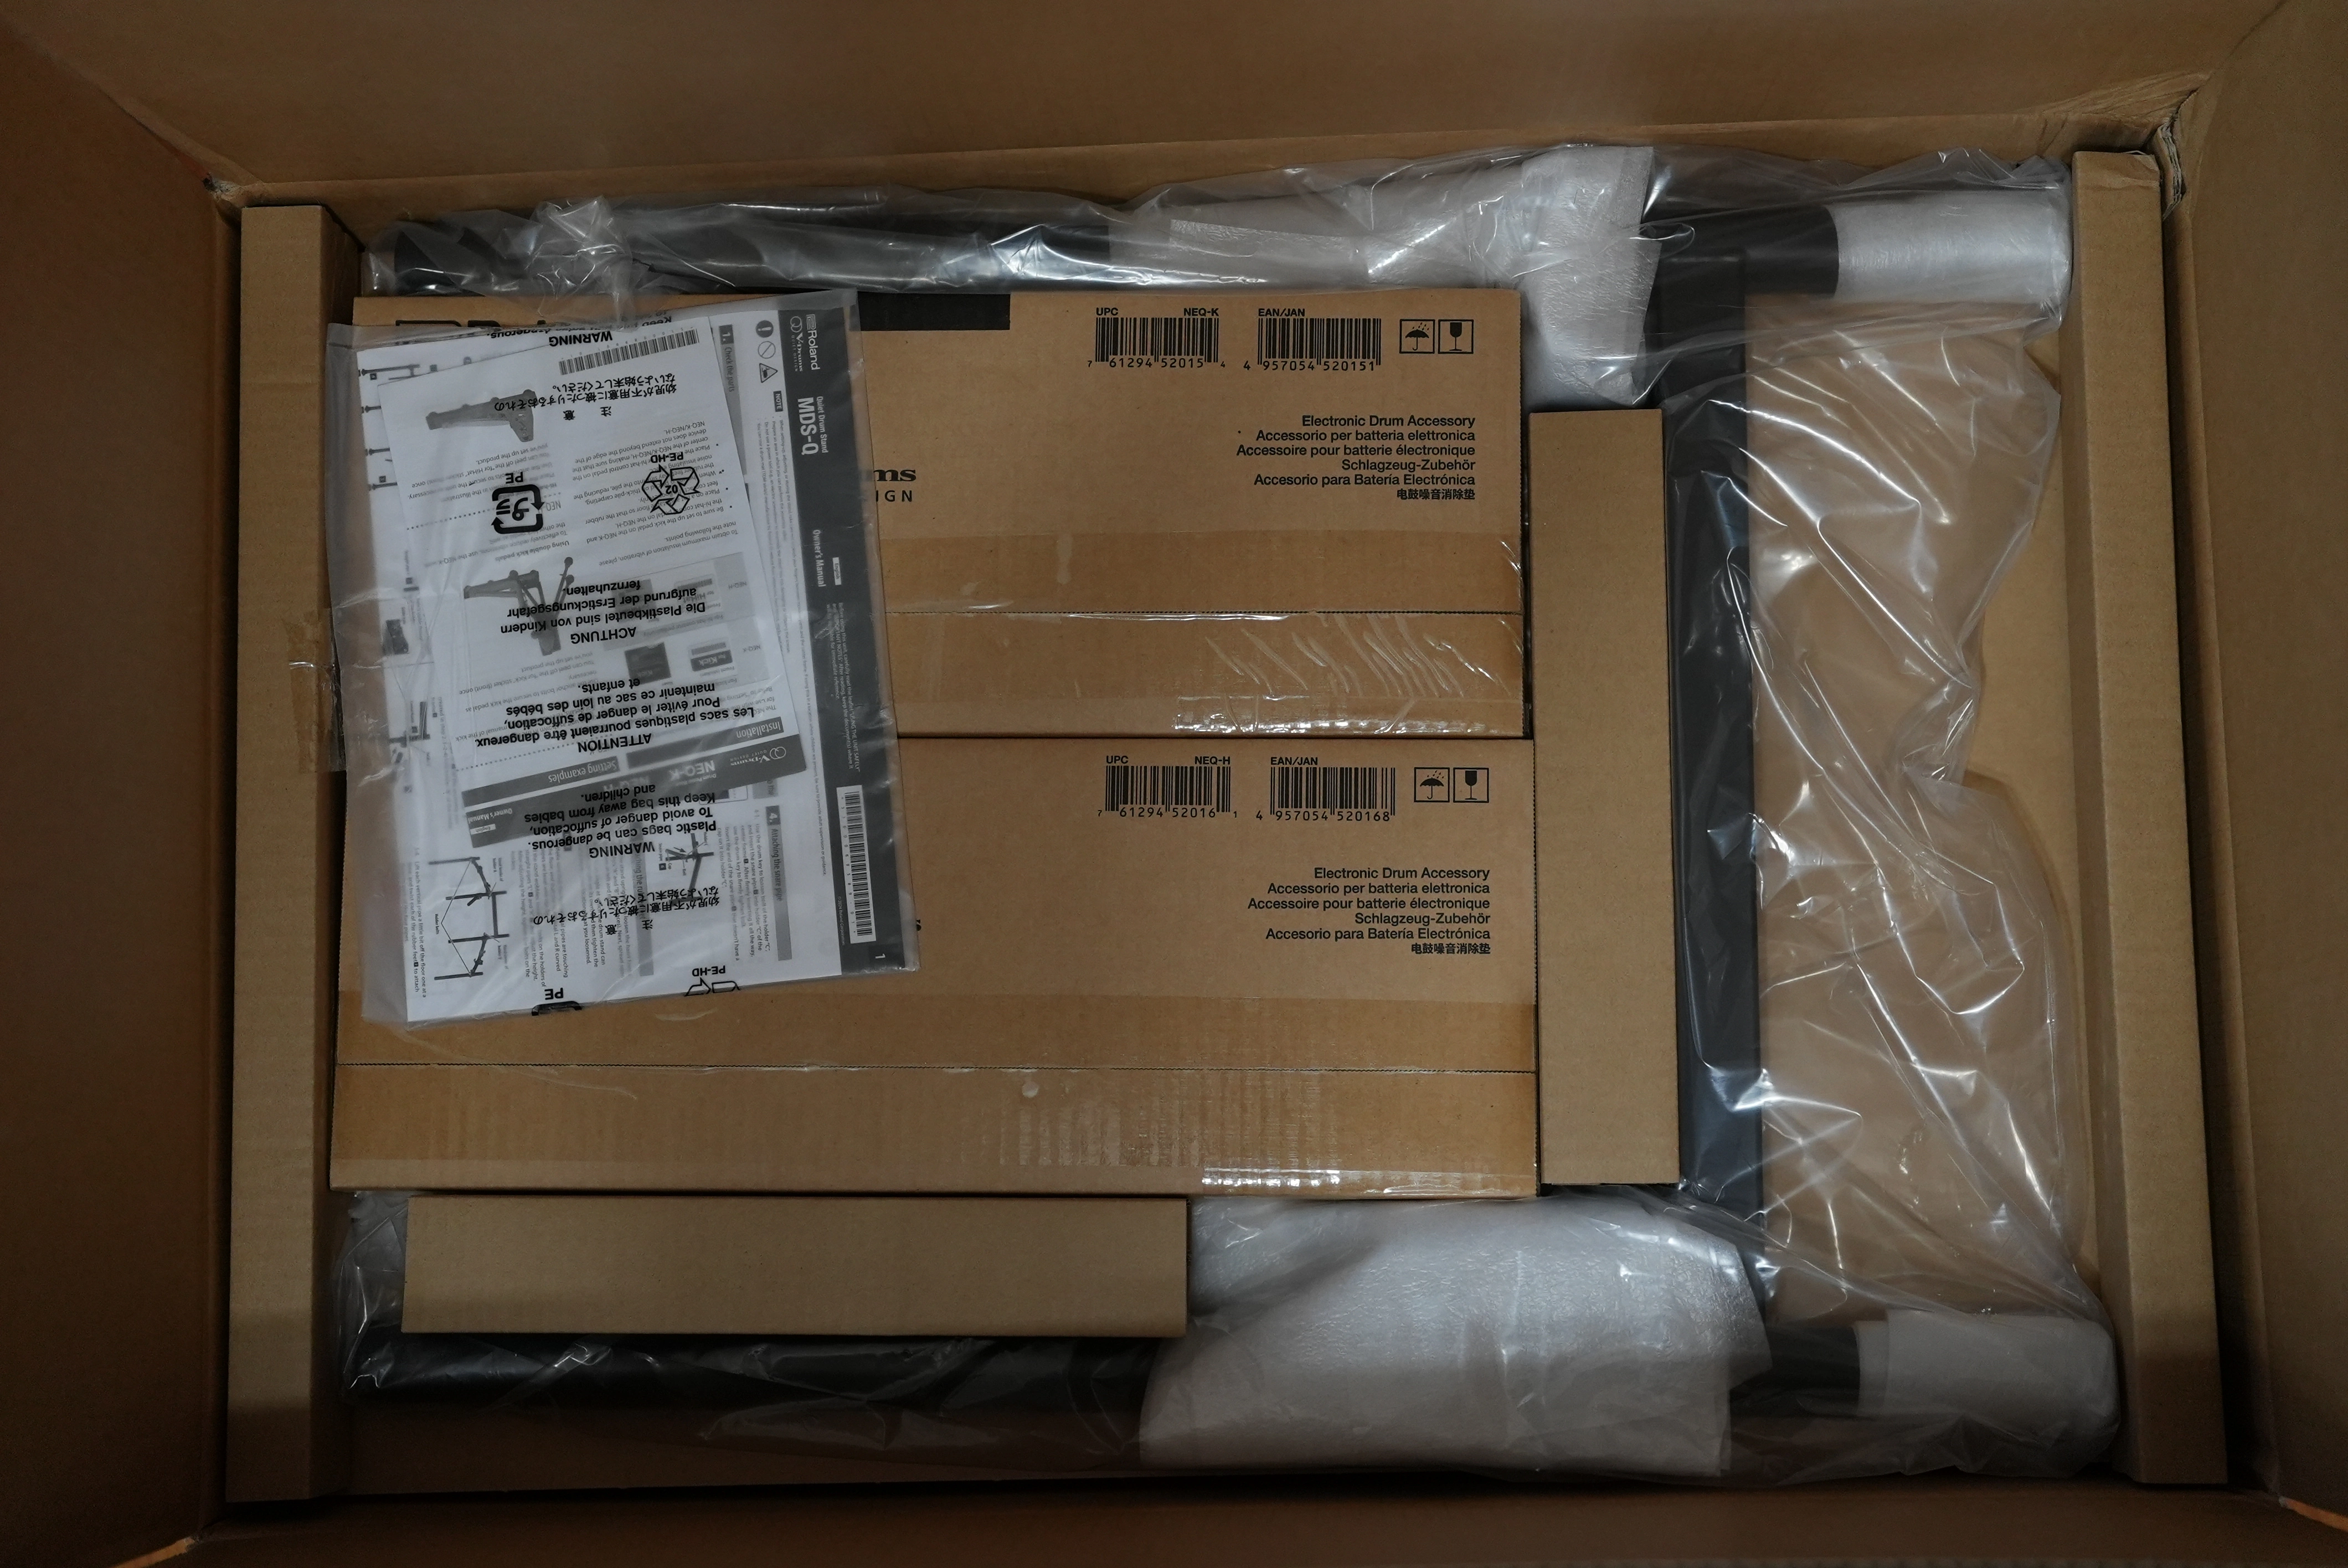
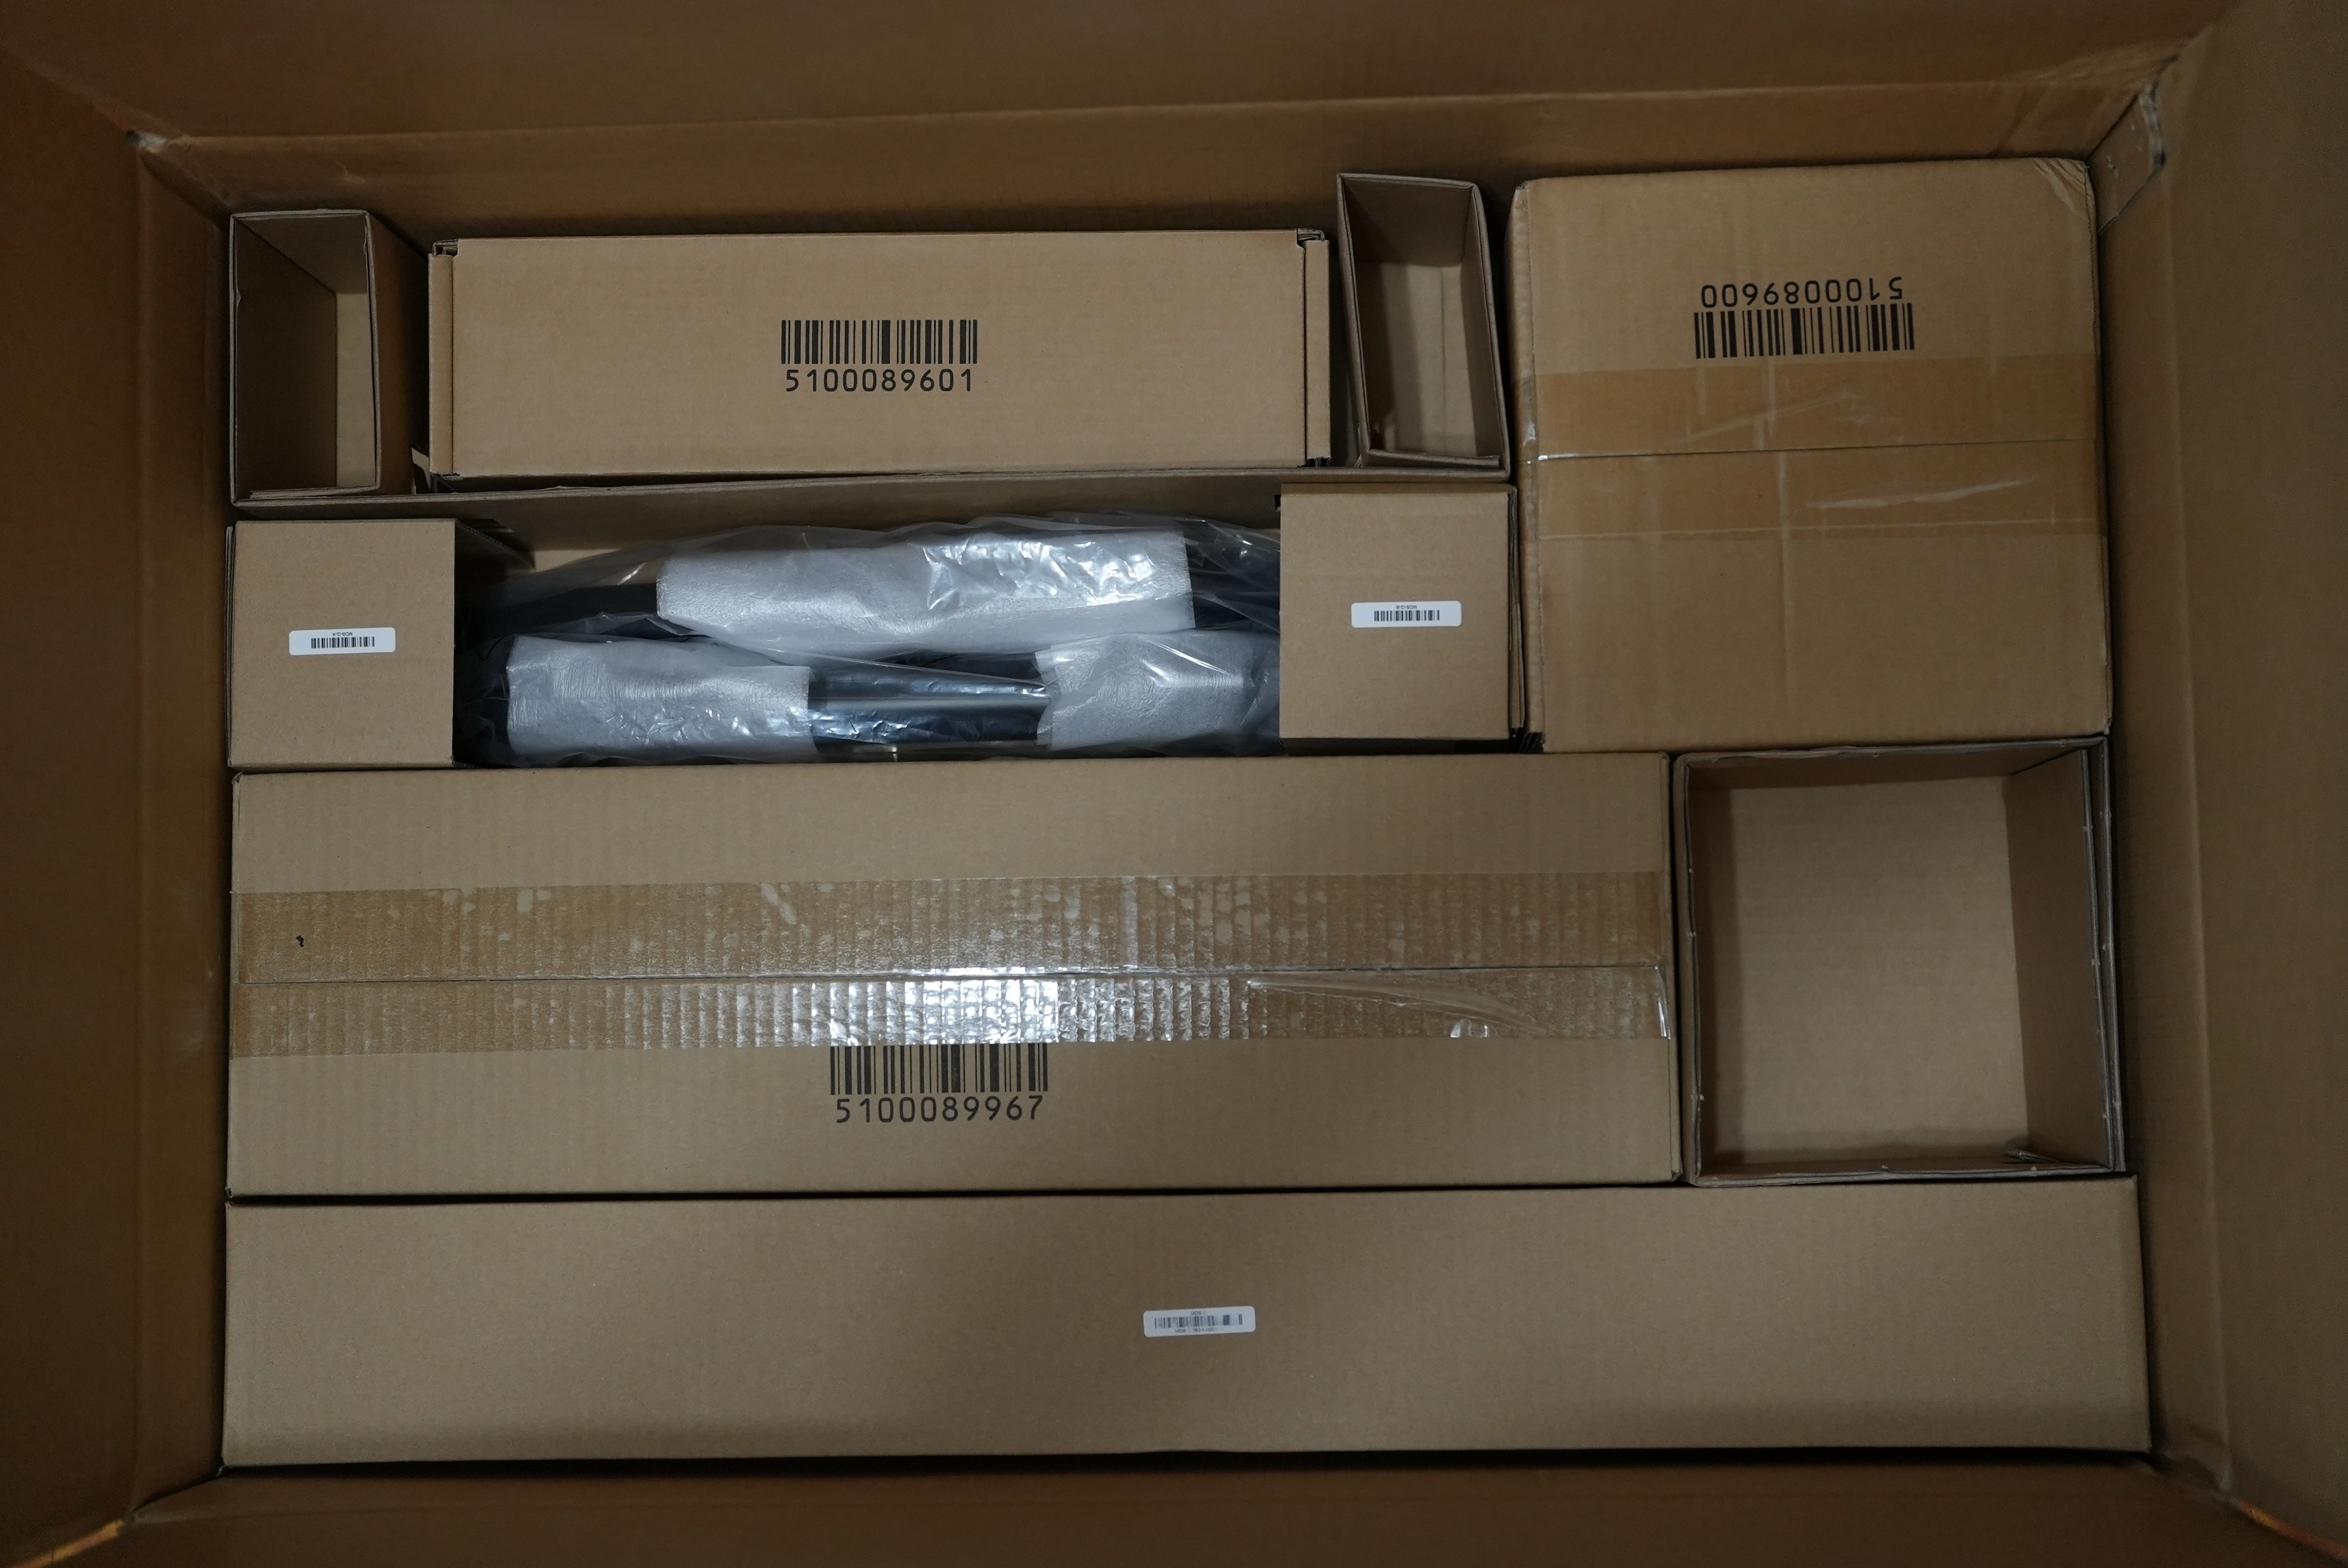
I spread the contents of both layers of the VQD-106-2 box out on the mat:
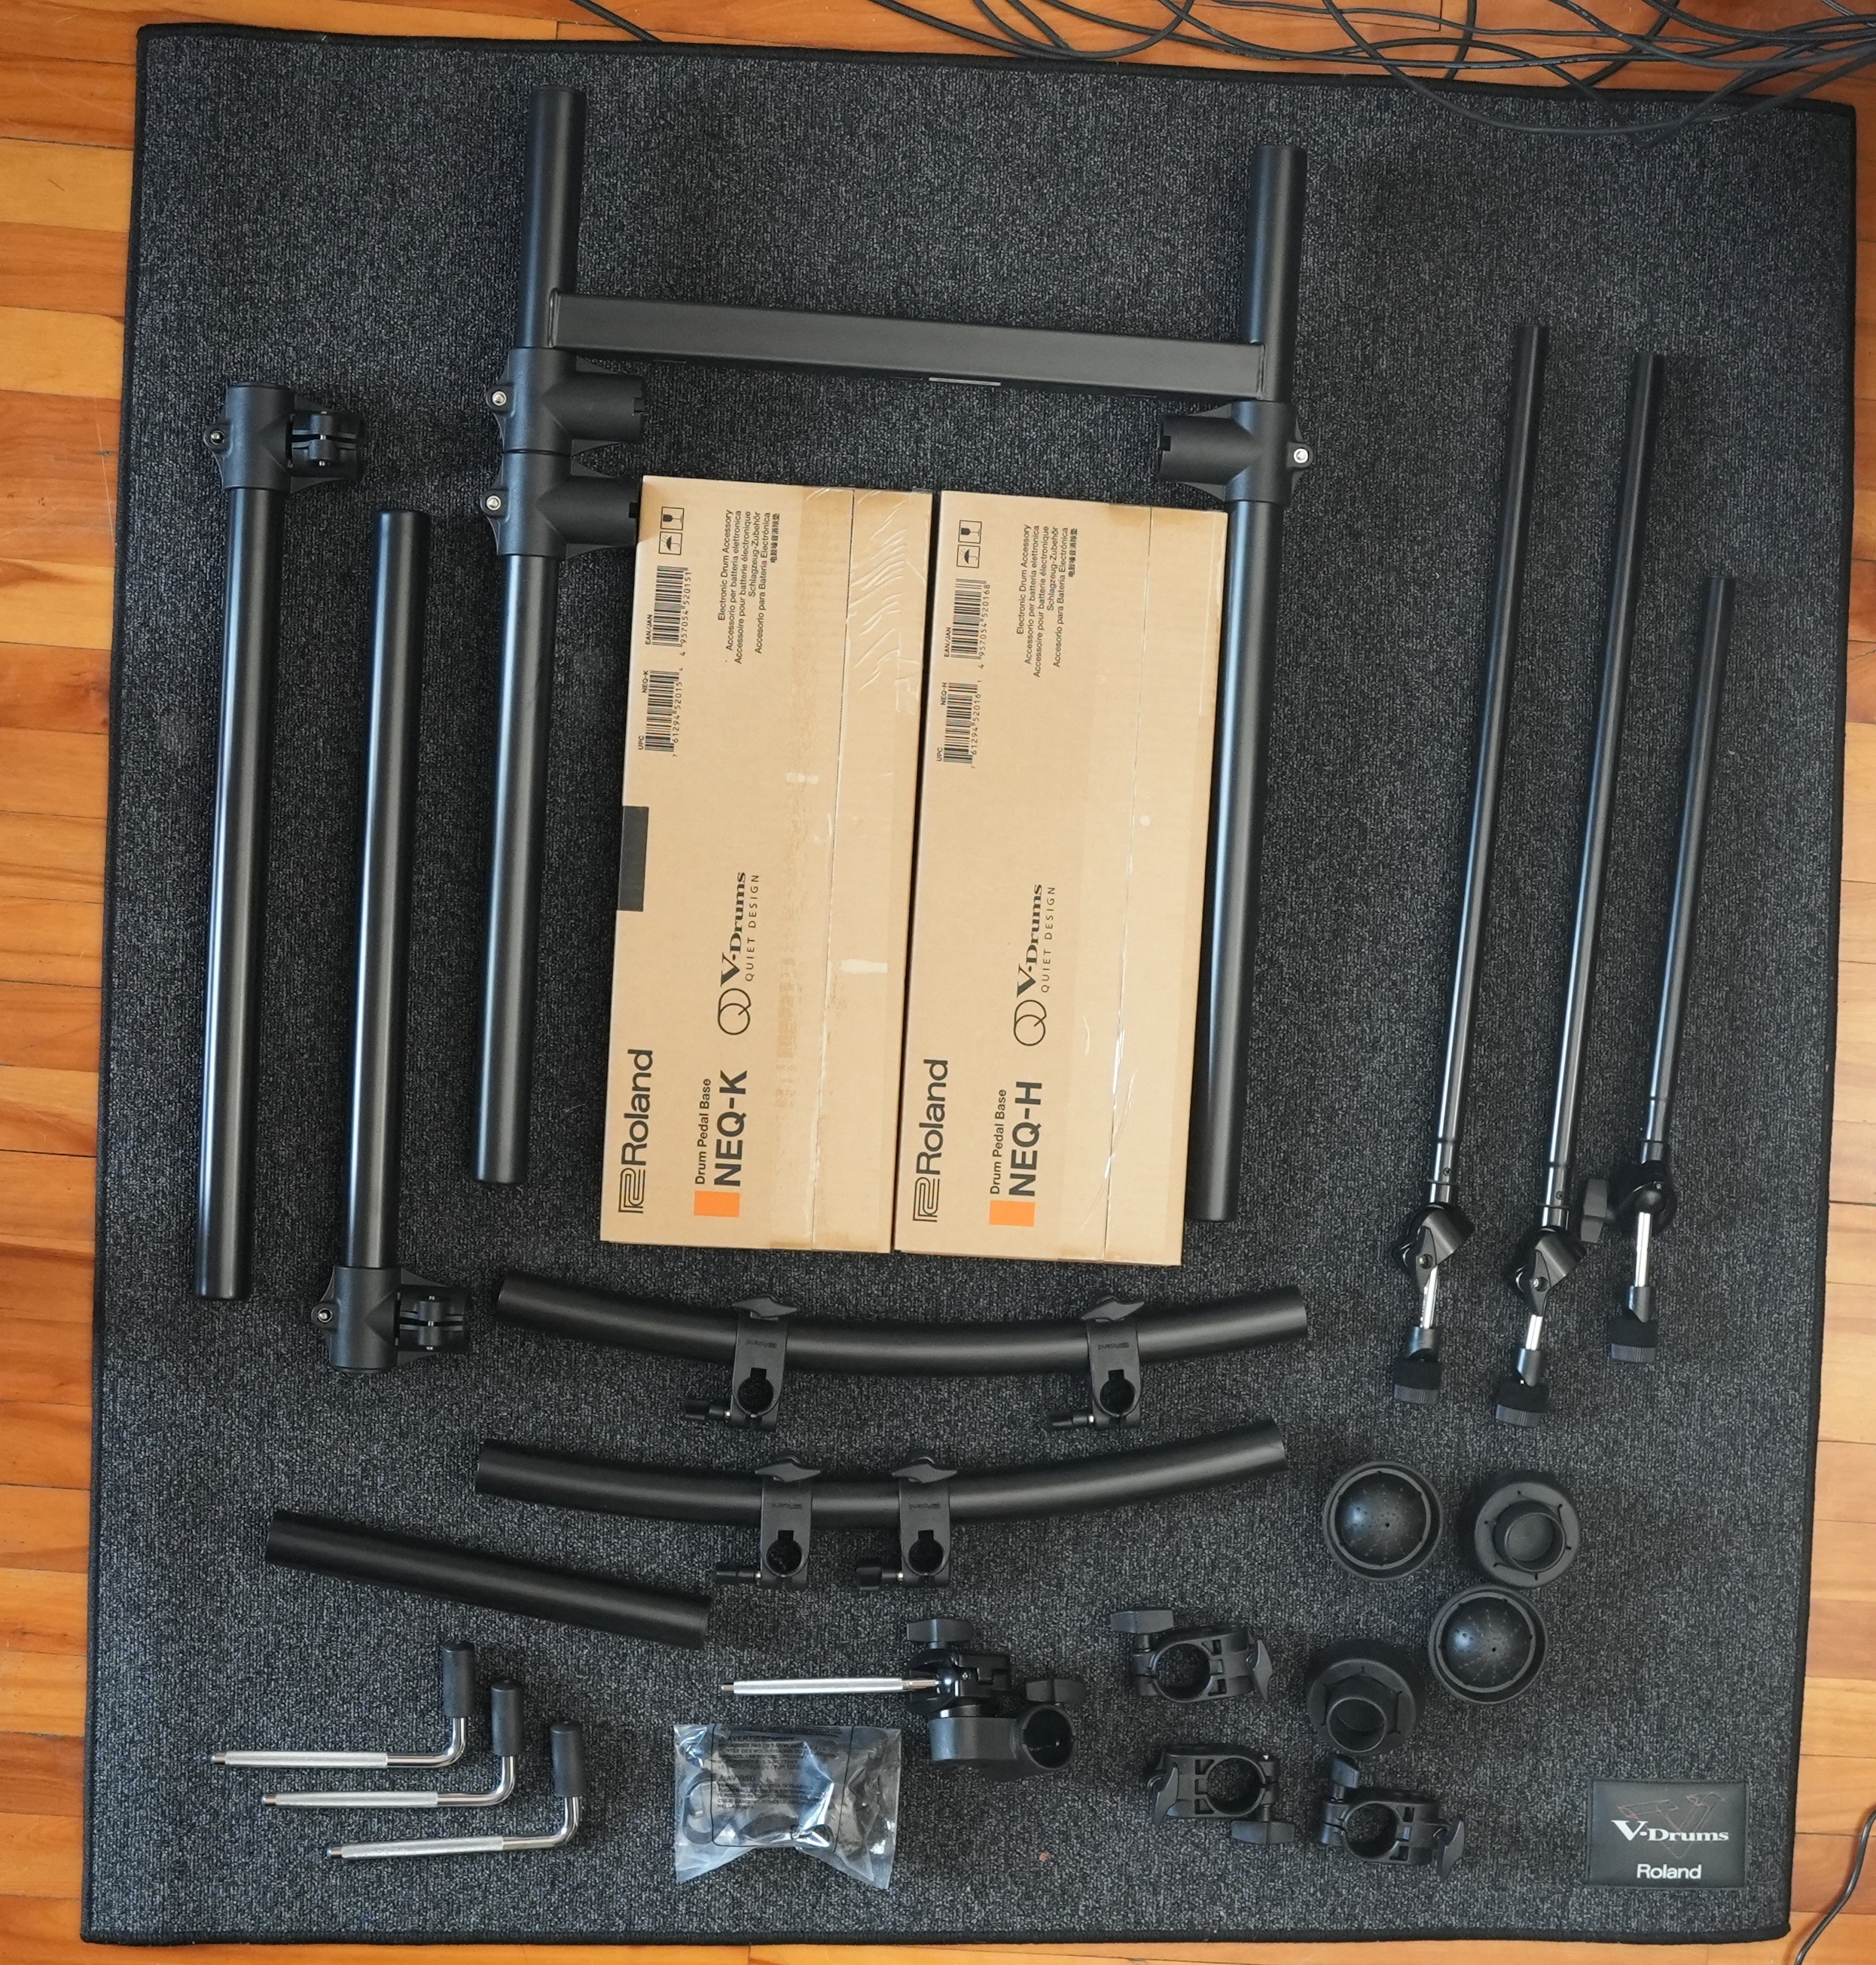
I did not open the boxes containing the NEQ-K and NEQ-H noise-isolating bases for the pedals because I did not want to mix them up, and I expected them to look rather similar. Later, I discovered that although the two noise-isolating bases do indeed appear similar, they are clearly and prominently labeled.
A drum key was provided in the small transparent plastic bag shown in the photograph.
MDS-Q Stand

The VQD-106 setup guide says that this step should take 15 minutes. Perhaps that would be the case if the parts had labels on them. Unfortunately, no parts are labeled, many parts look similar to each other, and the printed manual shows very tiny photographs that are too small to show important details.
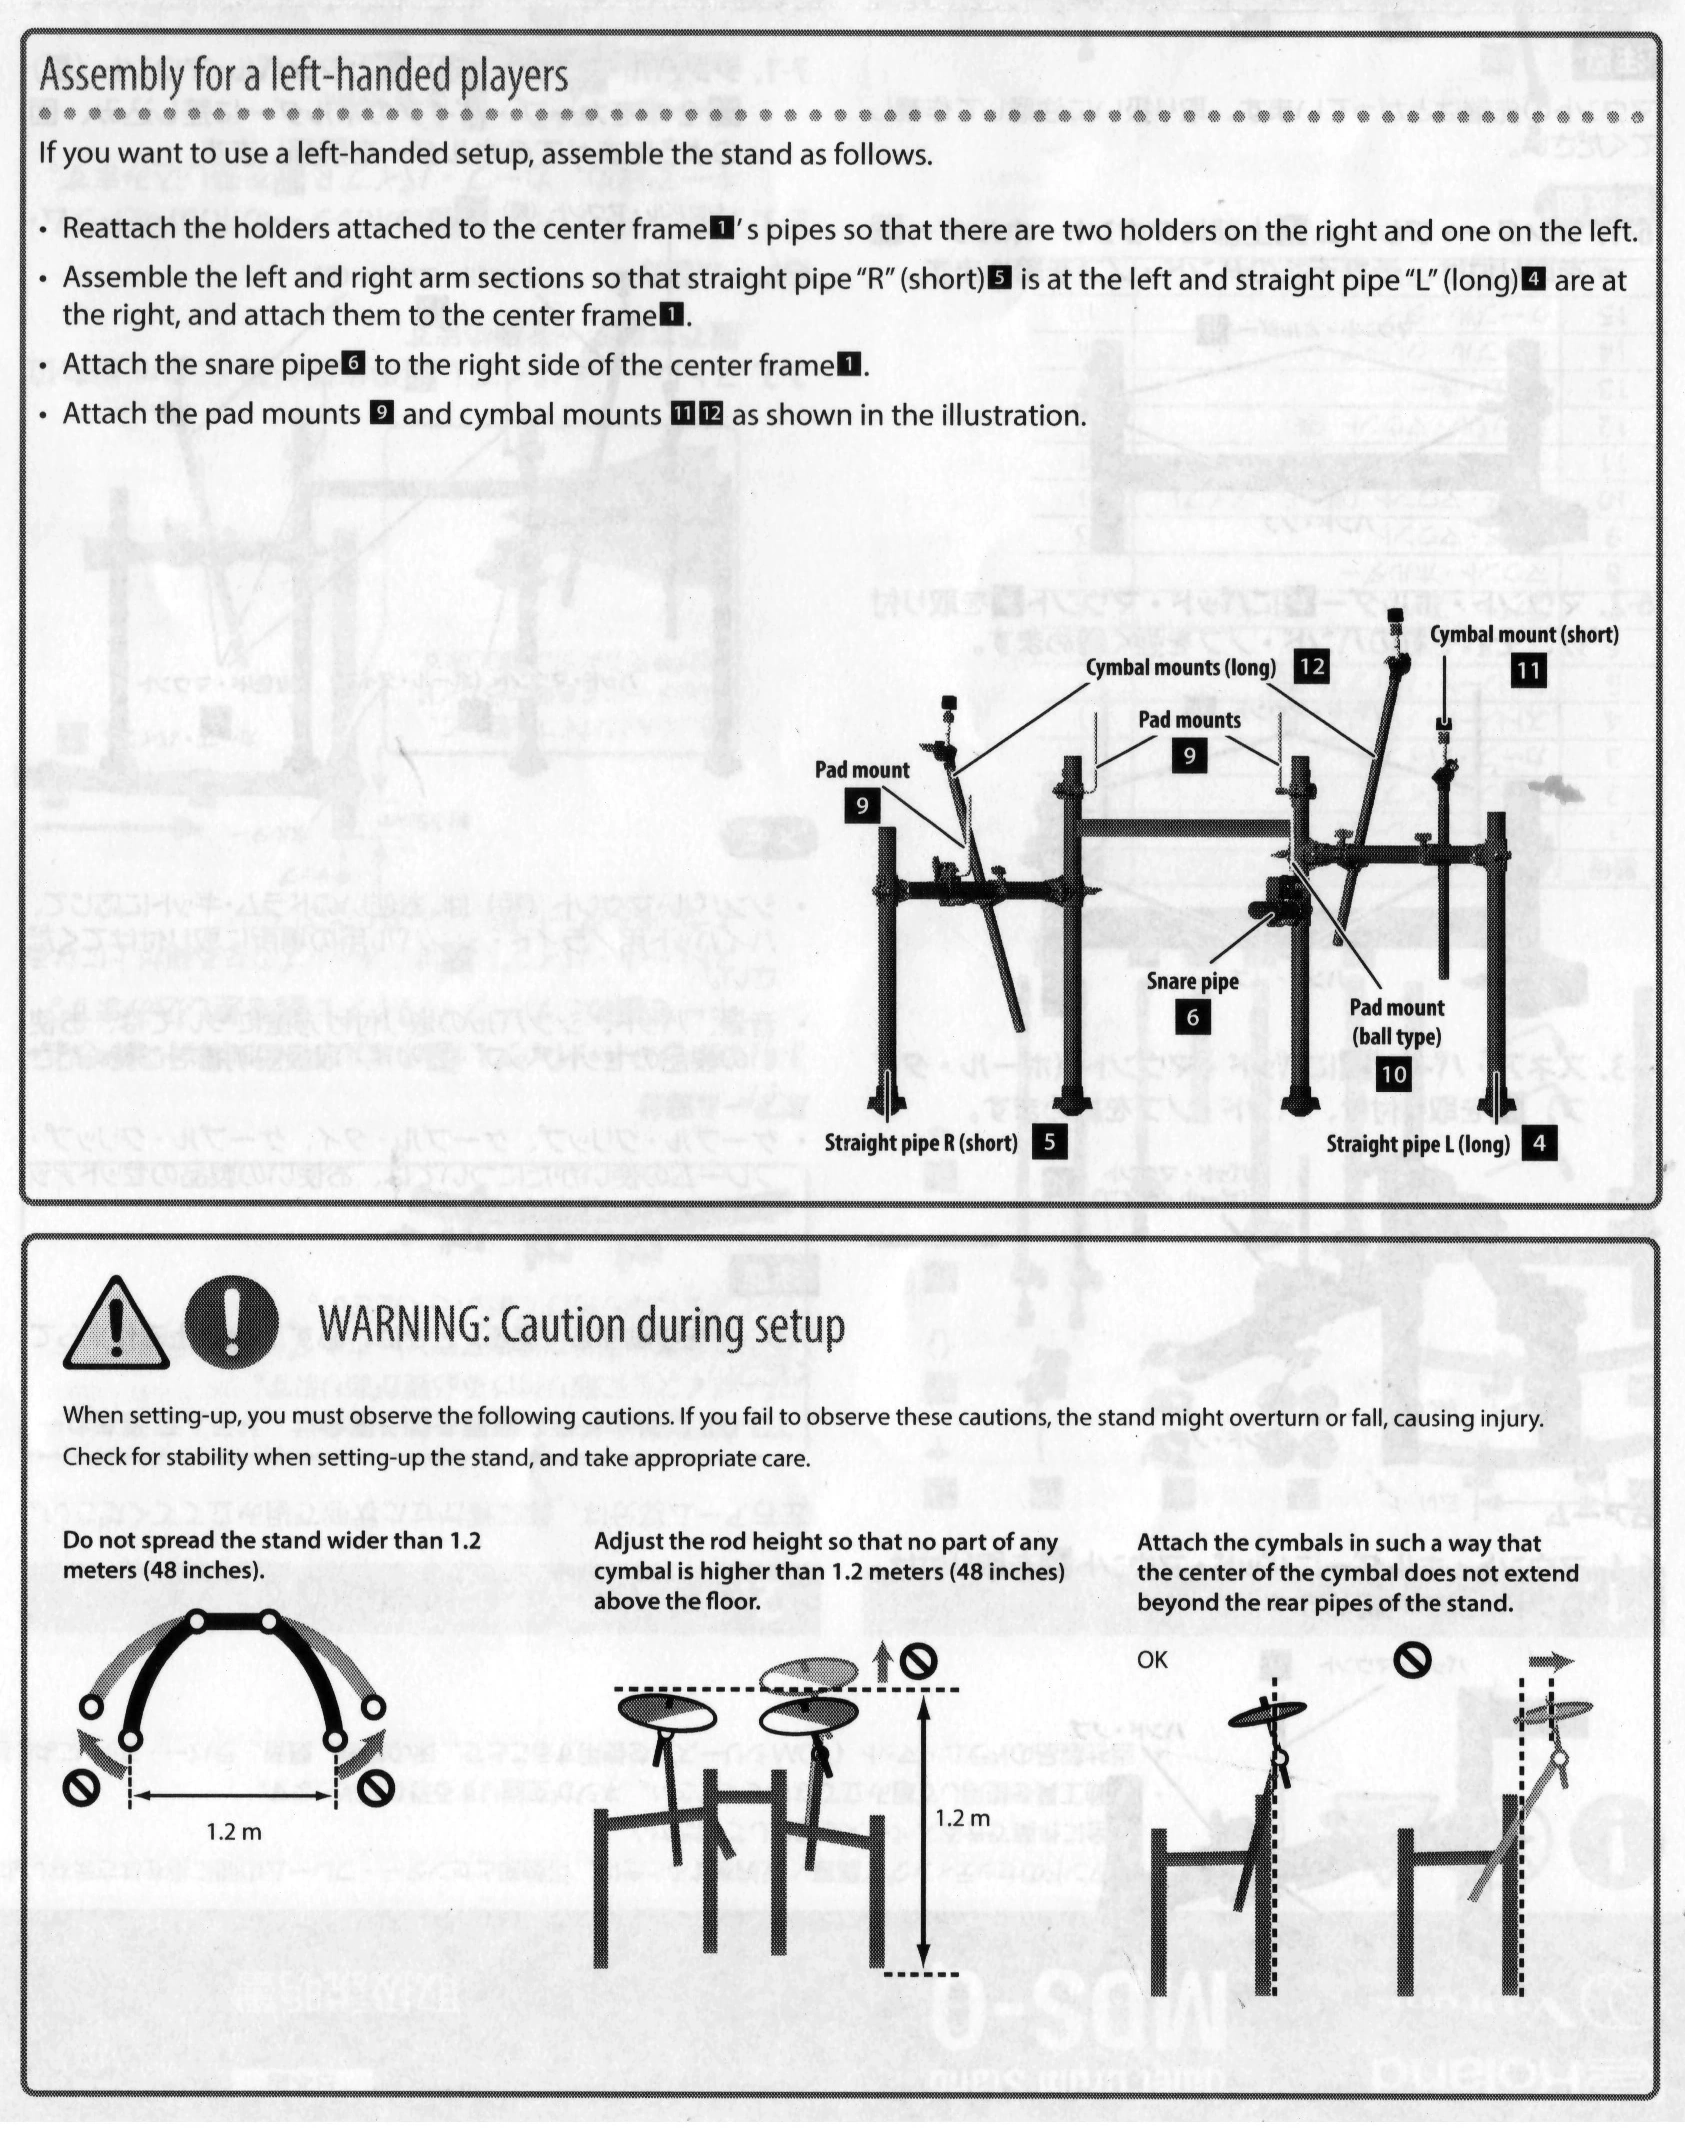
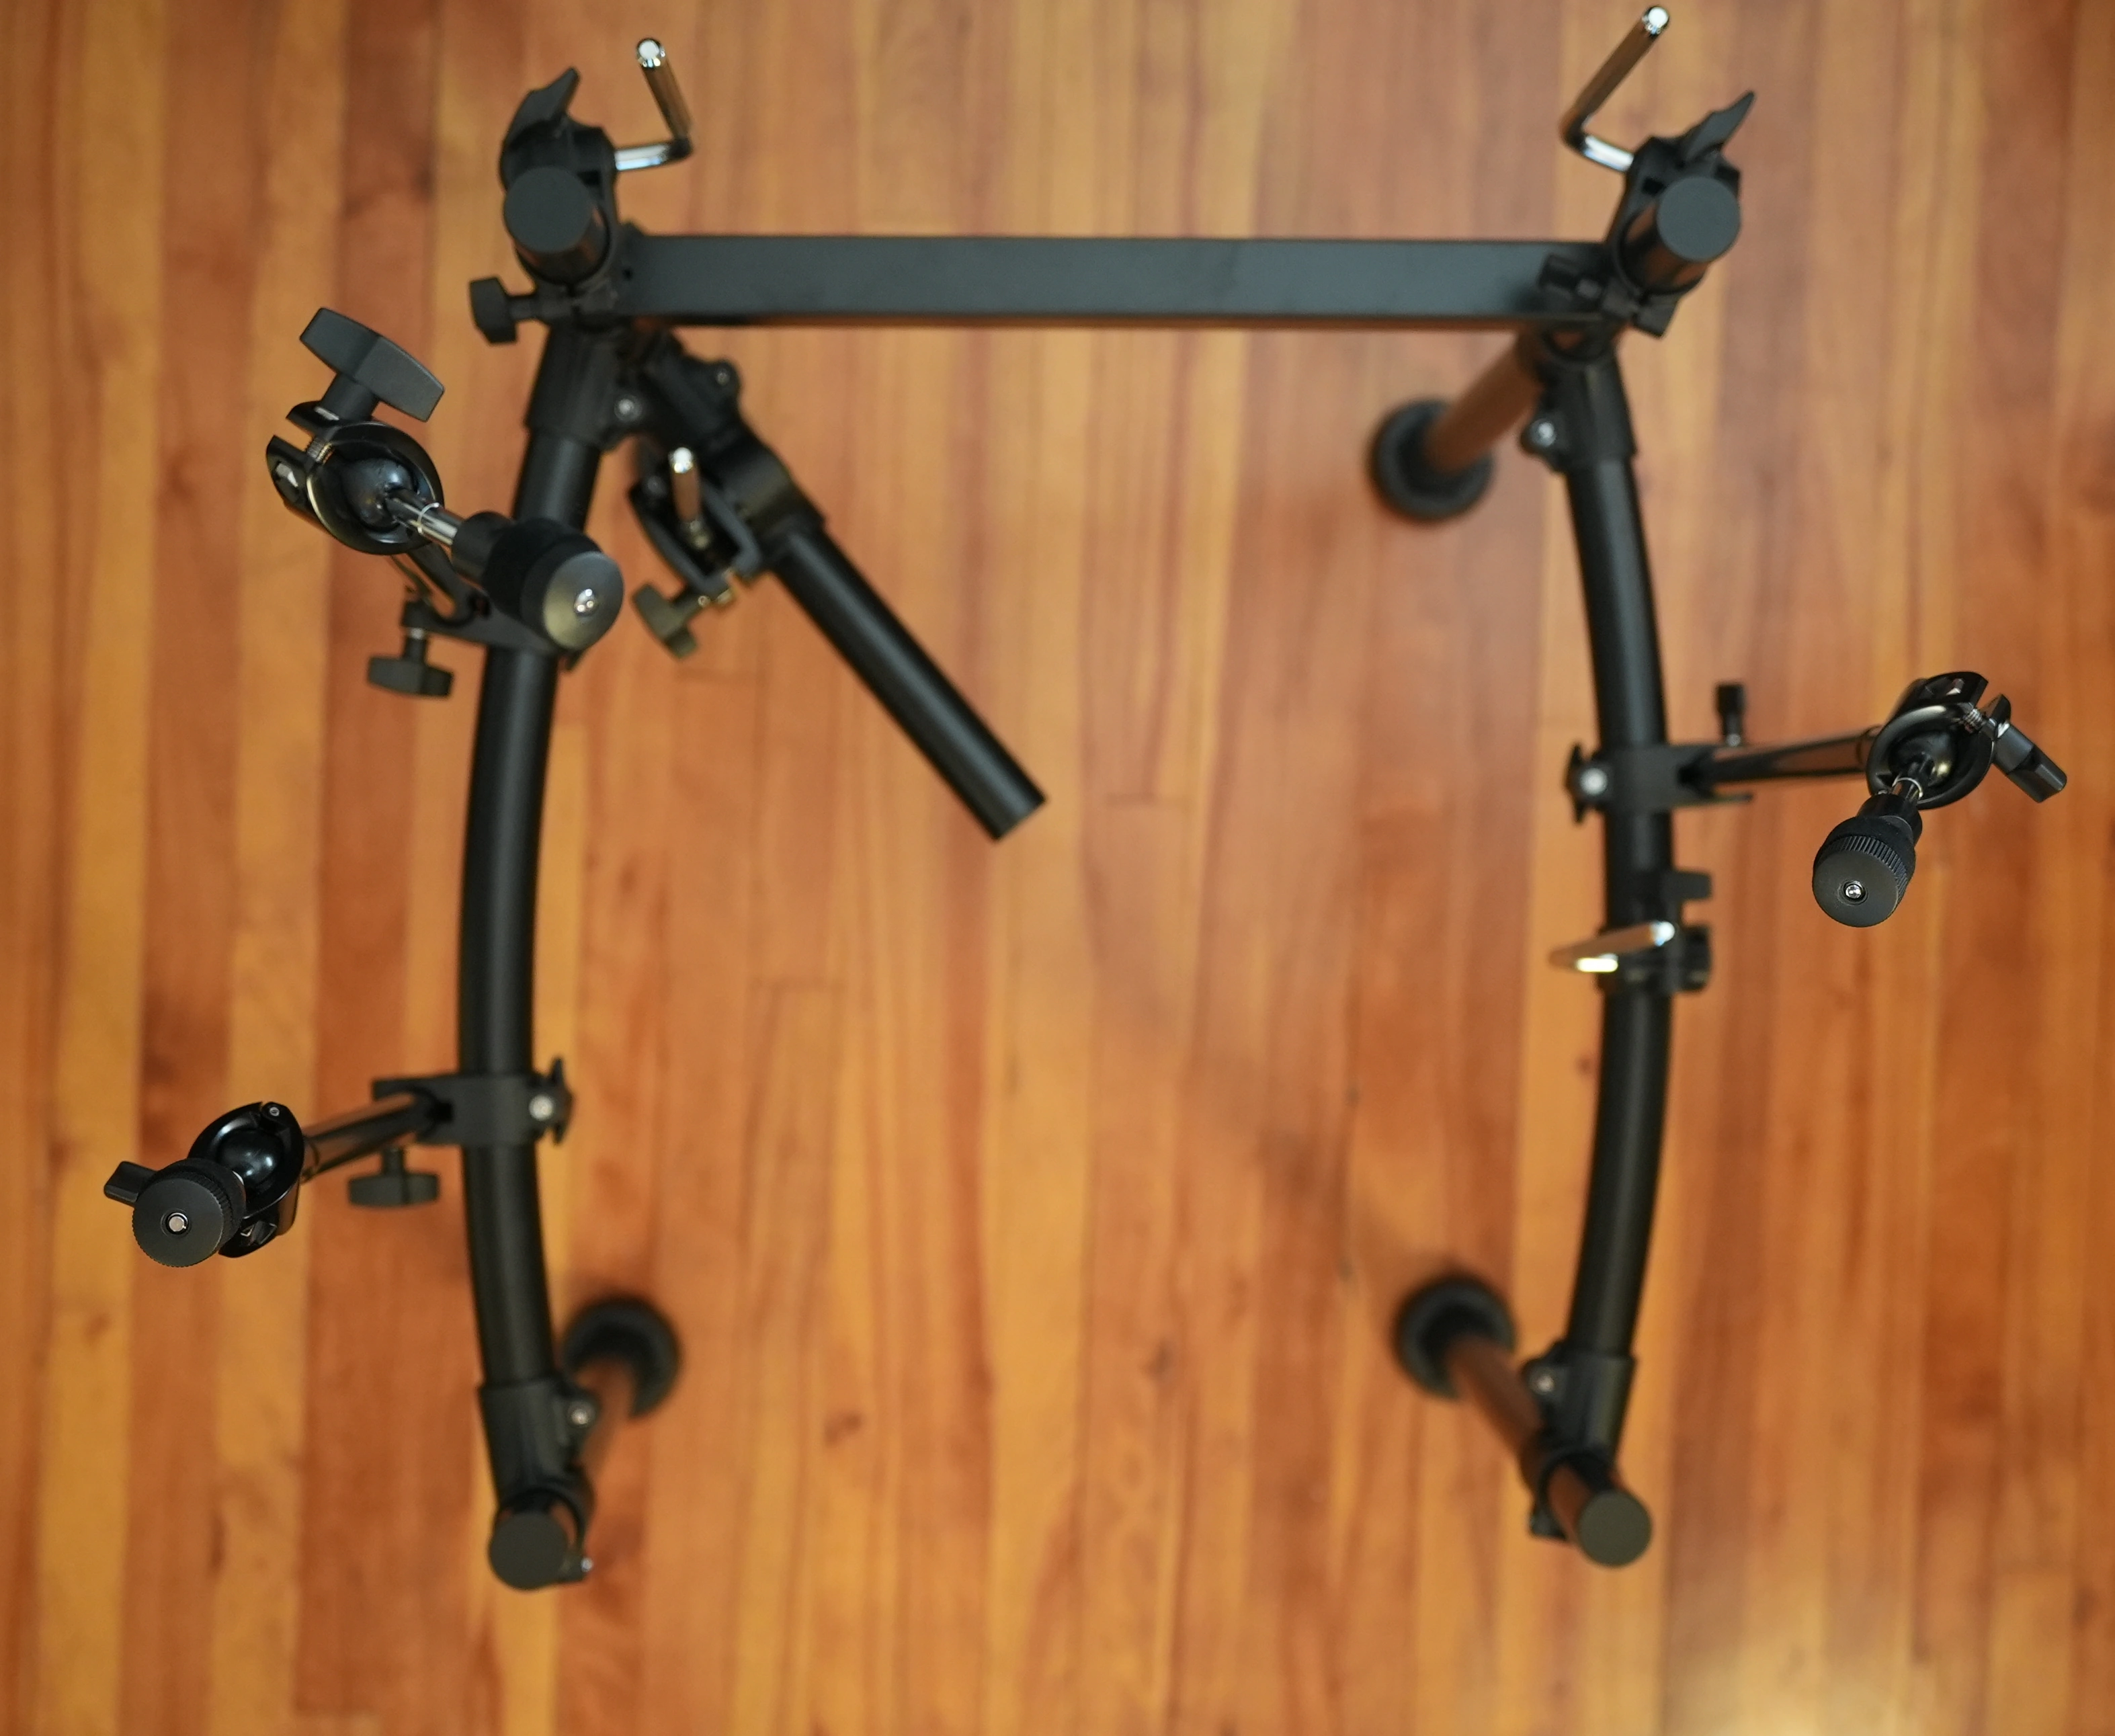
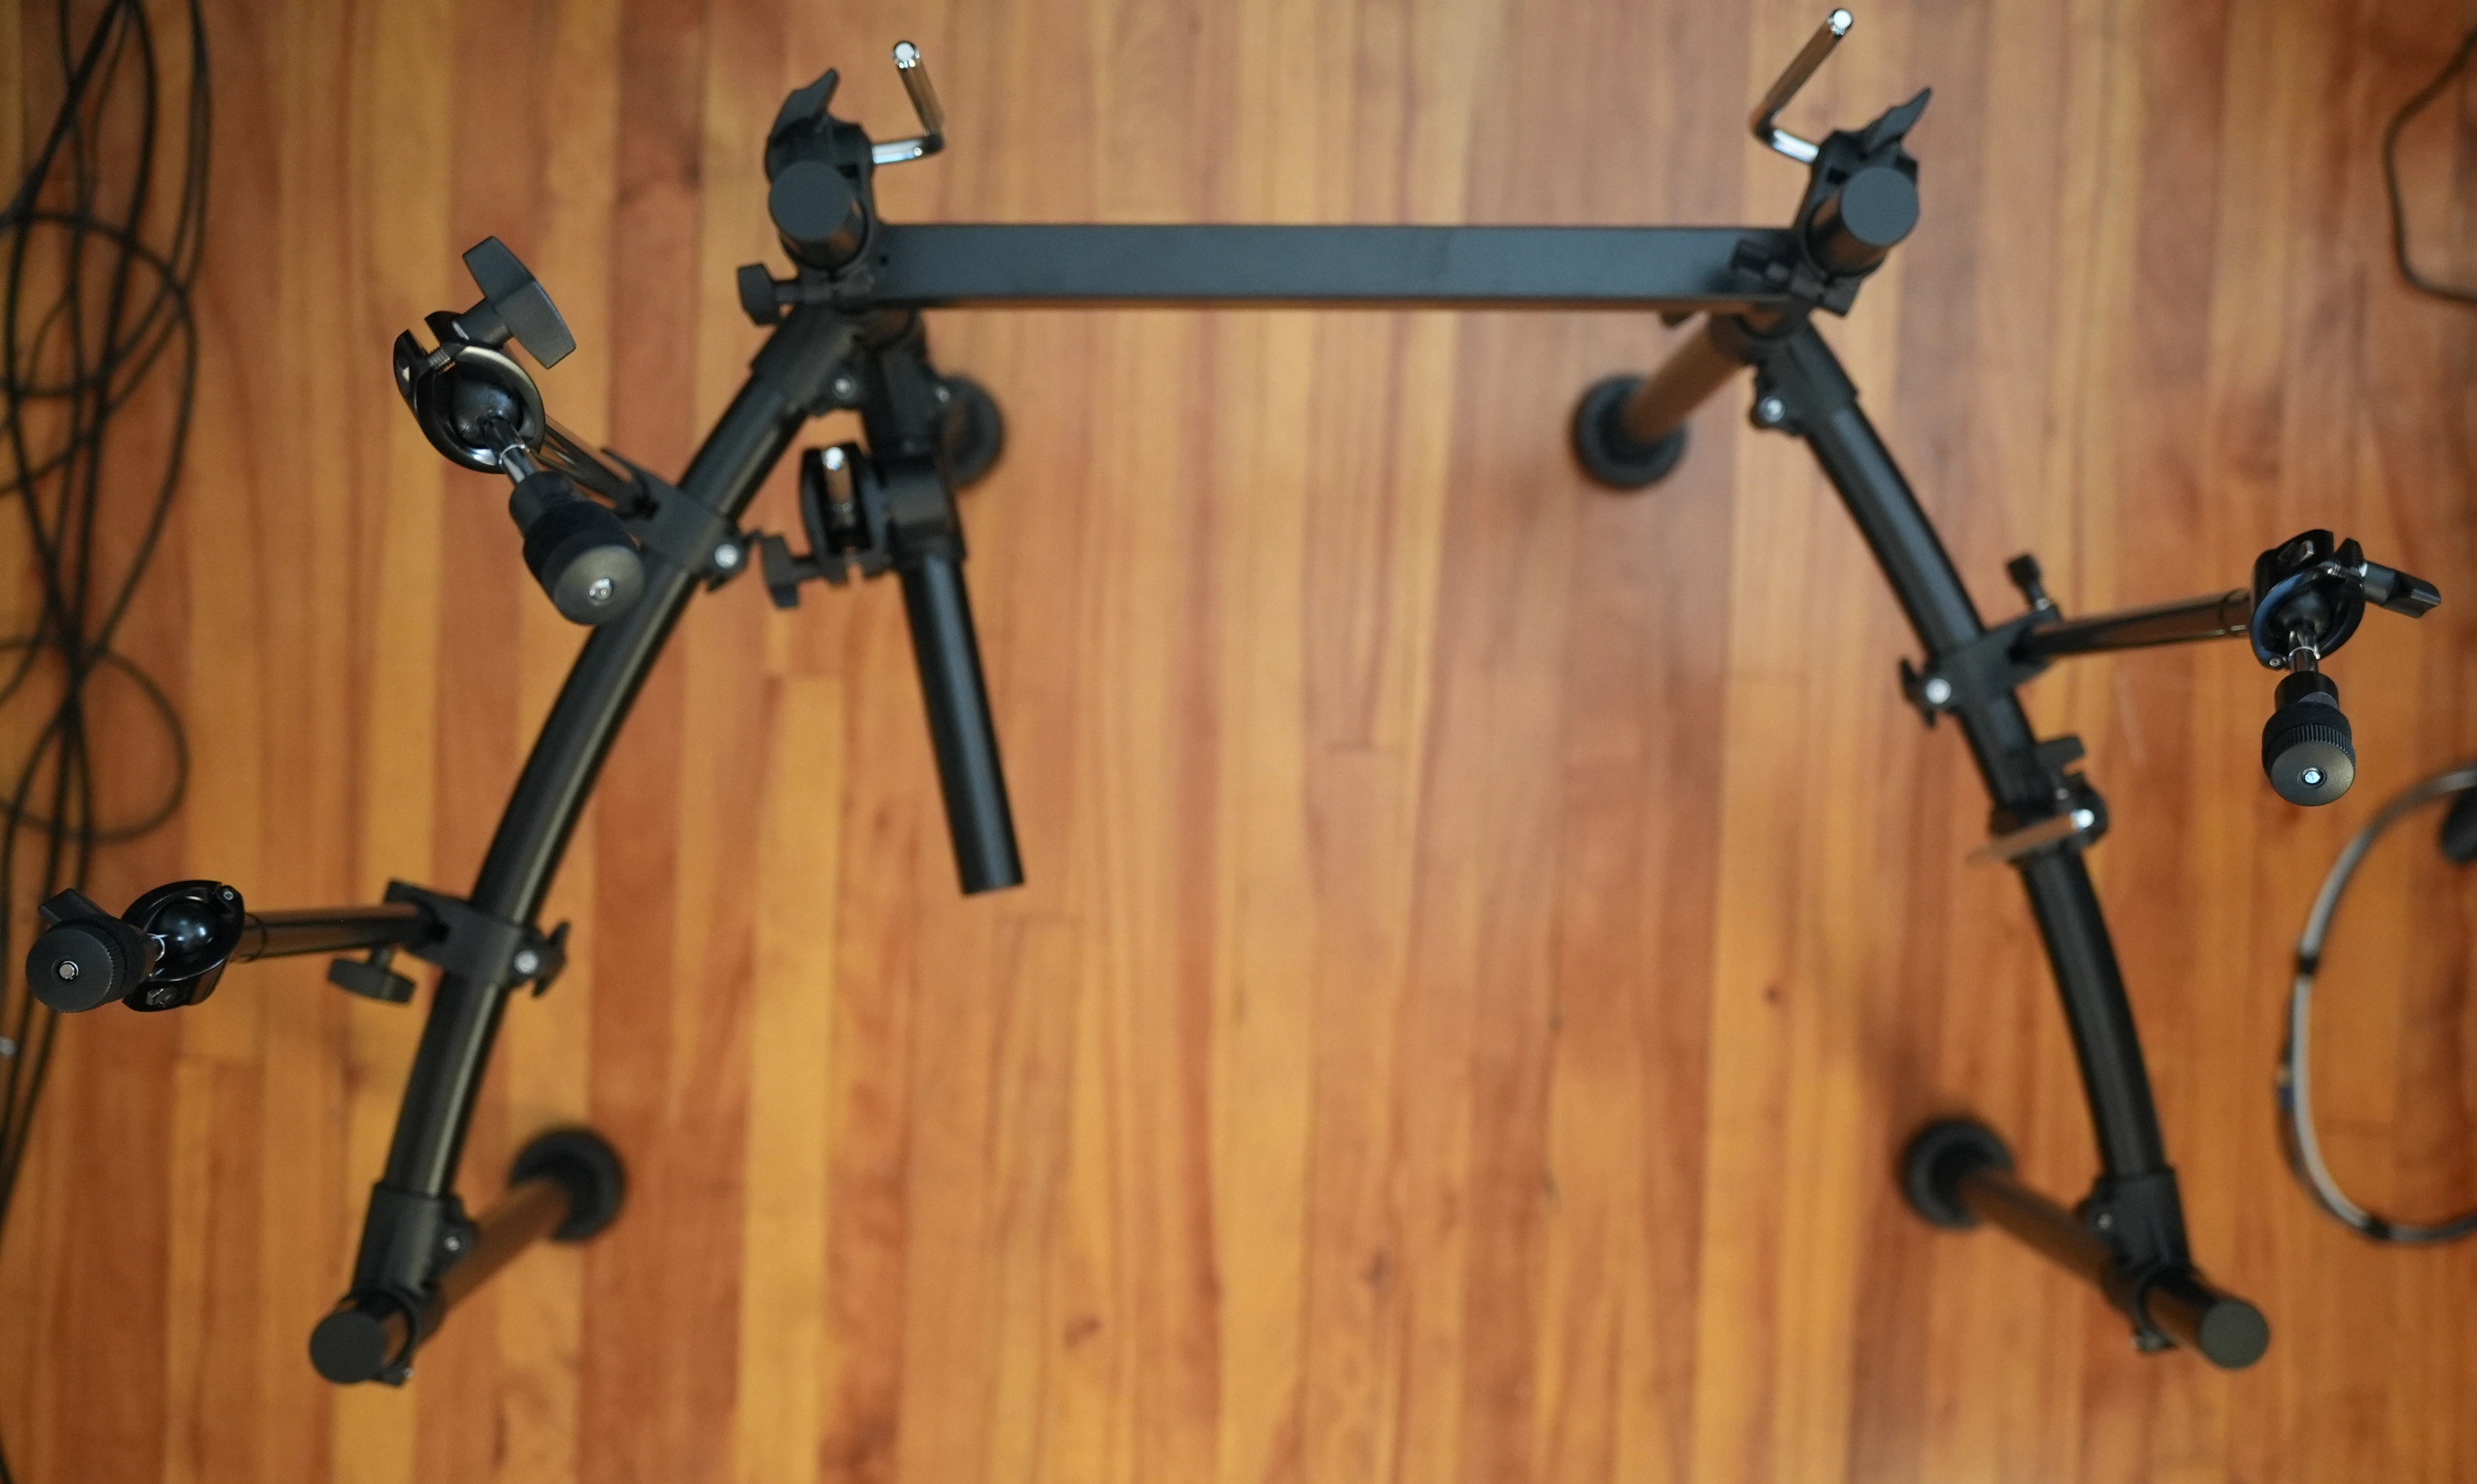
#2 (curved pipe L) and #3 (curved pipe R) can be inserted with the cymbal mount holder knobs facing up or down. While the overview photo shown at the beginning of this article shows the cymbal mount holder knobs facing down, the MDS-Q owner’s manual shows them facing up.
I decided to orient the curved pipes such that the cymbal mount holder knobs faced downwards. This orientation causes the cymbal mounts to be located outside the radius of the curved pipes. I do not yet know whether this is desirable or not.
The cymbal mount holders are not labeled as such anywhere in the instructions. #2 (curved pipe L) comes with two cymbal mount holders attached, and #3 (curved pipe R) comes with one cymbal mount holder attached. These cymbal mount holders are identical to the three unattached #8 (mount holders) included, and they can also clamp other things in place.
The following annotated image was enlarged from a portion of page 1 of the printed MDS-Q owner’s manual.
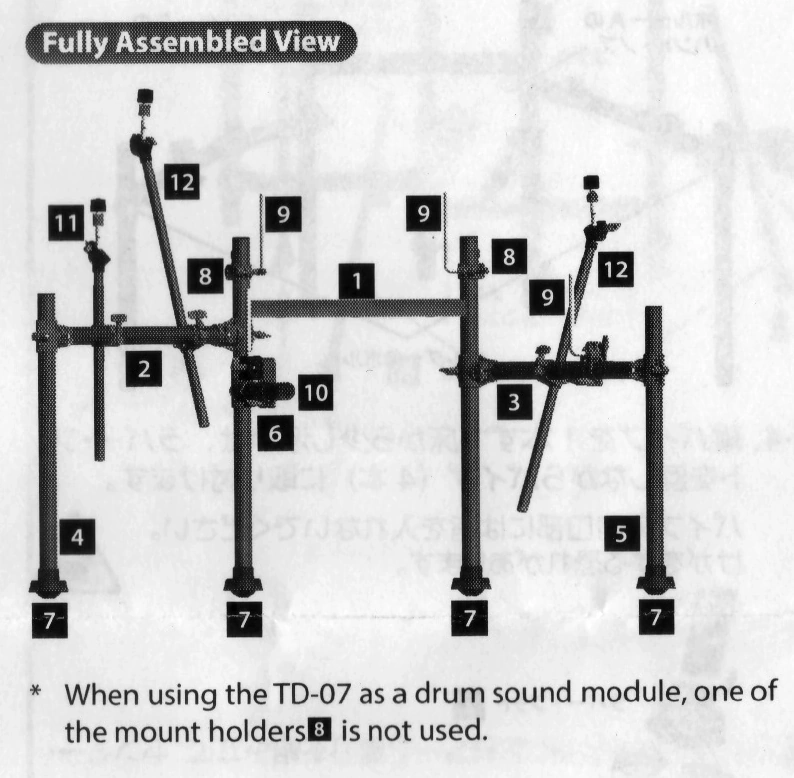
Unfortunately, the three cymbal mount holders that were attached in the factory to curved pipes #2 and #3 are not labeled in the above image. Arrows or circles should have been used for this purpose.
Because the MDS-Q owner’s manual provided in the box is apparently not available online, here it is:
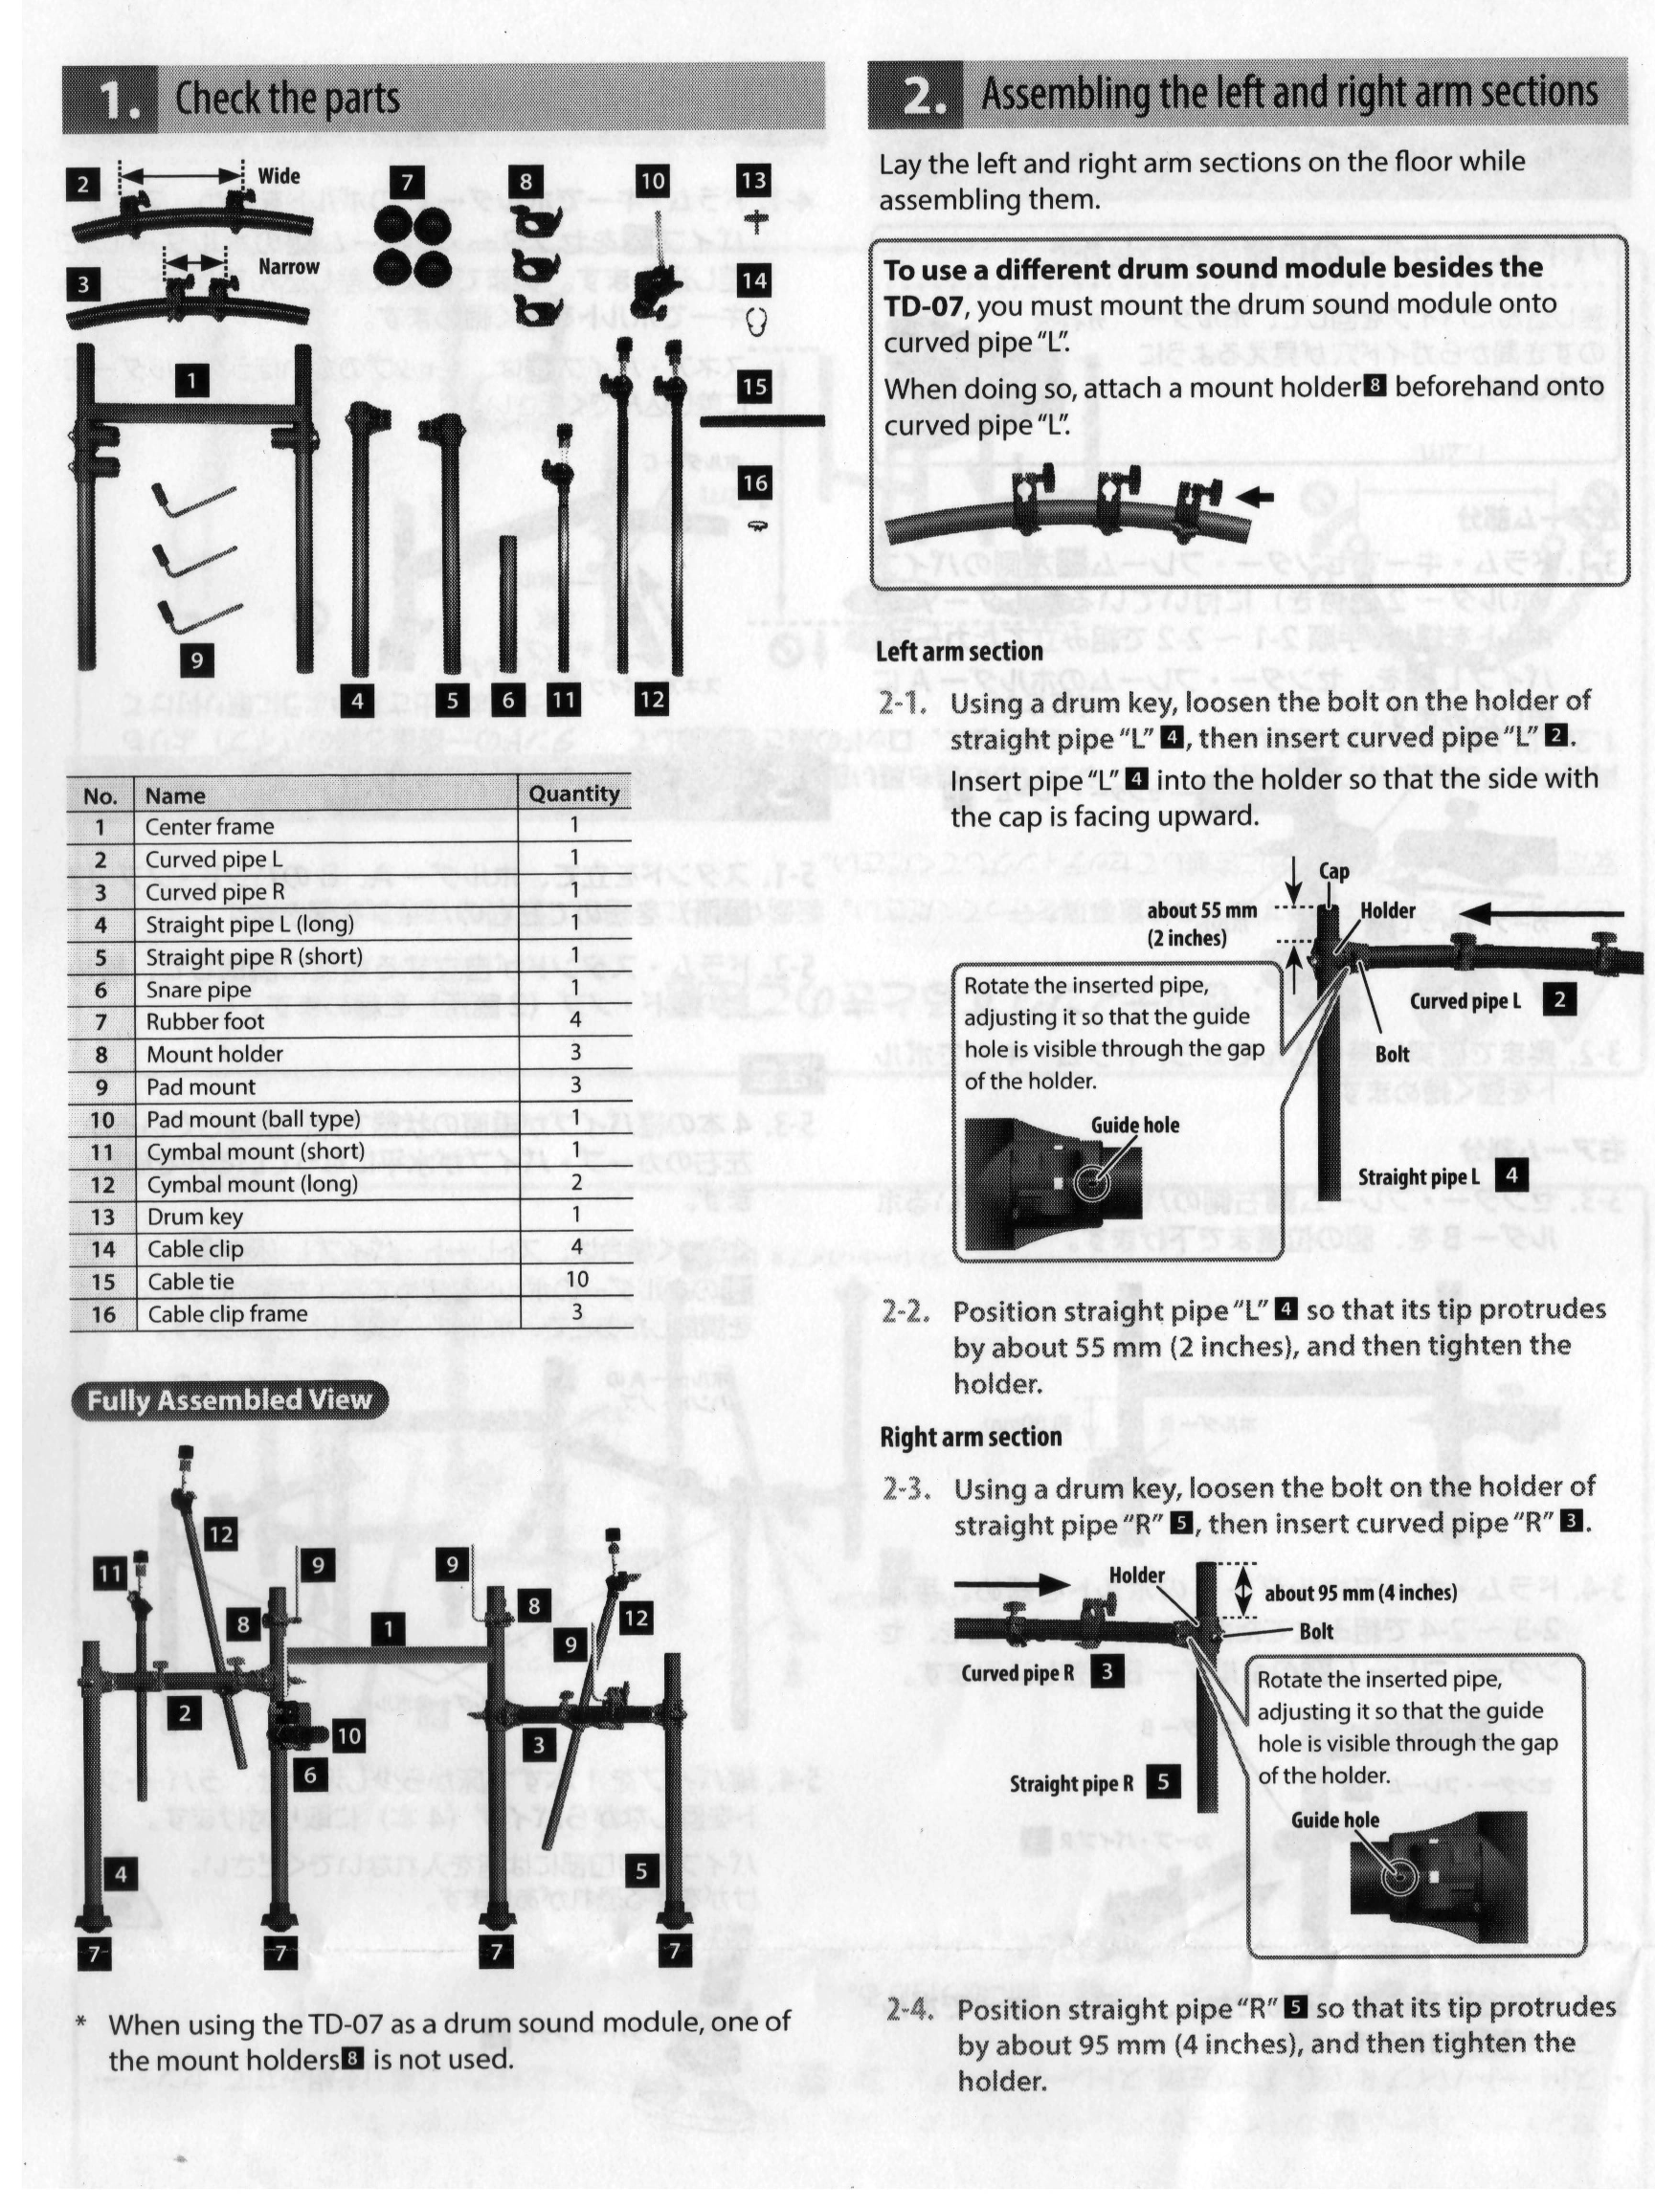
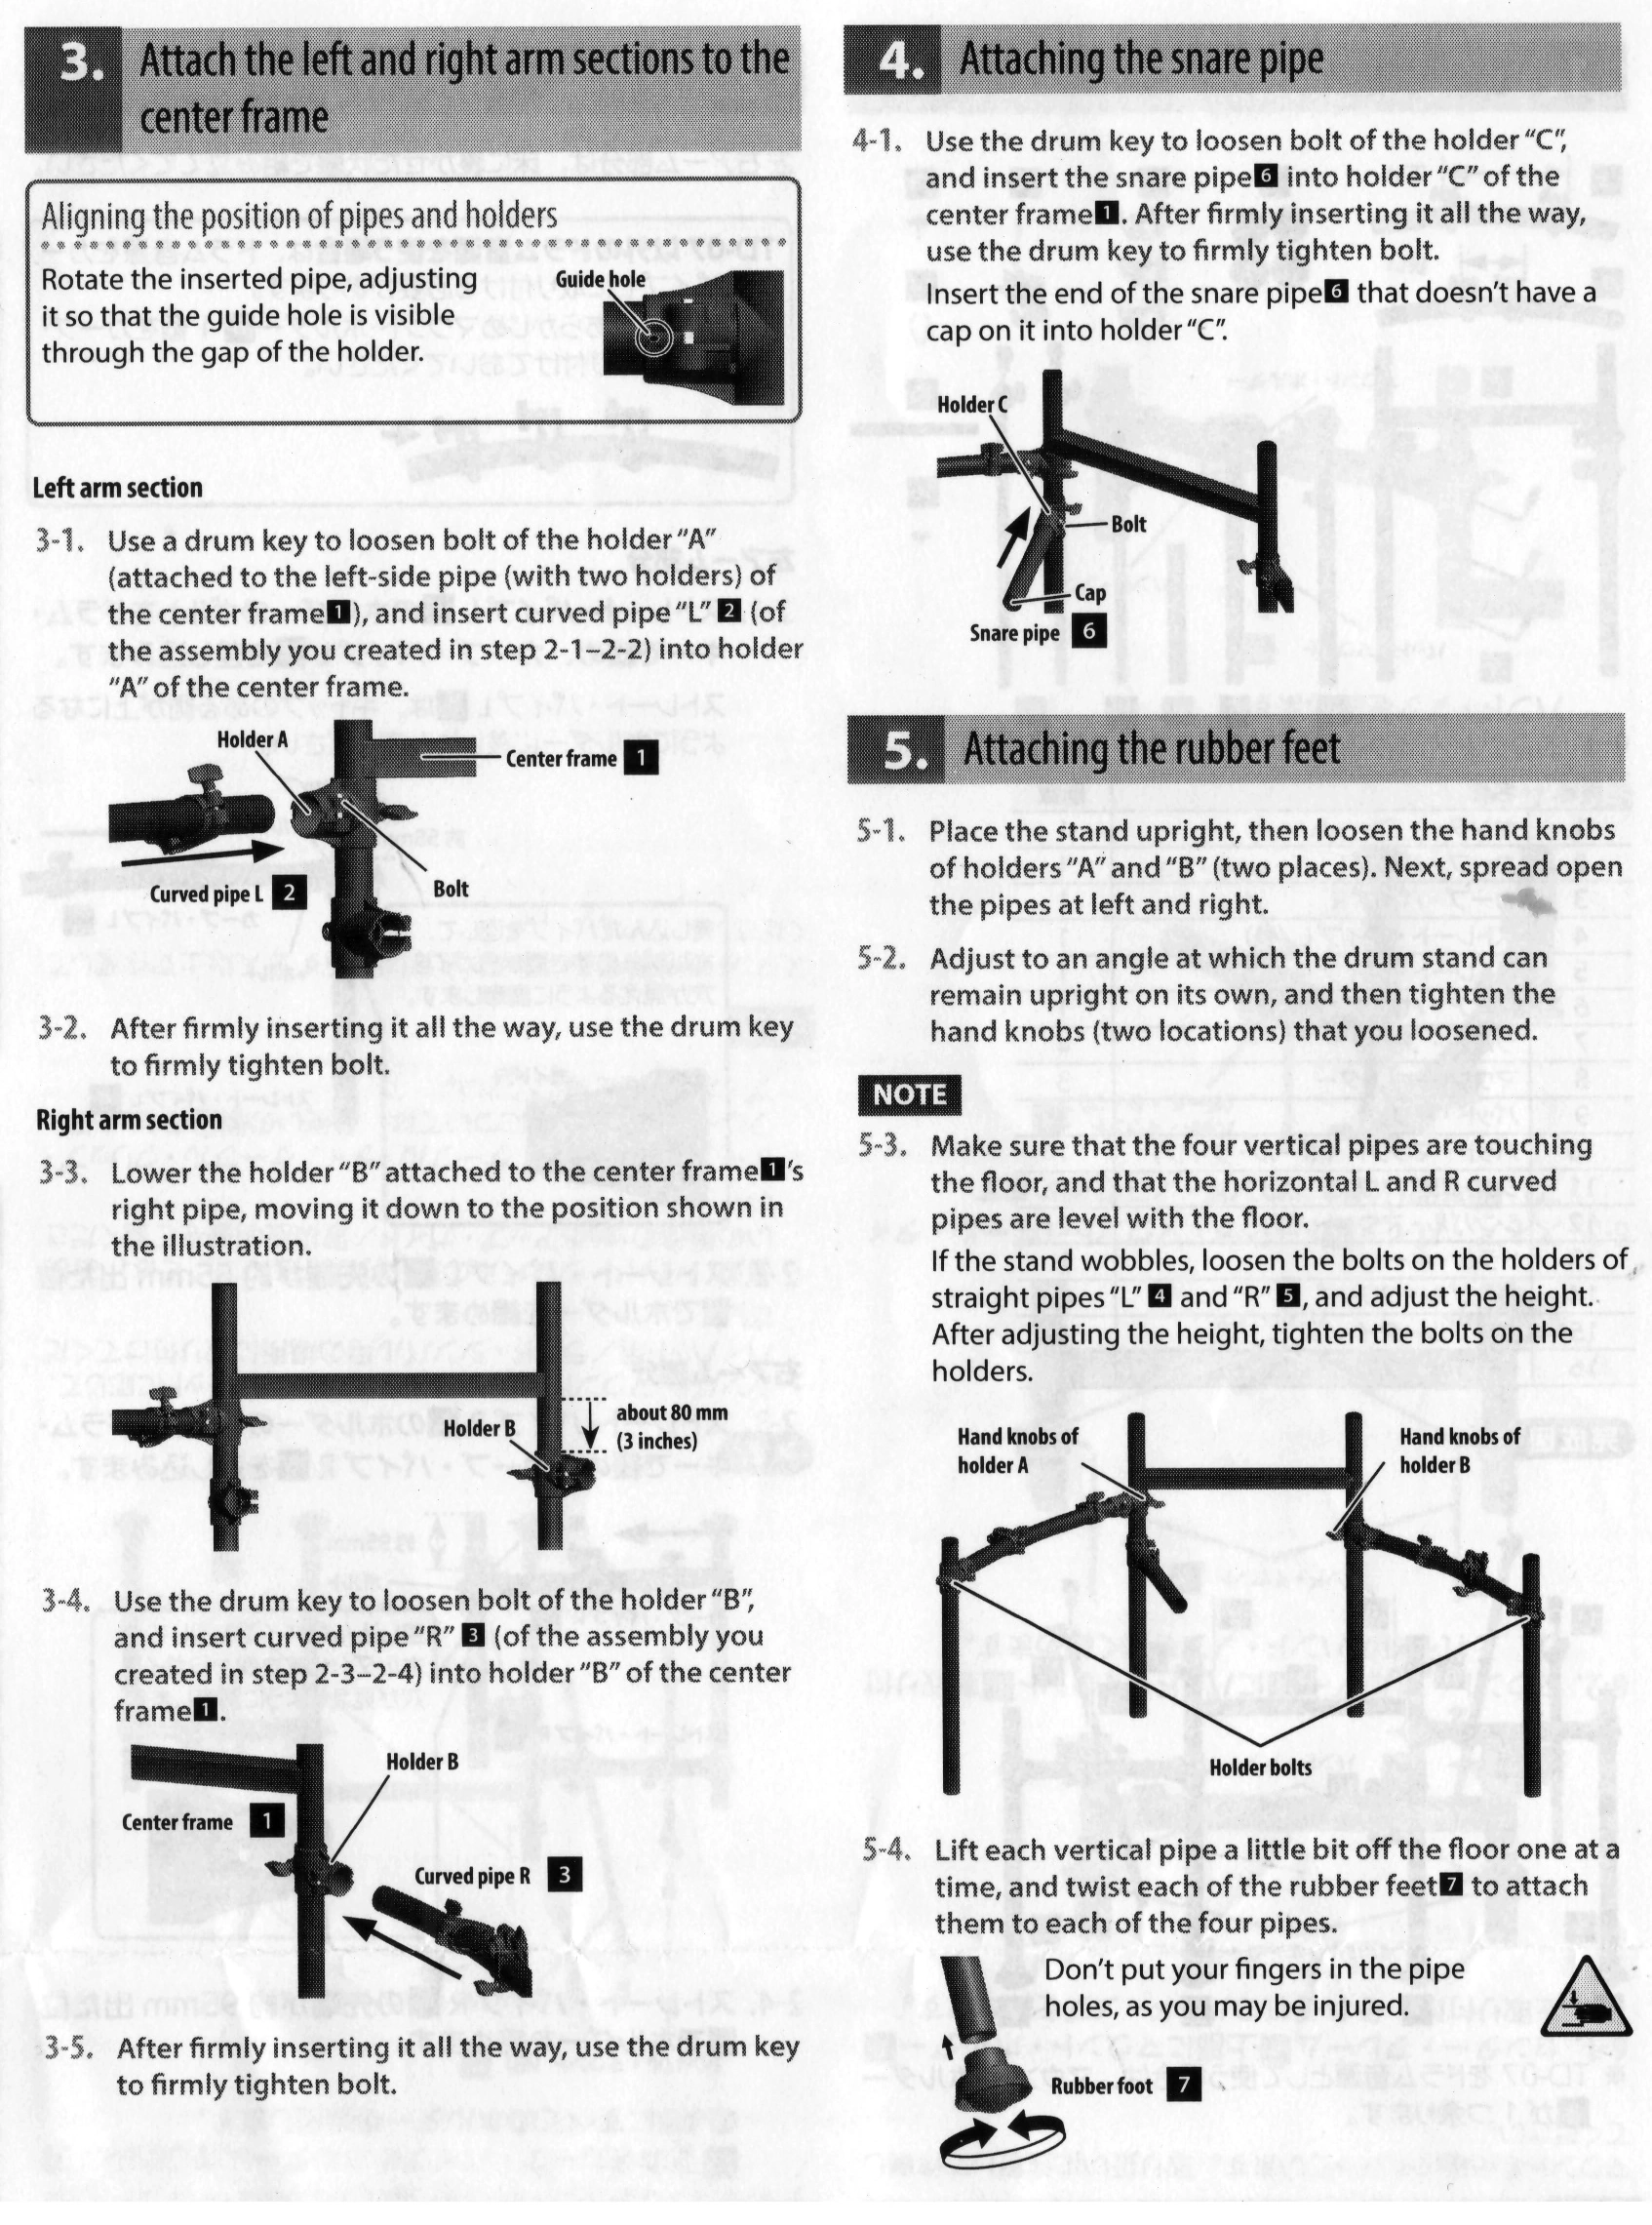
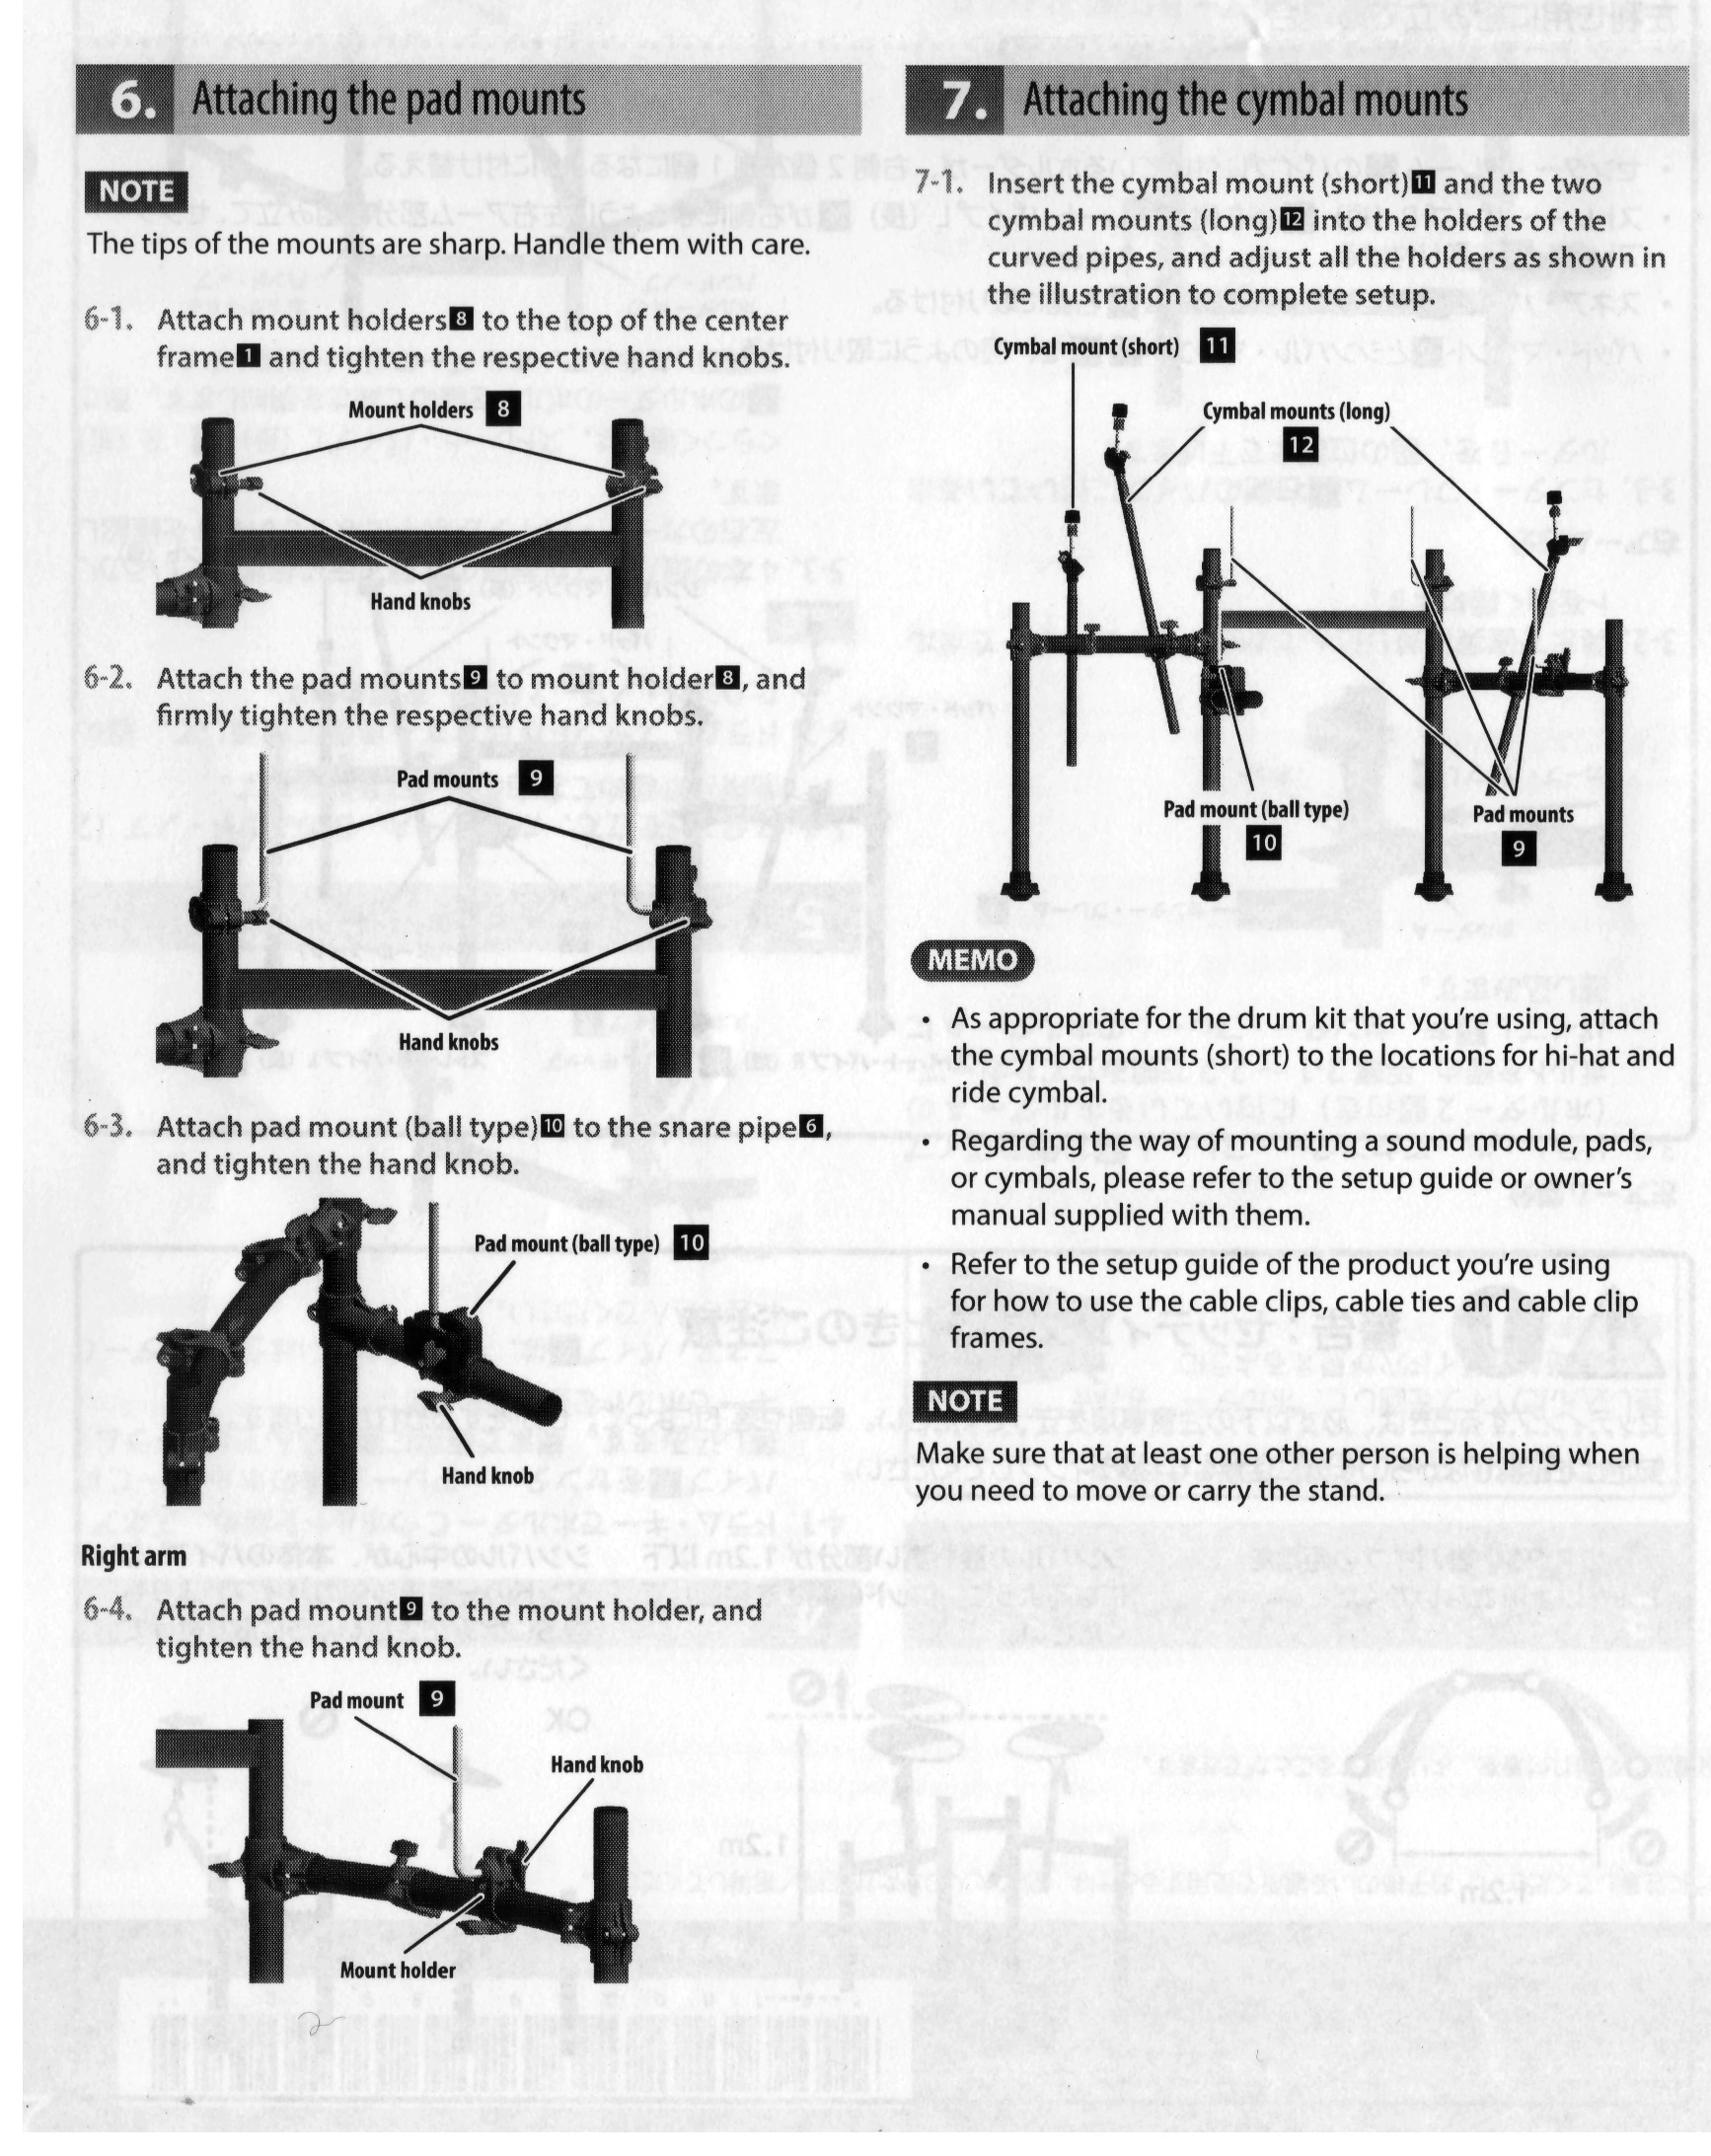
Two photographs of the partially assembled VQD-106 as it existed at this point follow.
VQD 106-1 Box
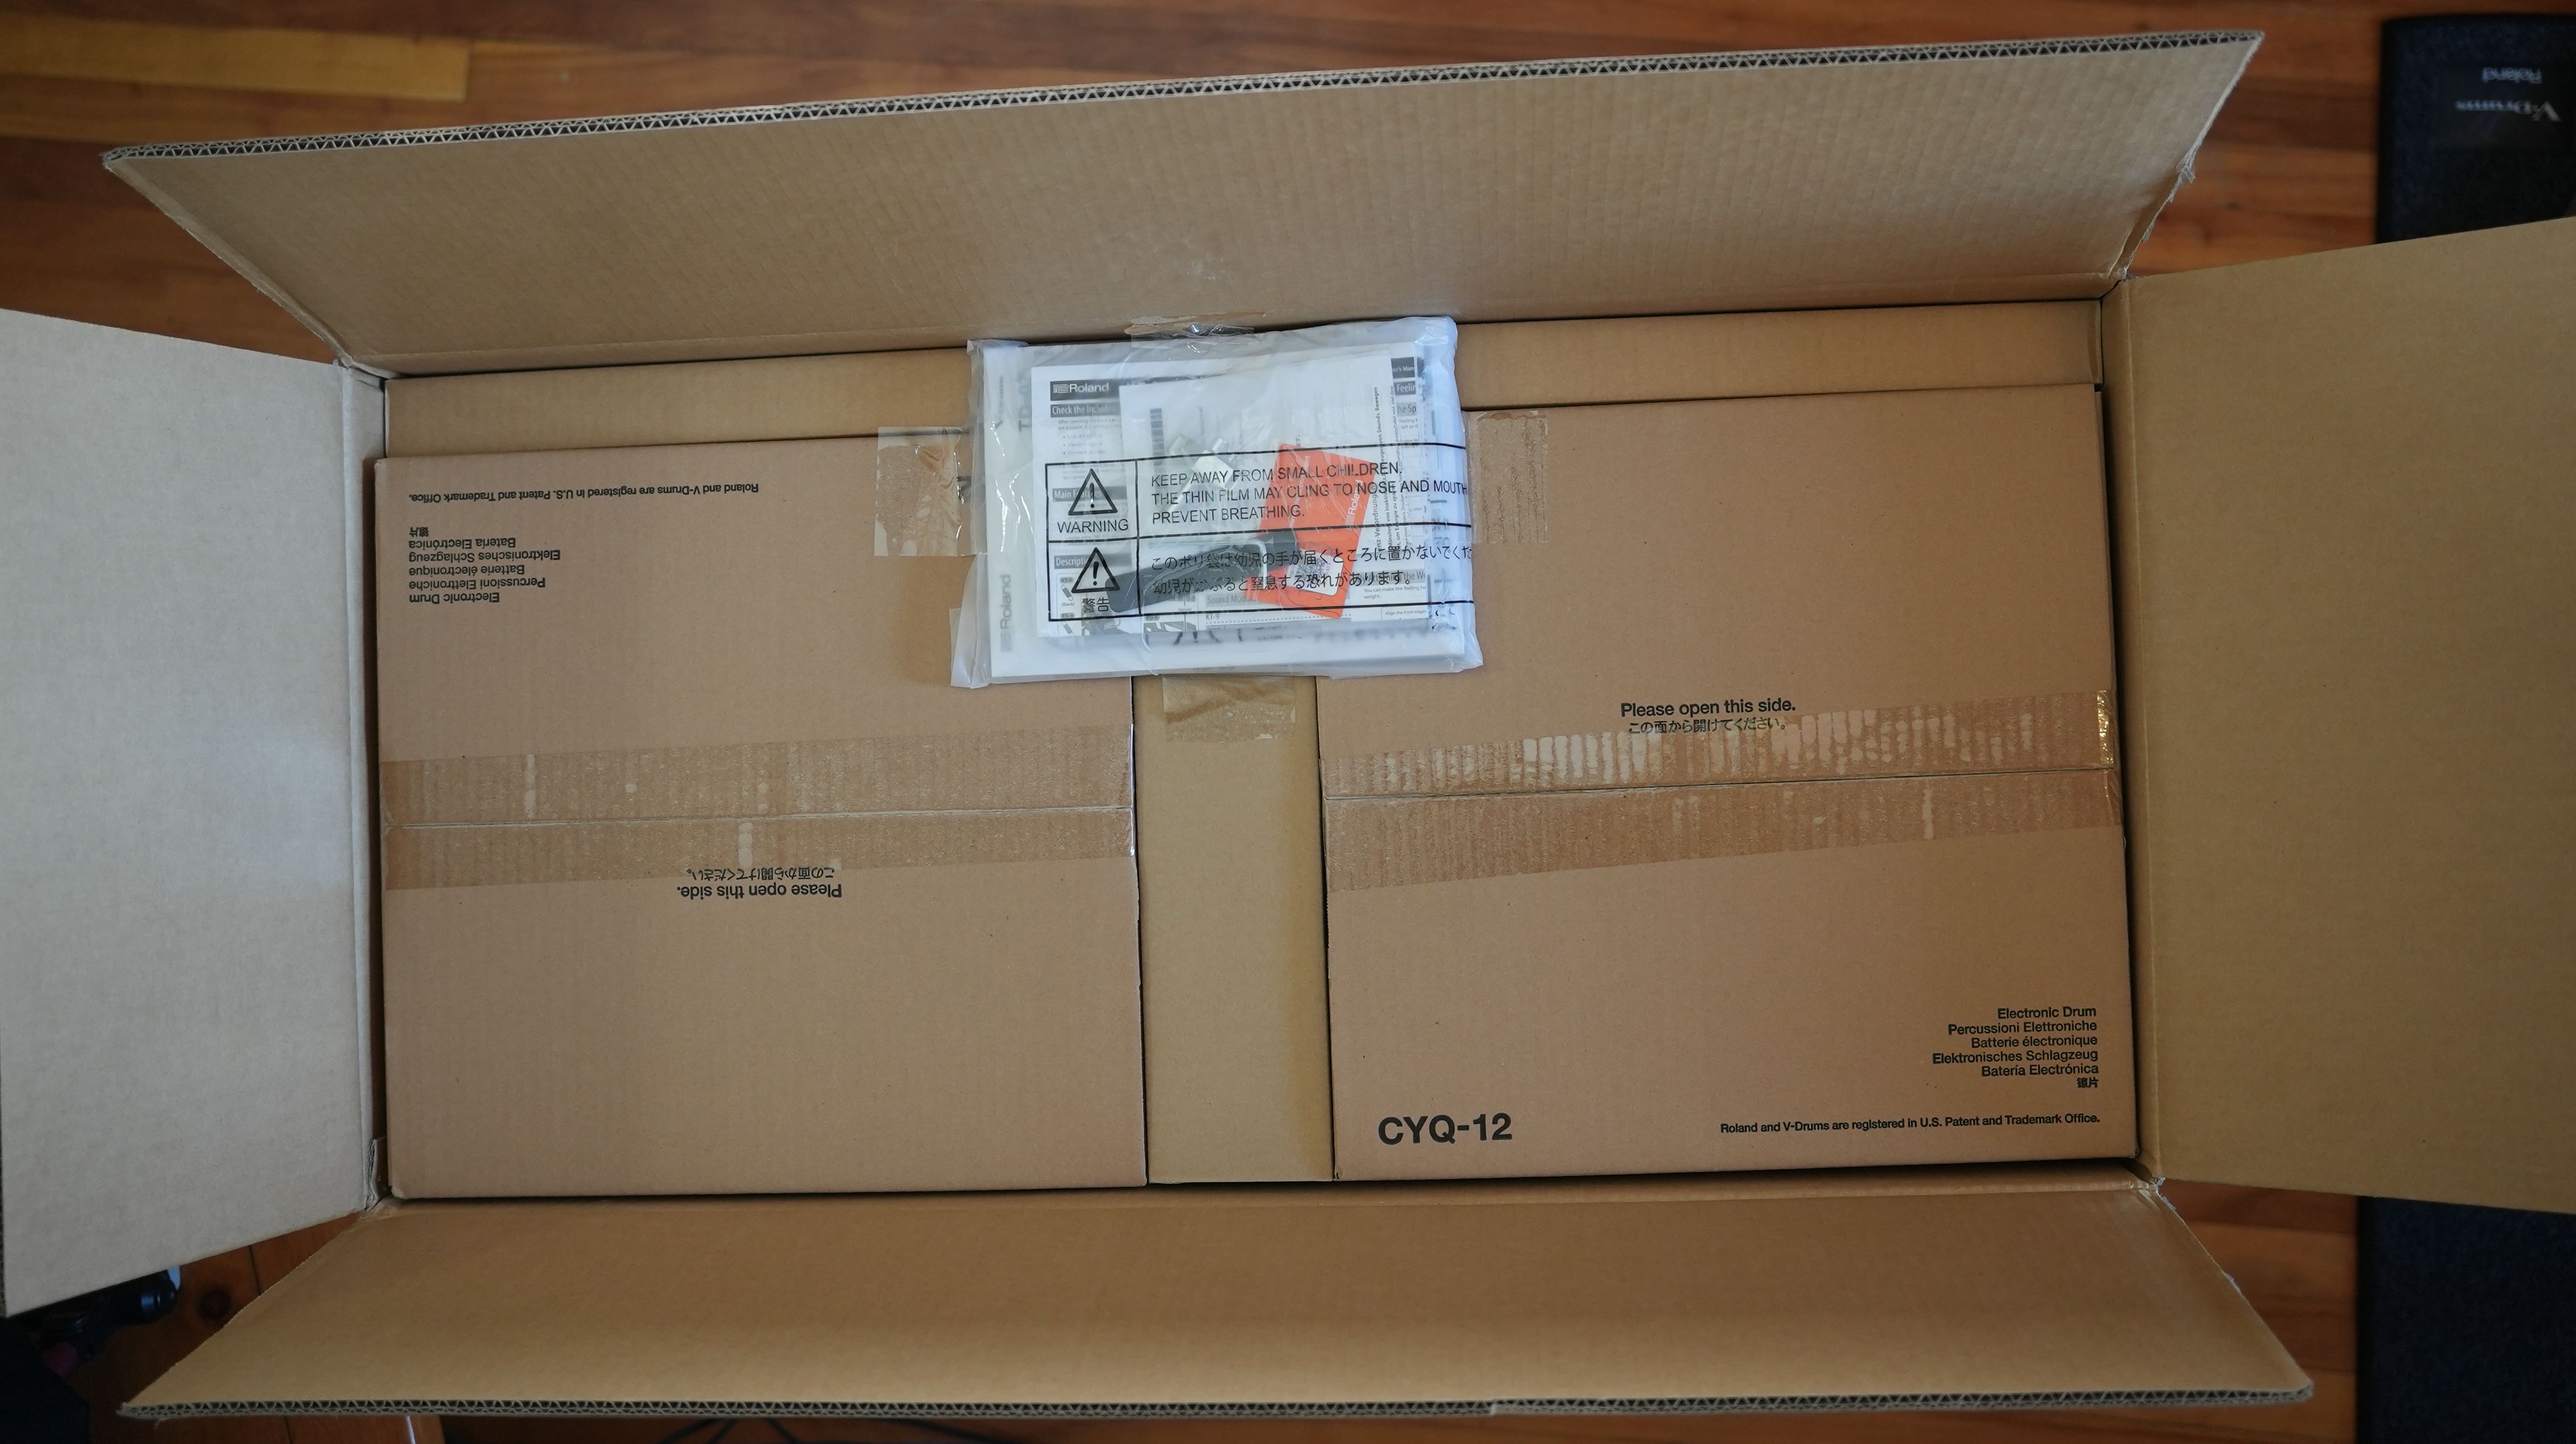
Now it was time to open the largest and heaviest Roland box, labeled VQD 106-1. The portion of the video showing how to attach the drums and cymbals is labeled How to assemble the drum kit (VQD106).
Organizations that design systems will produce designs that are copies of the communication structures of these organizations.
The plastic bag contained many large sheets of paper, in 8 languages. These sheets are not the best way to present information to customers. Applying Conway’s Law to the evidence suggests that Roland is a highly bureaucratic organization.
-
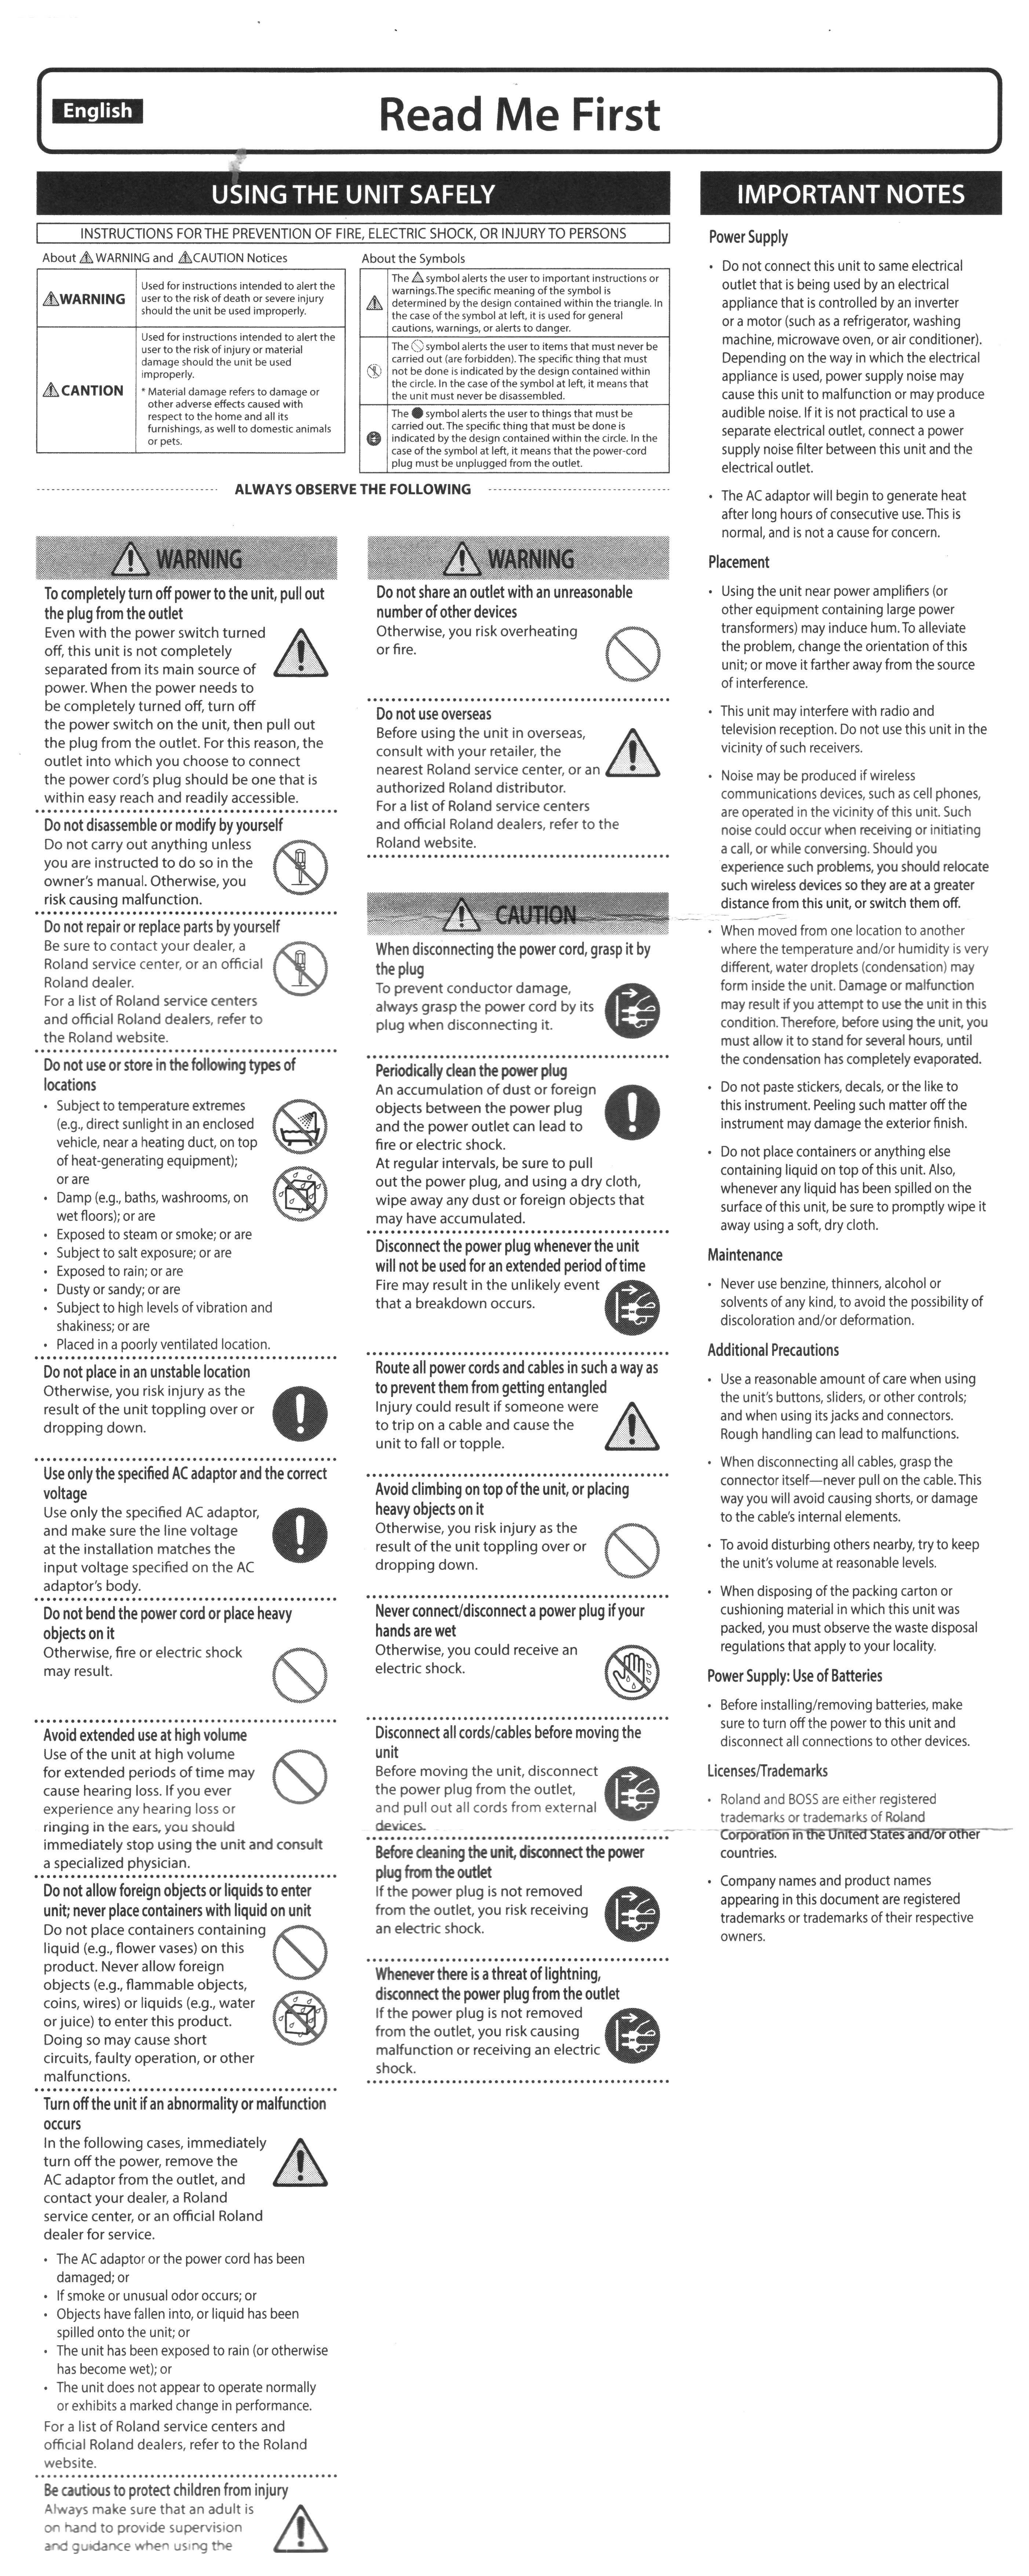
Read Me First
This document pertains to the VQD-106 as a whole. It was written in 4-point type. Seriously, why use such tiny type if this is so important? More details are shown below. -
DT-07 Drum Sound Module Owner’s Manual
The English section had 29 pages. -
KT-9 Kick Trigger Pedal / FD-9 Hi-Hat Control Pedal Owner’s Manual
This document was written in 8-point type, which is moderately difficult to read but much easier than the 4-point type used in the Read Me First document. -
Read Me First: KQD-8, PDQ-8S, PDQ-8 and CYQ-12
This document had portions written in 4-point type, and other portions were written in 6-point type. -
KQD-8 Kick Pad Quiet Owner’s Manual
This document was written in 10-point type (yay!) -
CYQ-12 V-Cymbal Quiet Owner’s Manual
This document was written in 10- and 12-point type (yay!) -
PDQ-8S / PDQ-8 Owner’s Manual
Written in 8-point type, this document has a lot of important information about assembly, nomenclature, connecting to the drum sound module, recommended settings, replacing the head, adjusting head tension, and performance techniques.
The plastic bag also contained:
- A large sheet of paper entitled VQD106 Setup Guide; there was one sheet for each of eight languages. This document is identical to the PDF I provided the link to earlier.
- Another no-name drum key.
-
A sheet advertising 40 free lessons at
melodics.com. - A sheet stating that the “unit” (presumably the DT-07) would automatically turn off after being idle for 20 minutes. It also mentioned that the Owner’s Manual contains instructions for modifying this behavior.
-
A wallet-sized reference card.
Read Me First: A Closer Look
The Important Notes section of the Read Me First document is actually important.
Unfortunately, these important notes are still difficult to read, even after magnification.
It is unclear if these notes, which again mention the “unit,”
only apply to the DT-07 or all the sensing components as well.
Divergent Instructions
The VQD106 Setup Guide and the YouTube video by Roland entitled “Assembling the VQD106” do not follow the same sequence. In the video, the snare pad is attached next, but the VQD106 Setup Guide shows how to assemble the kick drum next, and then it refers readers to the individual owner’s manuals for each component. I decided to follow the video sequence and refer to the individual owner’s manuals for further details.
PDQ-8S Snare Pad
Referring to the large sheet of paper labeled PDQ-8S / PDQ-8 Owner’s Manual, it is apparent that the PDQ-8S is actually a PDQ-8, partially enclosed by a rim sensor.
I opened the box labeled PDQ-8S. The owner’s manual stated that a connection cable, hex wrench and cable tie should have been enclosed, but at this point in the unpacking process, I had not seen them. Curious to see the type of connector that was used, I turned over the snare pad and saw a plastic bag taped to the bottom. This had not been mentioned in the owner’s manual, nor had it been shown in the video. I eventually found only one hex wrench in the VQD-106-1 box and no cable ties.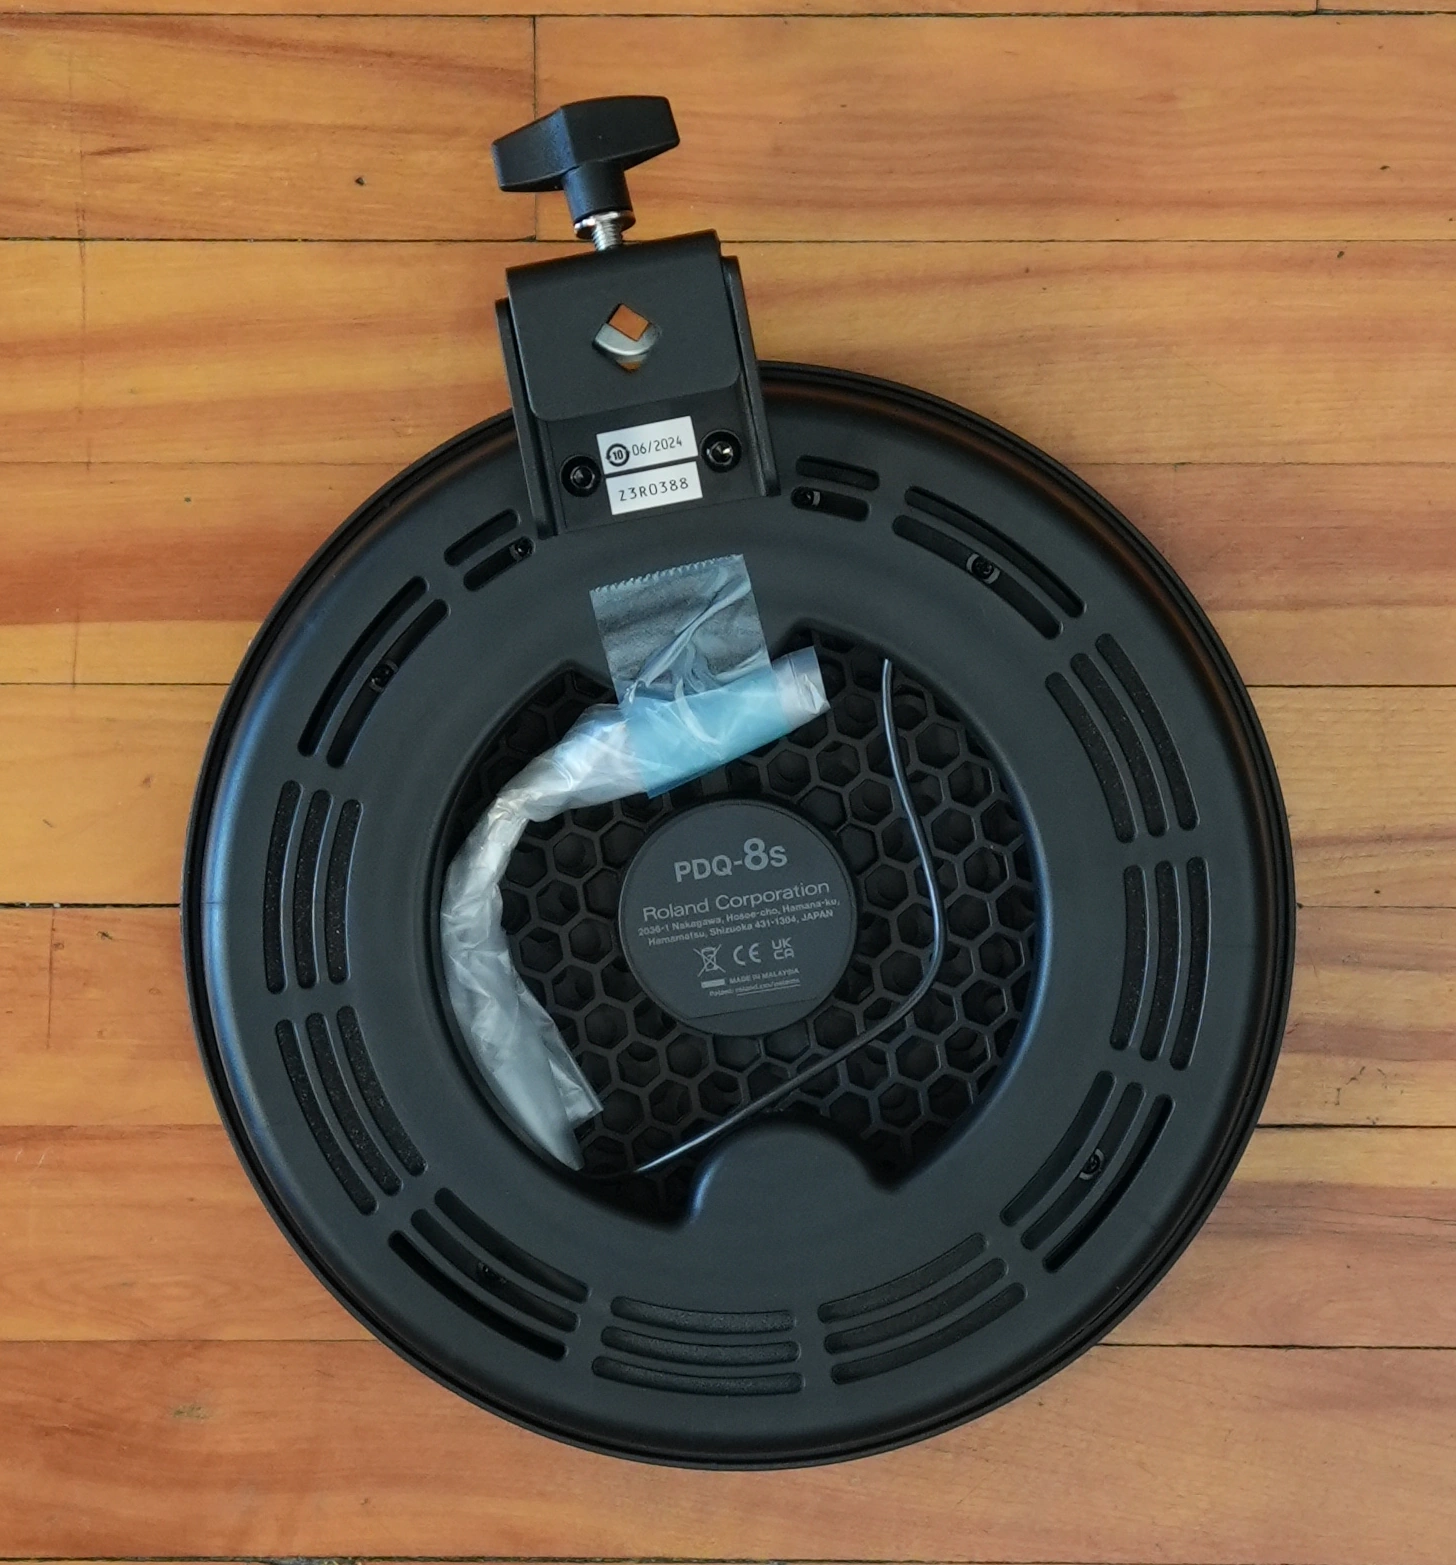
The plastic bag was taped around the connection cable, which was not a separate item, but instead was attached to the interior of the snare pad by light blue adhesive tape. This tape was not very sticky, which made it easy to work with.
Be careful when removing the adhesive tape wrapped around the connector, however. This clear adhesive tape is much stronger than the light blue tape, and you might struggle to remove it. If you use a knife or scissors, and you damage the cable, the snare pad will have to be disassembled to replace the cable. Roland should only use the light blue tape instead of the clear tape; this would greatly diminish the chance that a customer might damage the connector while attempting to unwrap it. Roland uses 5 1/4" TR and 5 1/4" TRS connectors between V-drum sensor components and drum sound modules. TR connectors are used for components with only one sensor, for example, the three toms. TRS connectors are used for components with two sensors, for example, the snare drum. The Roland part numbers for TRS cables are PCS-5-TRA (5' long), PCS-10-TRA (10' long), and PCS-15-TRA (15' long), but any 1/4" TR and TRS cables can be used. I could not find a Roland part number for TR cables; however, generic cables are just fine, and TRS cables can be used instead of TR cables.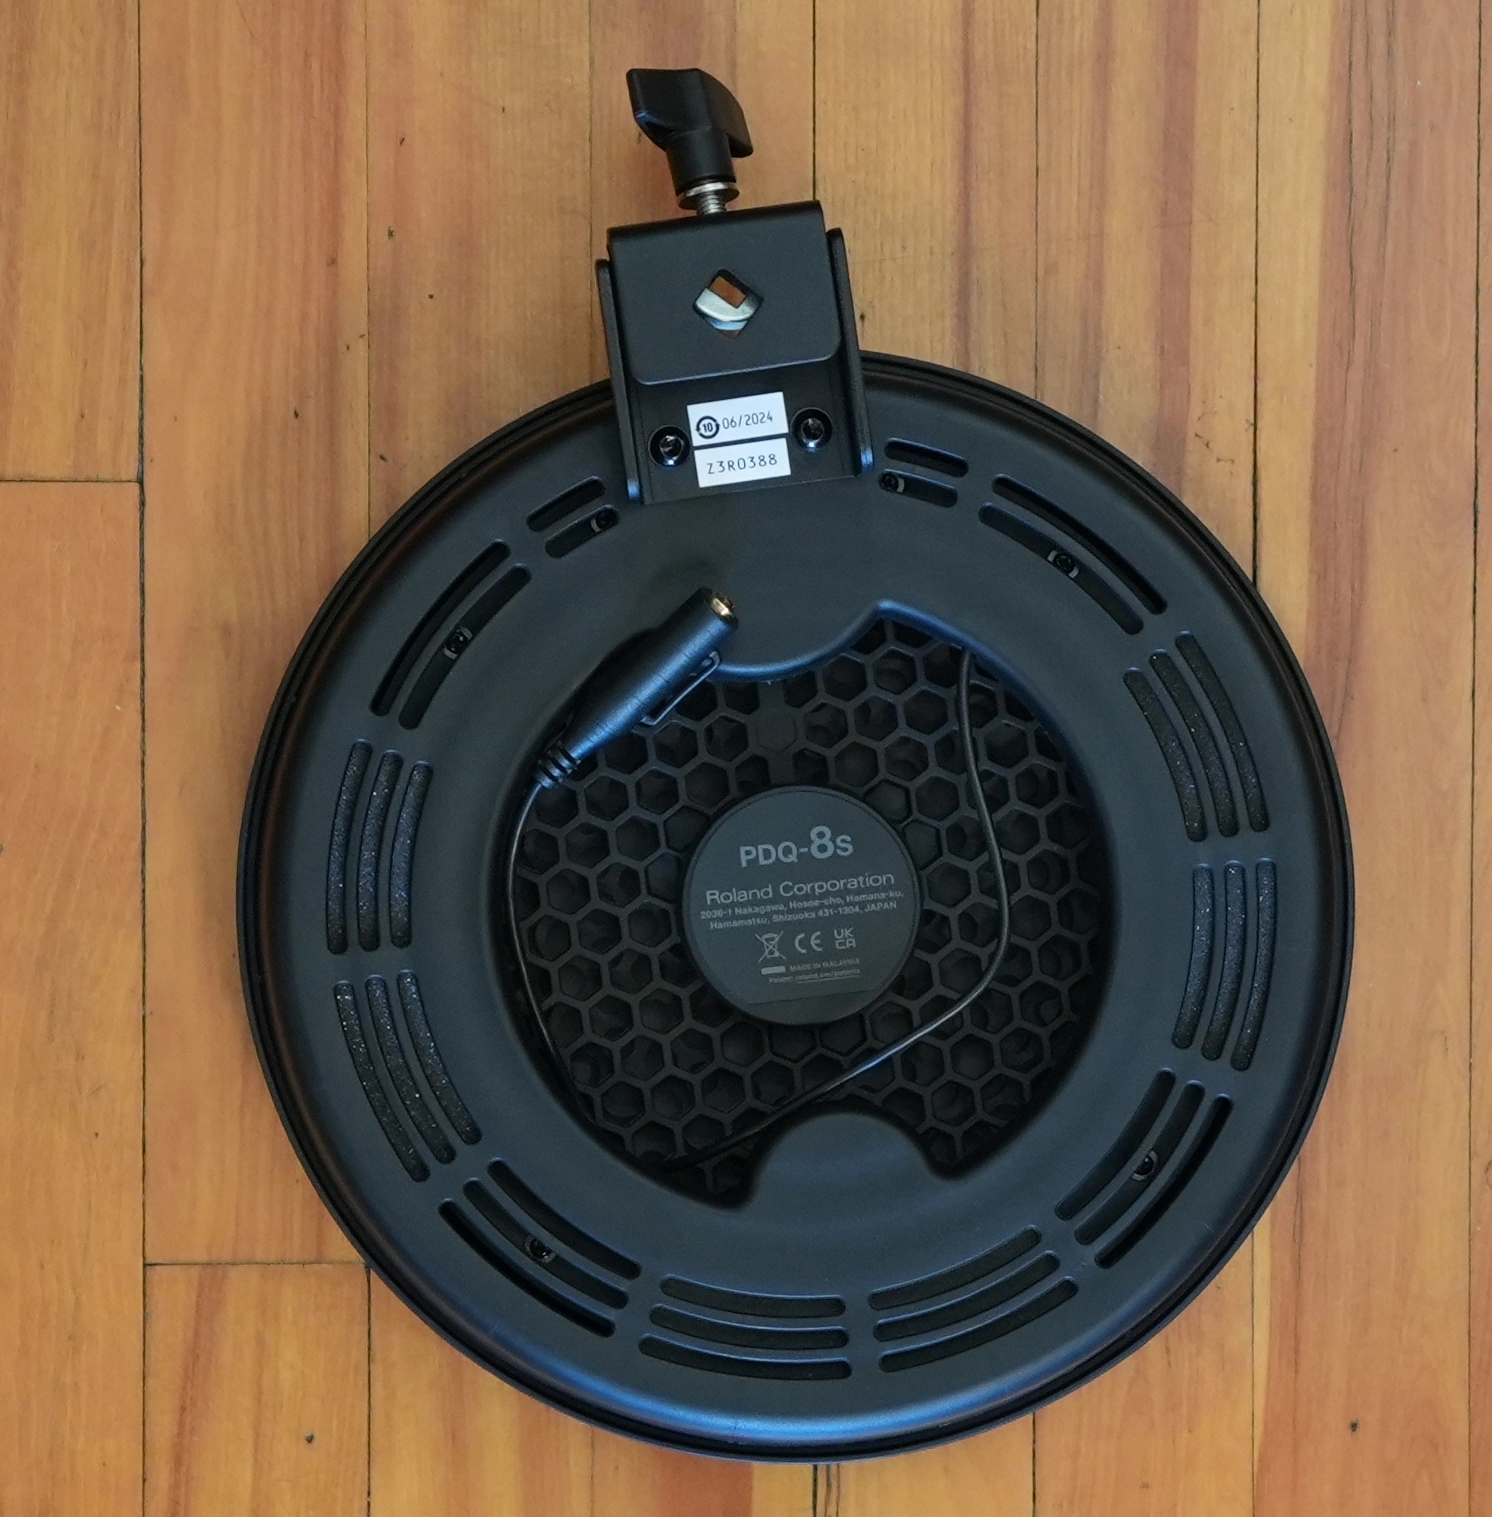
I used the PDQ-8S snare pad’s clamp to attach it to the #10 (ball-type pad mount) that was already attached to the #6 (snare pipe). The connector was left to dangle for now, as shown in the video.
The PDQ-8 / PDQ-8S Owner’s Manual goes on to discuss how to connect the pads to a drum sound module and adjust the tension. However, the video has not mentioned the drum sound module yet, so it was still in its box. I put the PDQ-8 / PDQ-8S Owner’s Manual aside for now.
Three PDQ-8 Toms
As previously mentioned, the snare pad (PDQ-8S) is actually a tom pad (PDQ-8) with an additional rim sensor around it. Consequently, unpacking and mounting the three tom pads was very similar to the experience of unpacking and mounting the snare pad.
Three CYQ-12 Cymbals
One of the cymbals, with the FD-9 pedal that has yet to be unboxed, will be used as a hi-hat.
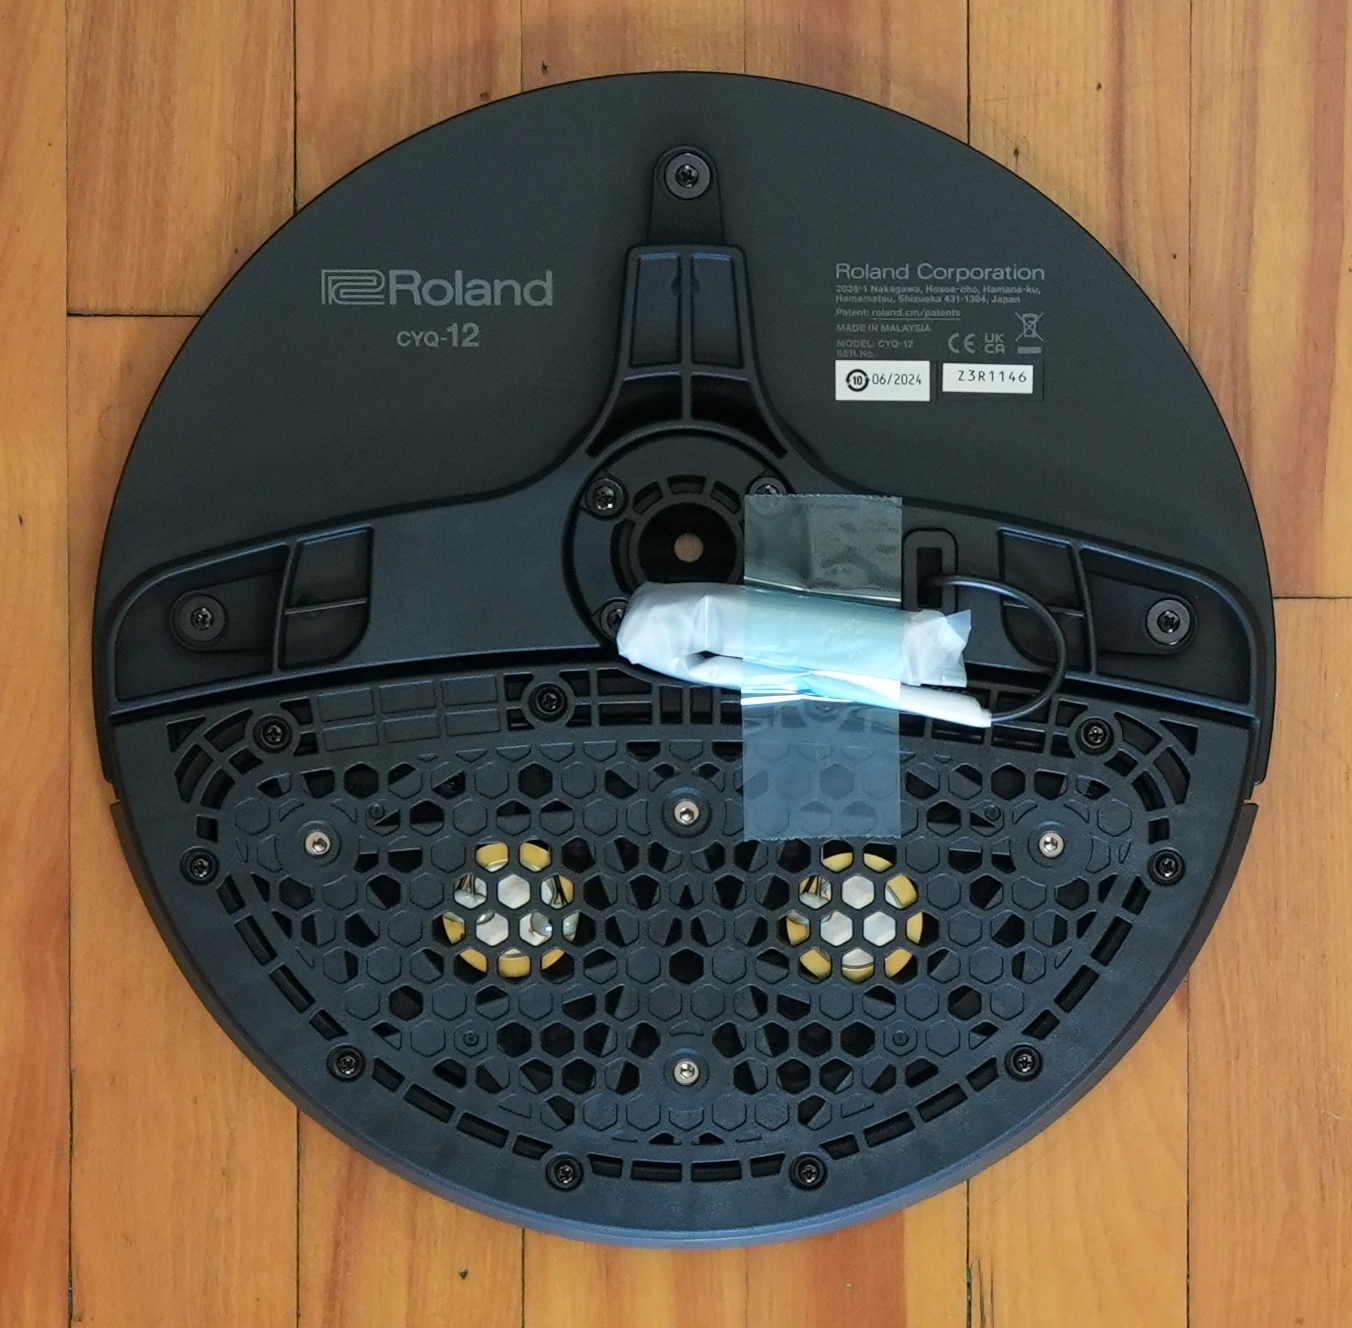
The video had a cryptic warning (no words are spoken in the video):
The owner’s manual offers an understandable warning, but without giving a reason, so customers can appreciate the issue(s) that motivate the warning:
Note: When carrying the CYQ-12 by the frame, mounting it or removing it, do not hold the cover frame. Instead, be sure to hold the bow/edge side.
The above warning would have been a good thing to attach to the outside of the box, and also taped to the cymbal. Instead, I found the following unrelated warning in the box, which did not appear in the owner’s manual:
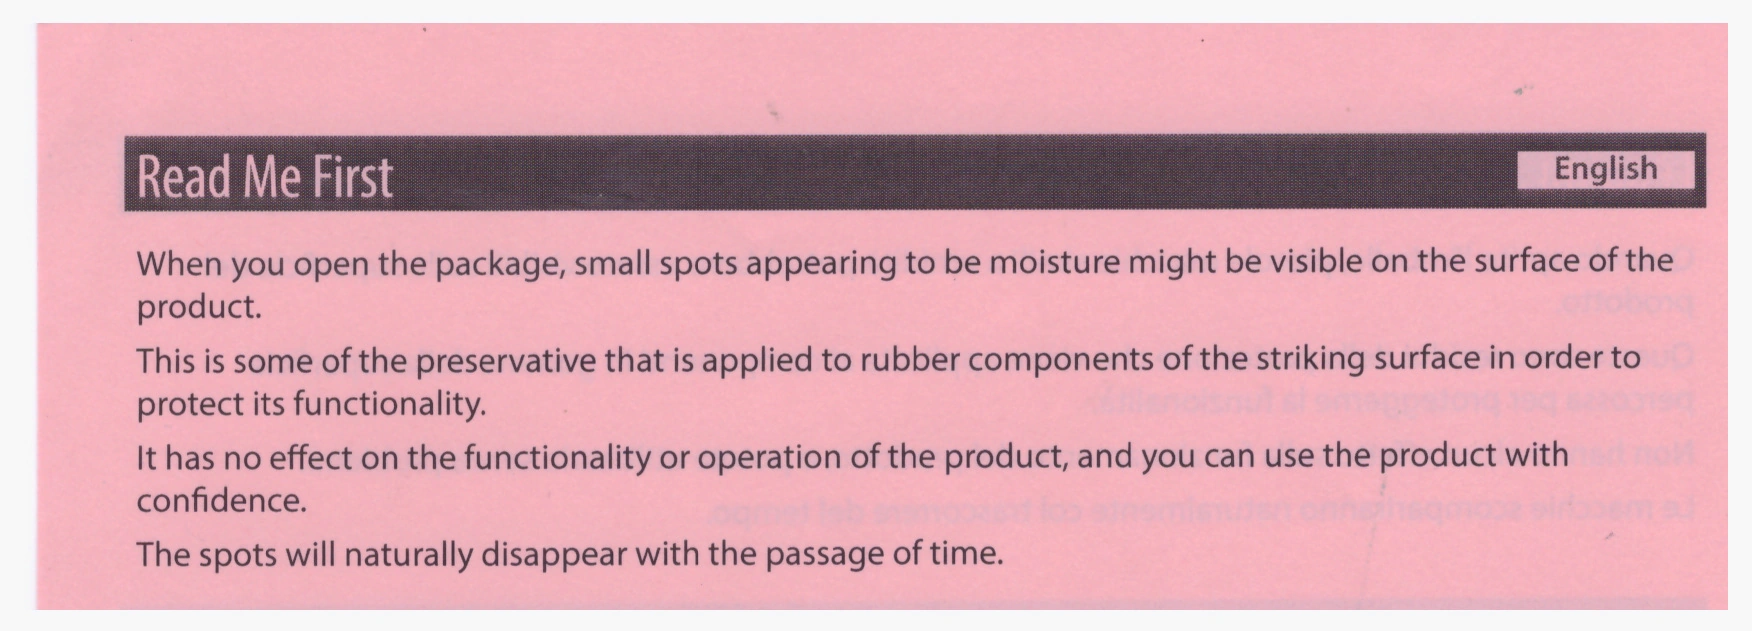
The typical customer would unbox the product just the same way that I did, and Edrumcenter did in their YouTube video entitled “Roland VQD106 Unboxing and First Impressions”. They (and I) removed the CYQ-12s from their boxes by grabbing the large forbidden black area of the cymbals. If this, in fact, represents mishandling of the cymbals, then Roland should place a prominent sticker on the outside of the CYQ-12 boxes, warning of potential damage to the cymbals if improperly handled.
The end of each cymbal mount has a strong directional taper, which the bottom of the cymbal pad must mount into. It is difficult to turn the cymbal mount unless the cymbal pad is attached. Feel the orientation of the taper with your fingers, and gently rotate the cymbal pad into place before tightening down. Once the cymbal is attached, it should be easy to spin into the proper orientation.
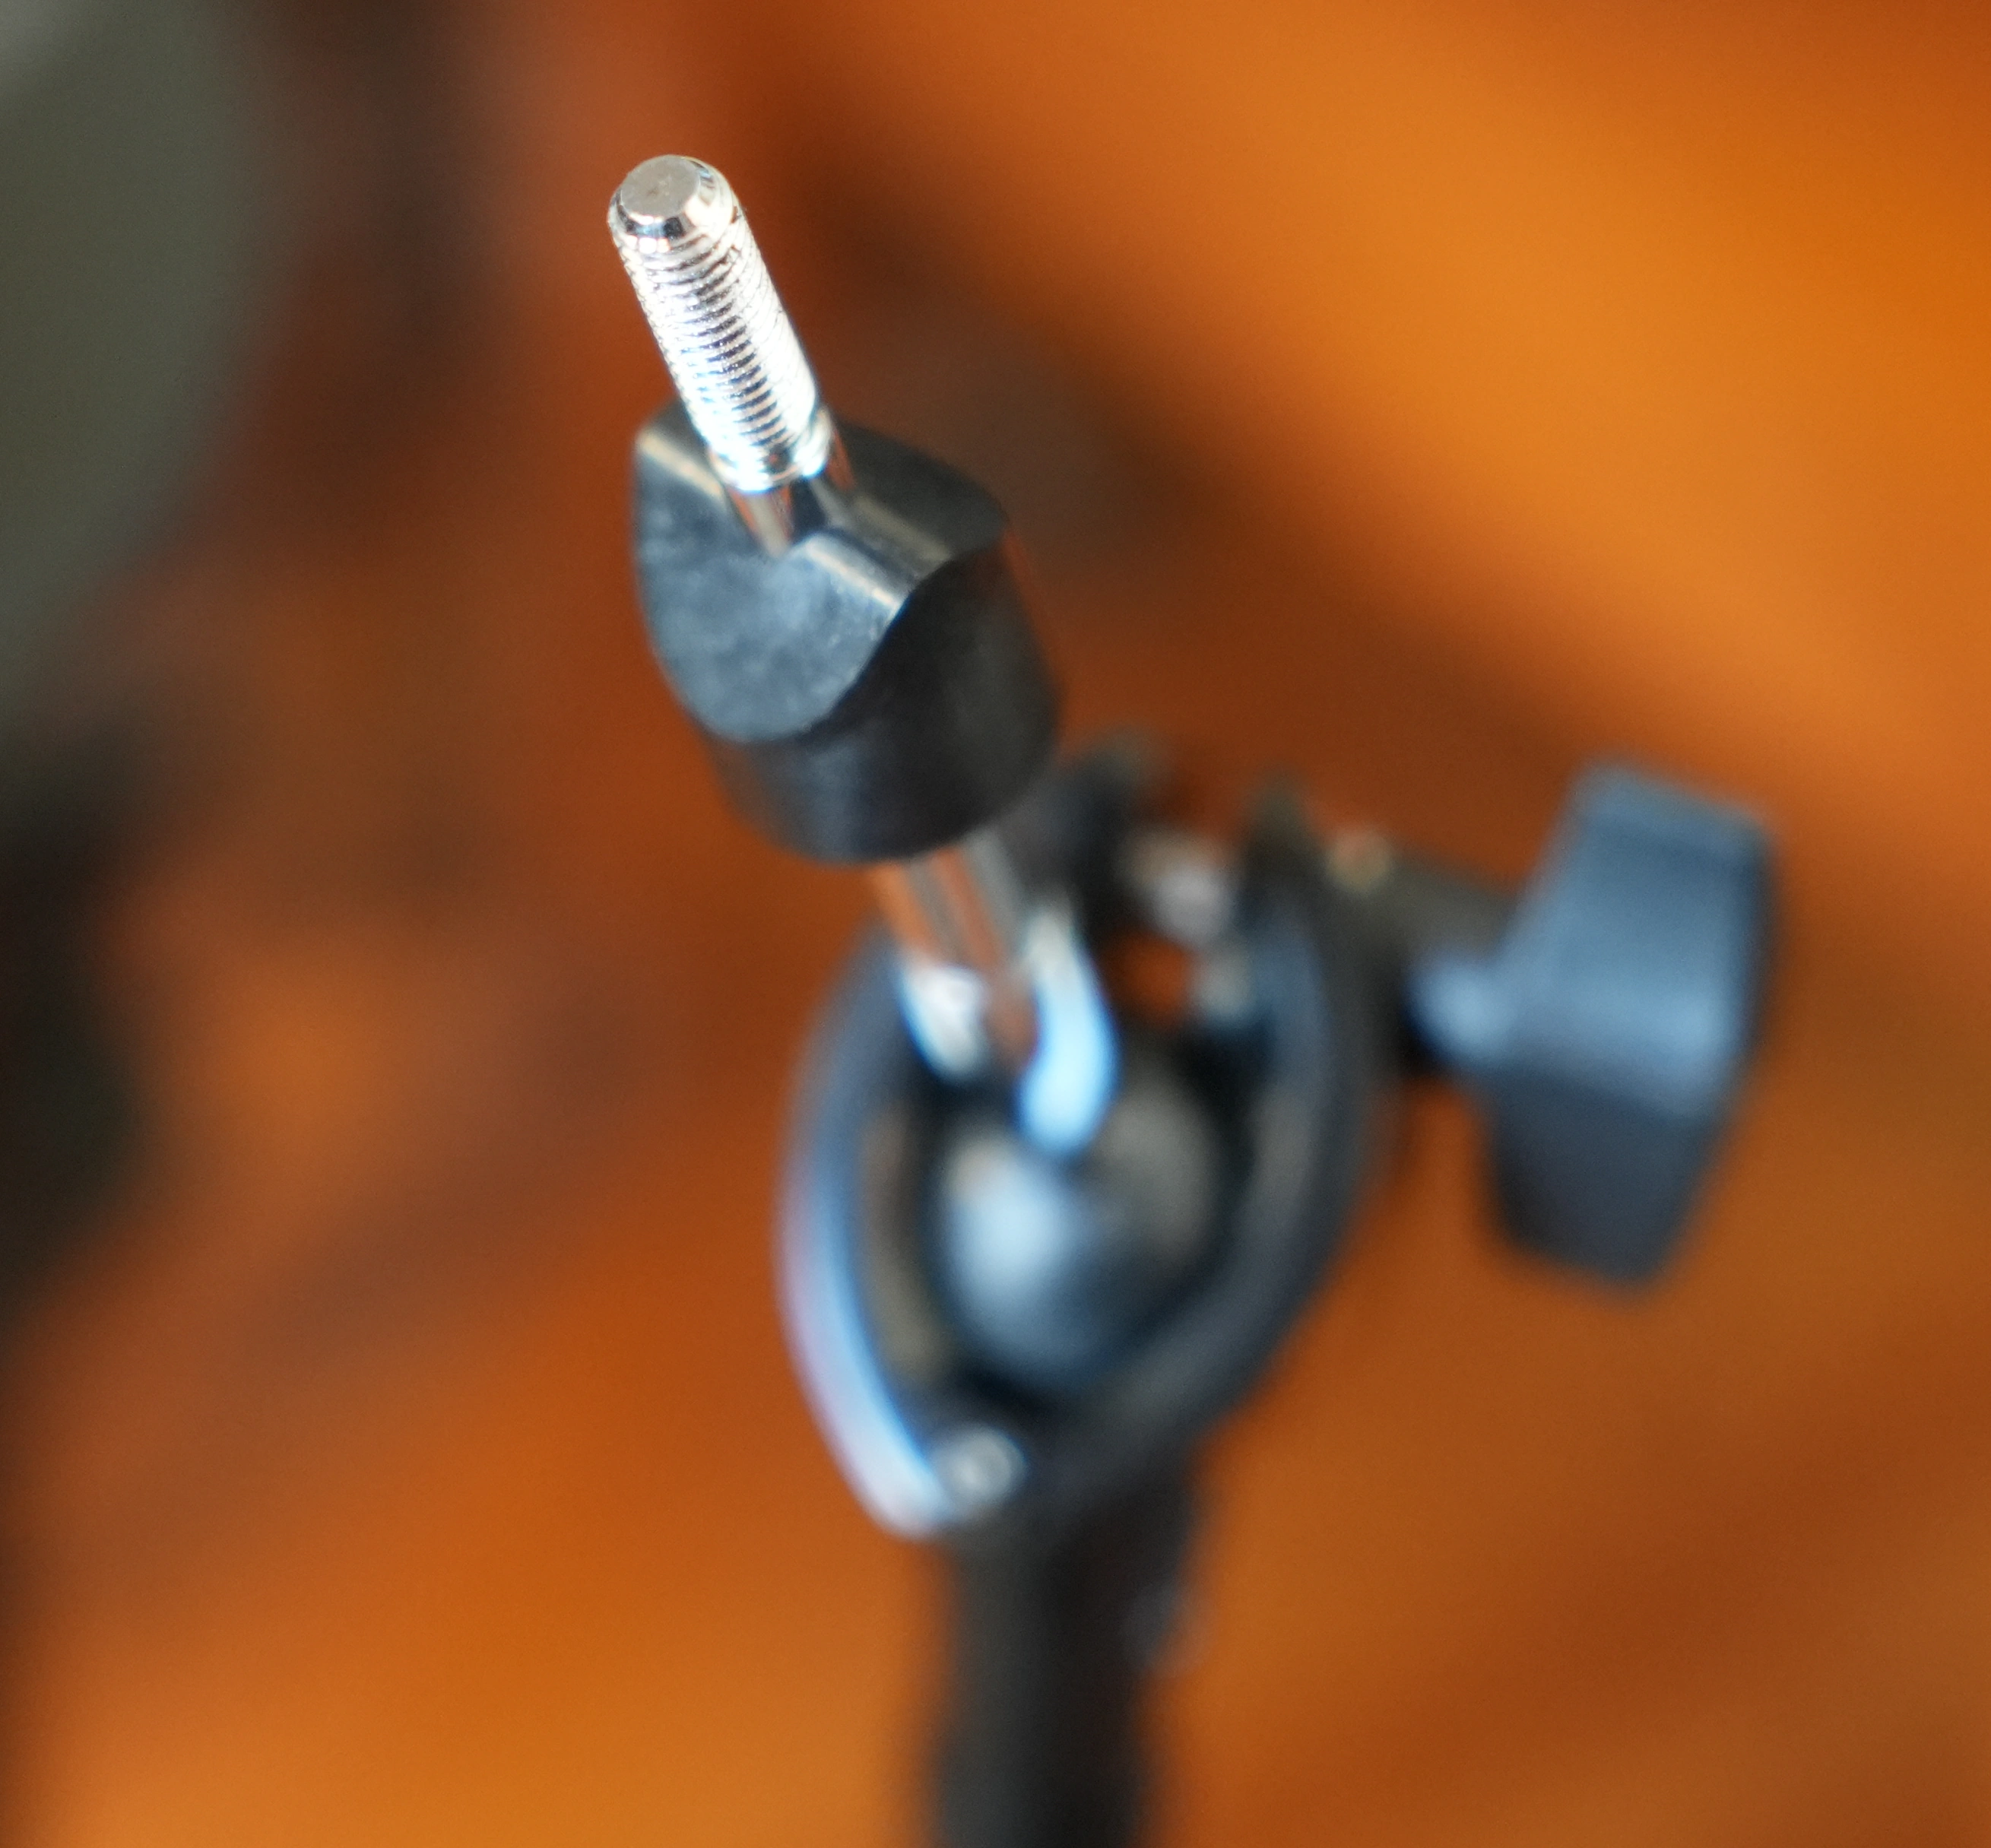
As with the PDQ-8 / PDQ-8S Owner’s Manual, the CYQ-12 Owner’s Manual states that a connection cable, hex wrench and cable tie should have been enclosed; however, I did not find a hex wrench or cable tie.
Similarly, the CYQ-12 Owner’s Manual goes on to discuss how to connect the pads to a drum sound module and adjust the tension. However, the video has not mentioned the drum sound module yet, so it was still in its box. I added the CYQ-12 Owner’s Manual to the growing pile of manuals to read later.
FD-9 Hi-Hat Pedal
It was now time to open the NEQ-H box. My earlier concern about the potential difficulty in distinguishing the NEQ-H from the NEQ-K was unfounded; the NEQ-H is clearly labeled with for HiHat.
Interestingly, there is no direct connection between the cymbal that acts as a hi-hat and the FD-9 pedal. Instead, the pedal will connect to the drum sound module.
The video shows the FD-9 apparently being screwed into the noise-isolating NEQ-H base; however, that is not what should happen. Instead, rotating the bolts on the side of the FD-9 causes their points to protrude from the bottom, where they rest on the NEQ-H. The bolts are not intended to penetrate the NEQ-H. The friction between the points and the NEQ-H should be sufficient to prevent the FD-9 from sliding.
KQD-8 Kick Pad Quiet
The large box containing the KQD-8 Kick Pad Quiet also contained the KDB-Q quiet kick beater. This box was oversized compared to its contents. It could probably have been constructed using fewer materials and would thereby occupy half the volume.
TAMA HP200P Iron Cobra Pedal
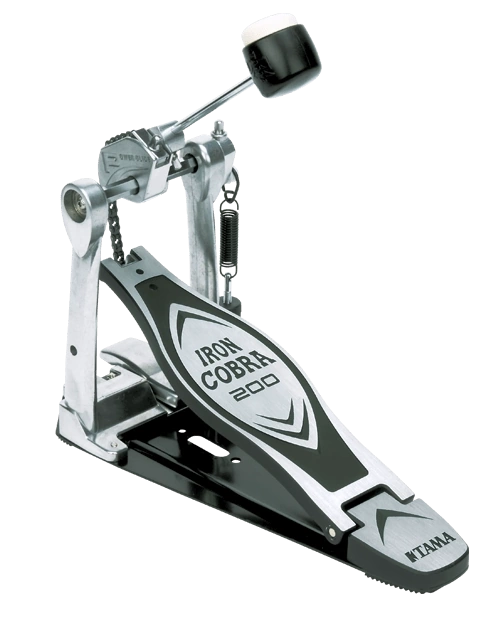
It was now time to unbox the Tama HP200P Iron Cobra single kick drum pedal. It was appropriately packaged using a minimum of materials. A drum key was included, which I used to remove the beater that came with the pedal.
The HP200P/HP200PTW Instruction Manual was printed in English and another language that I did not recognize on one side of a large sheet of paper. The labeled diagrams were small but quite legible.
A slightly larger sheet of paper entitled Using Your Product Safely was also included. I was glad to see lots of useful information in this document. All owners should read it carefully.
I inserted the KDB-Q quiet kick beater and tightened it. The spring was easy to attach and obvious to understand.
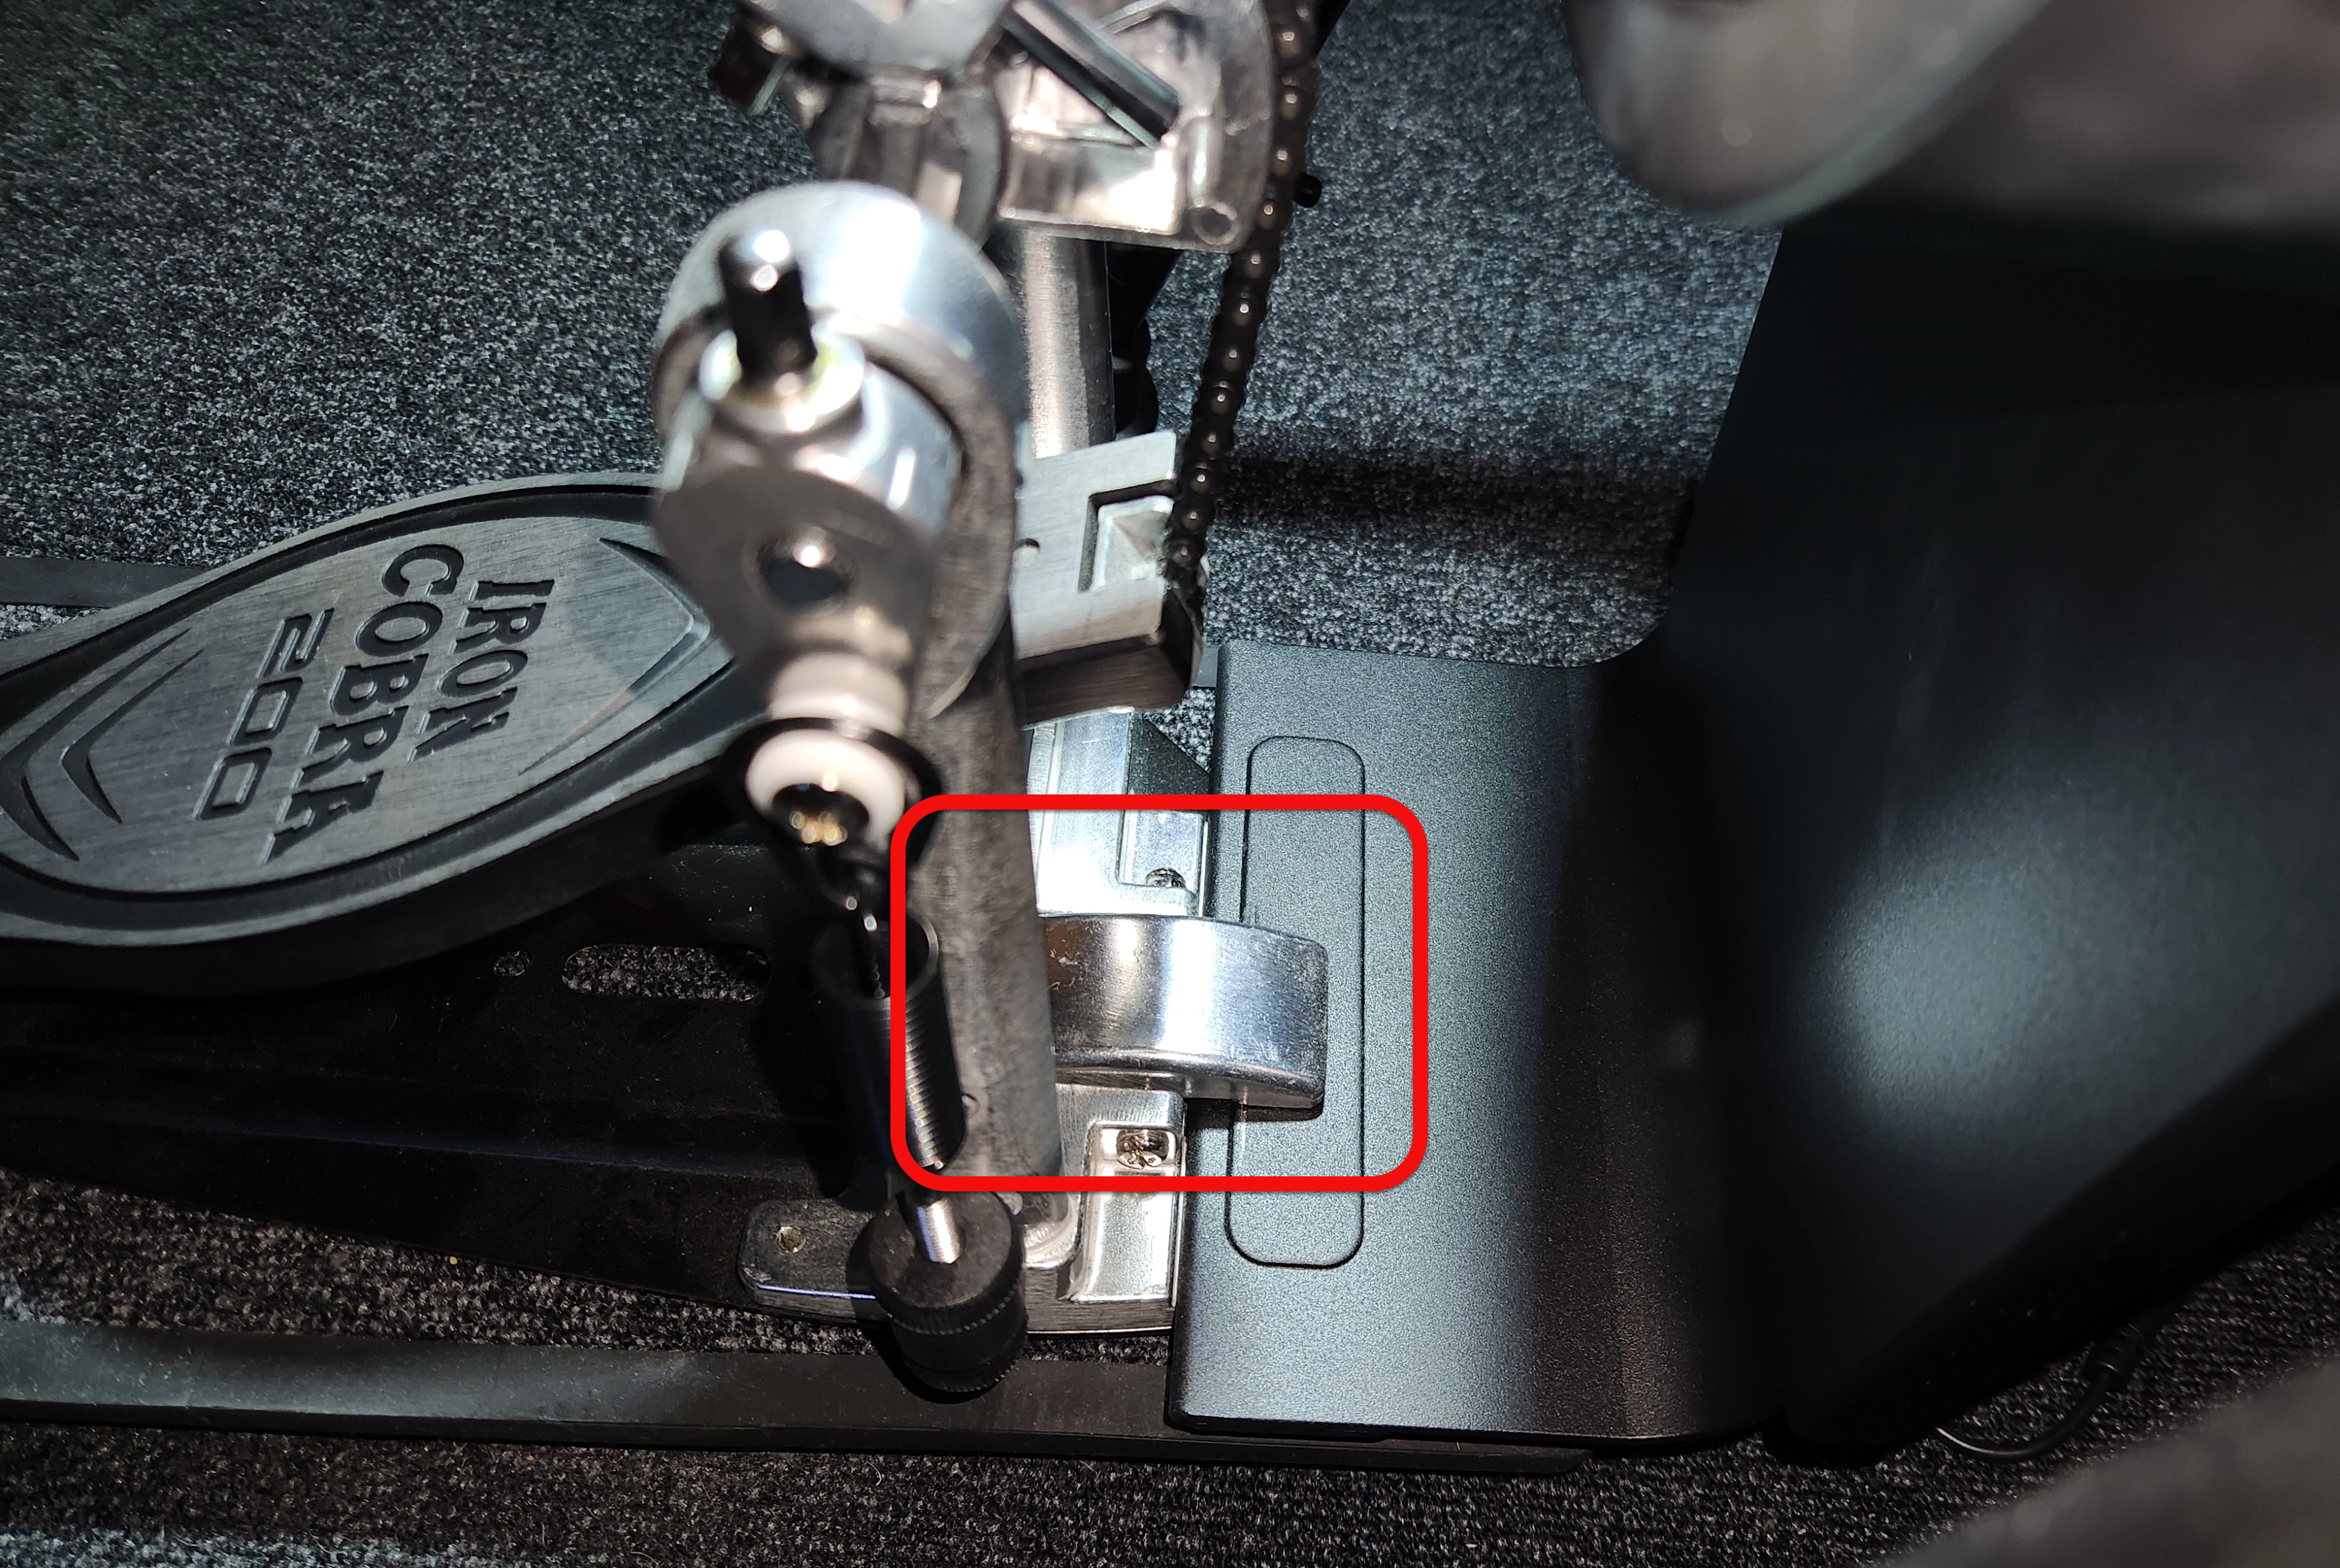
Although this pedal did not have points to press into the surface of the noise-isolating NEQ-K kick pedal base, I found that it was heavy enough to rest very securely in place and provided a lot of friction resistance to being moved.
It is important to carefully attach the pedal to the kick drum. The small clamp at the front of the pedal should securely hold the thick plastic tab protruding from the base of the kick drum.
TD-07 Drum Sound Module
Description
The TD-07 module can act as an audio/MIDI recording interface, sending stereo sound via a 3.5 mm stereo audio connector, and multichannel MIDI data via a standard USB B connector. The audio and MIDI data can be recorded in any DAW and can trigger sounds in synthesizers.
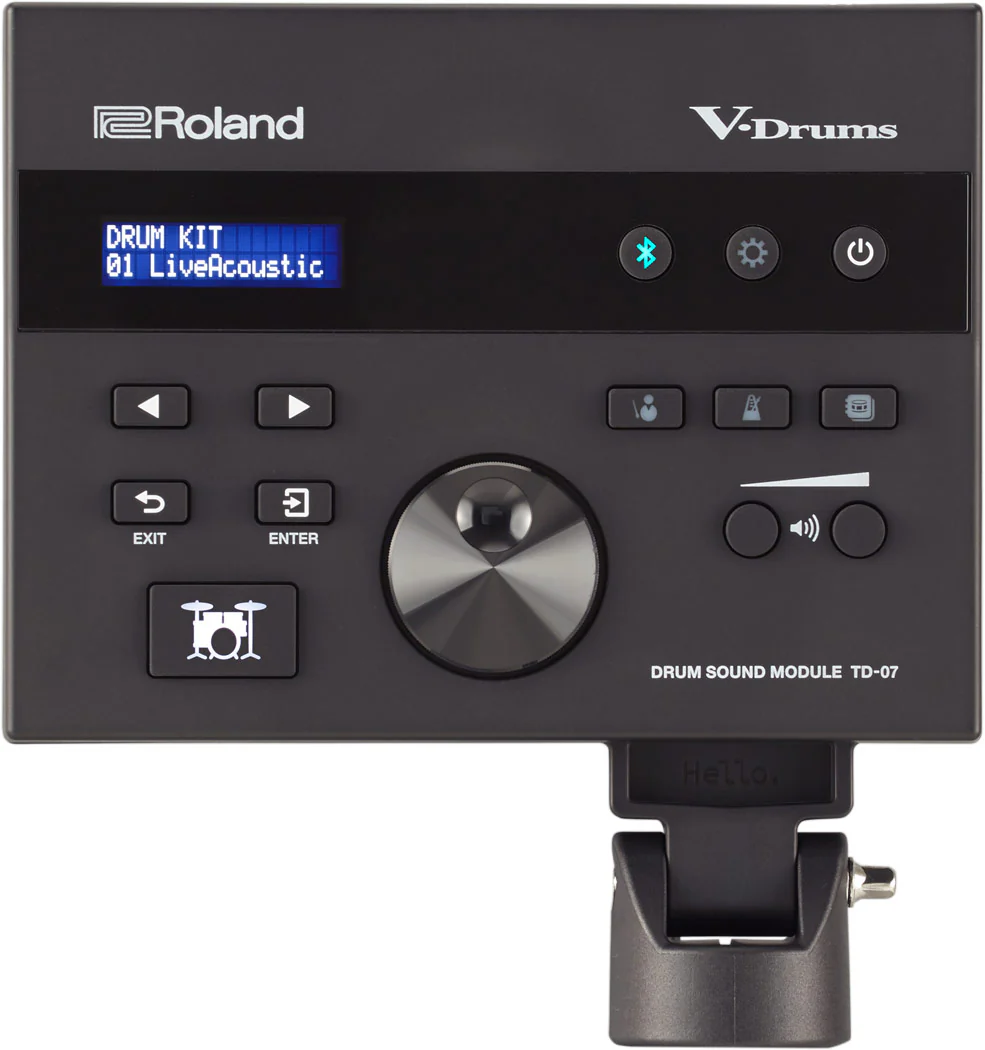
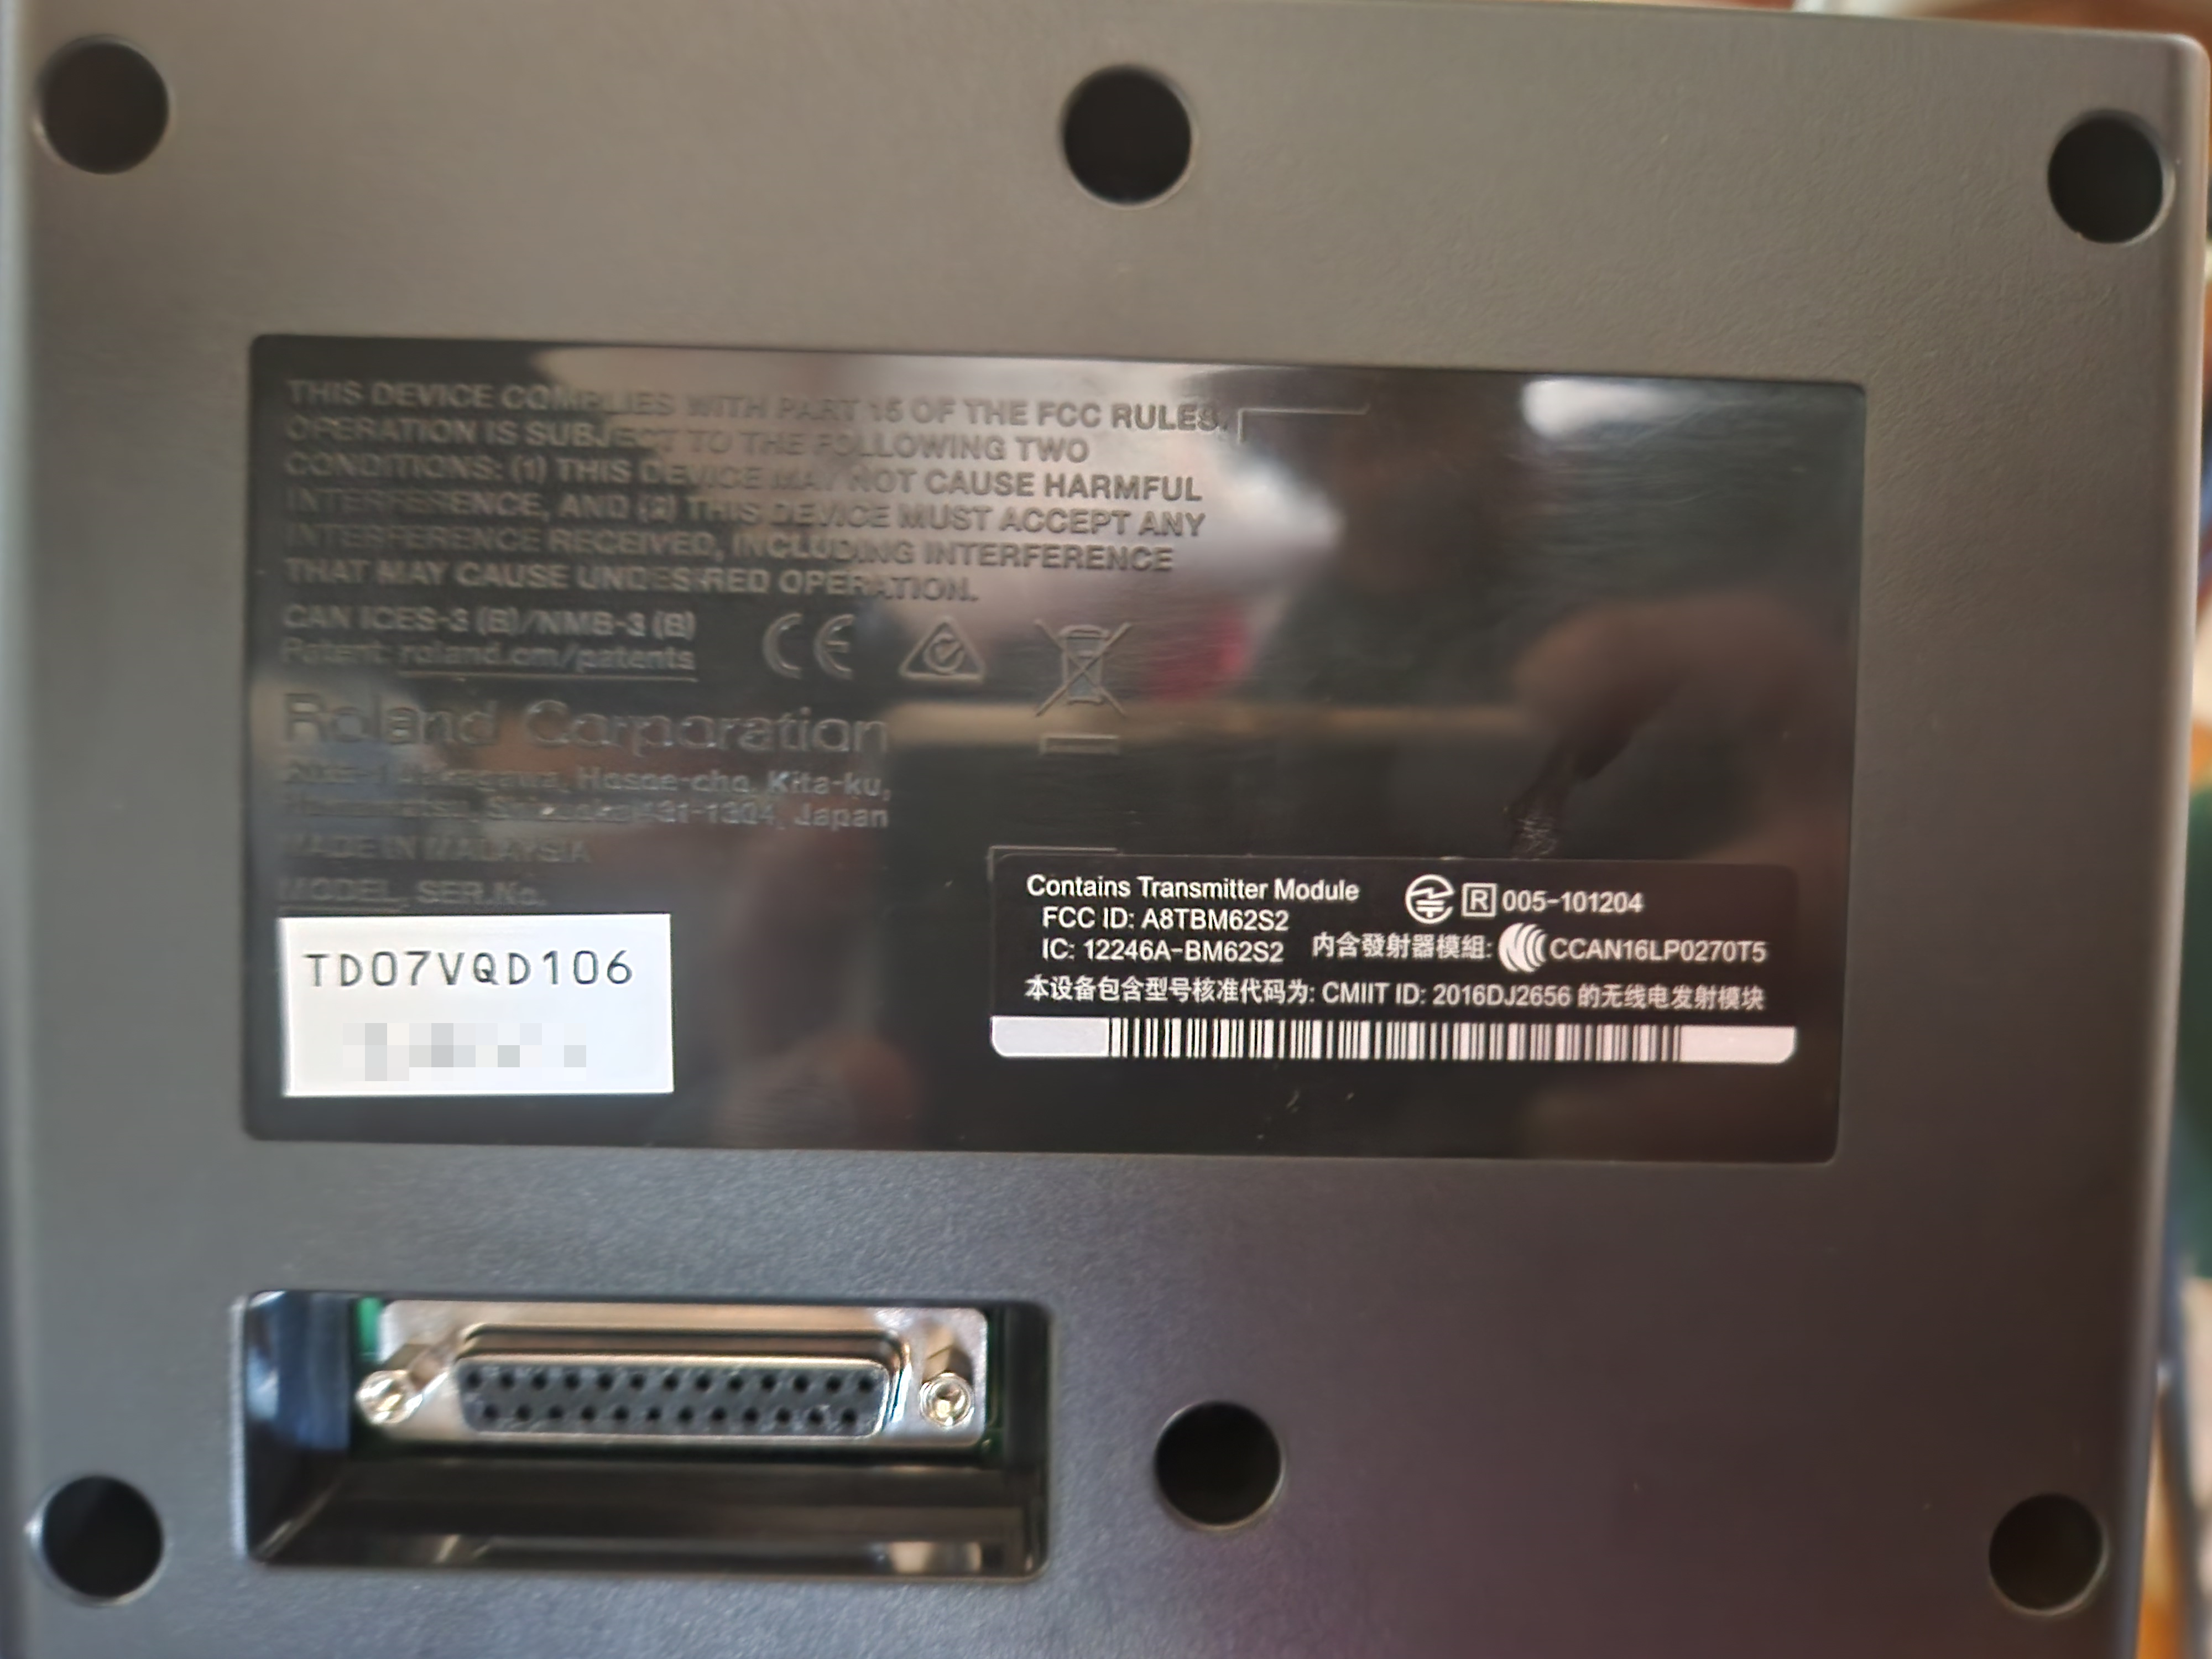

The Roland website hardly shows any information on the TD-07. After much searching over several days, I found the TD-07 manual but no product pages.
Here is some information I found about a similar package from Roland that uses the same drum sound module.
Drum kits: 50 (Preset: over 20)

Instruments: 143

Effect Types:
• Pad Equalizer: each pad
• Overhead Mic Simulator
• Room
• Multi-Effects: 1 system, 30 types

Coach functions (5 modes):
• Time check (easy)
• Time check (hard)
• Quiet count
• Auto up/down
• Change-up

Metronome:
• Tempo (20-260)
• Rhythm type (5 types)
• Sounds (15 types)

Bluetooth:
• Supported standards: Bluetooth Ver 4.2
• Supported profile: A2DP (Audio), GATT (MIDI over Bluetooth Low Energy)
• Codec: SBC (Support to the content protection of the SCMS-T method)

Display: 16 characters x 2 lines LCD (with backlight)

Connectors:
• OUTPUT/PHONES jack: Stereo miniature phone type
• MIX IN jack: Stereo miniature phone type
• USB COMPUTER port: USB B type
• TRIGGER INPUT connector: DB-25 type (Kick, Snare, Tom 1, Tom 2, Tom 3, Hi-hat, Crash 1, Crash 2, Ride, Hi-hat control)

USB COMPUTER:
• Speed: Hi-speed USB
• Driver mode: Generic, Vendor
• Protocol: USB MIDI, USB Audio *3

USB Audio:
• Sampling Rate (original): 44.1 kHz
• Sampling Rate (with sampling rate converter): 96 kHz, 48 kHz
• Record: 2 channels
• Playback: 2 channels
Setup
Unlike all the other Roland boxes, the box for the TD-07 did not indicate the top or bottom of the box. The box contained:
- TD-07 drum sound module. The back of the TD-07 has a 25-pin DB-25 female connector. Unlike RS-232, which is a serial communications standard that uses the same connector, Roland uses all the pins in parallel for its V-drums.
- Another, smaller box, containing:
- Clamp for drum sound module.
- Roland PSB-5U 12V 1.5A AC adaptor.
-
Snake cable (aka wire harness) terminating in a molded male 25-pin connector on one end,
with 10 unshielded cables emanating from it that terminate in 5 x 1/4" TRS connectors and 5 x 1/4" TR connectors.
Each cable has a small color-coded numeric label.
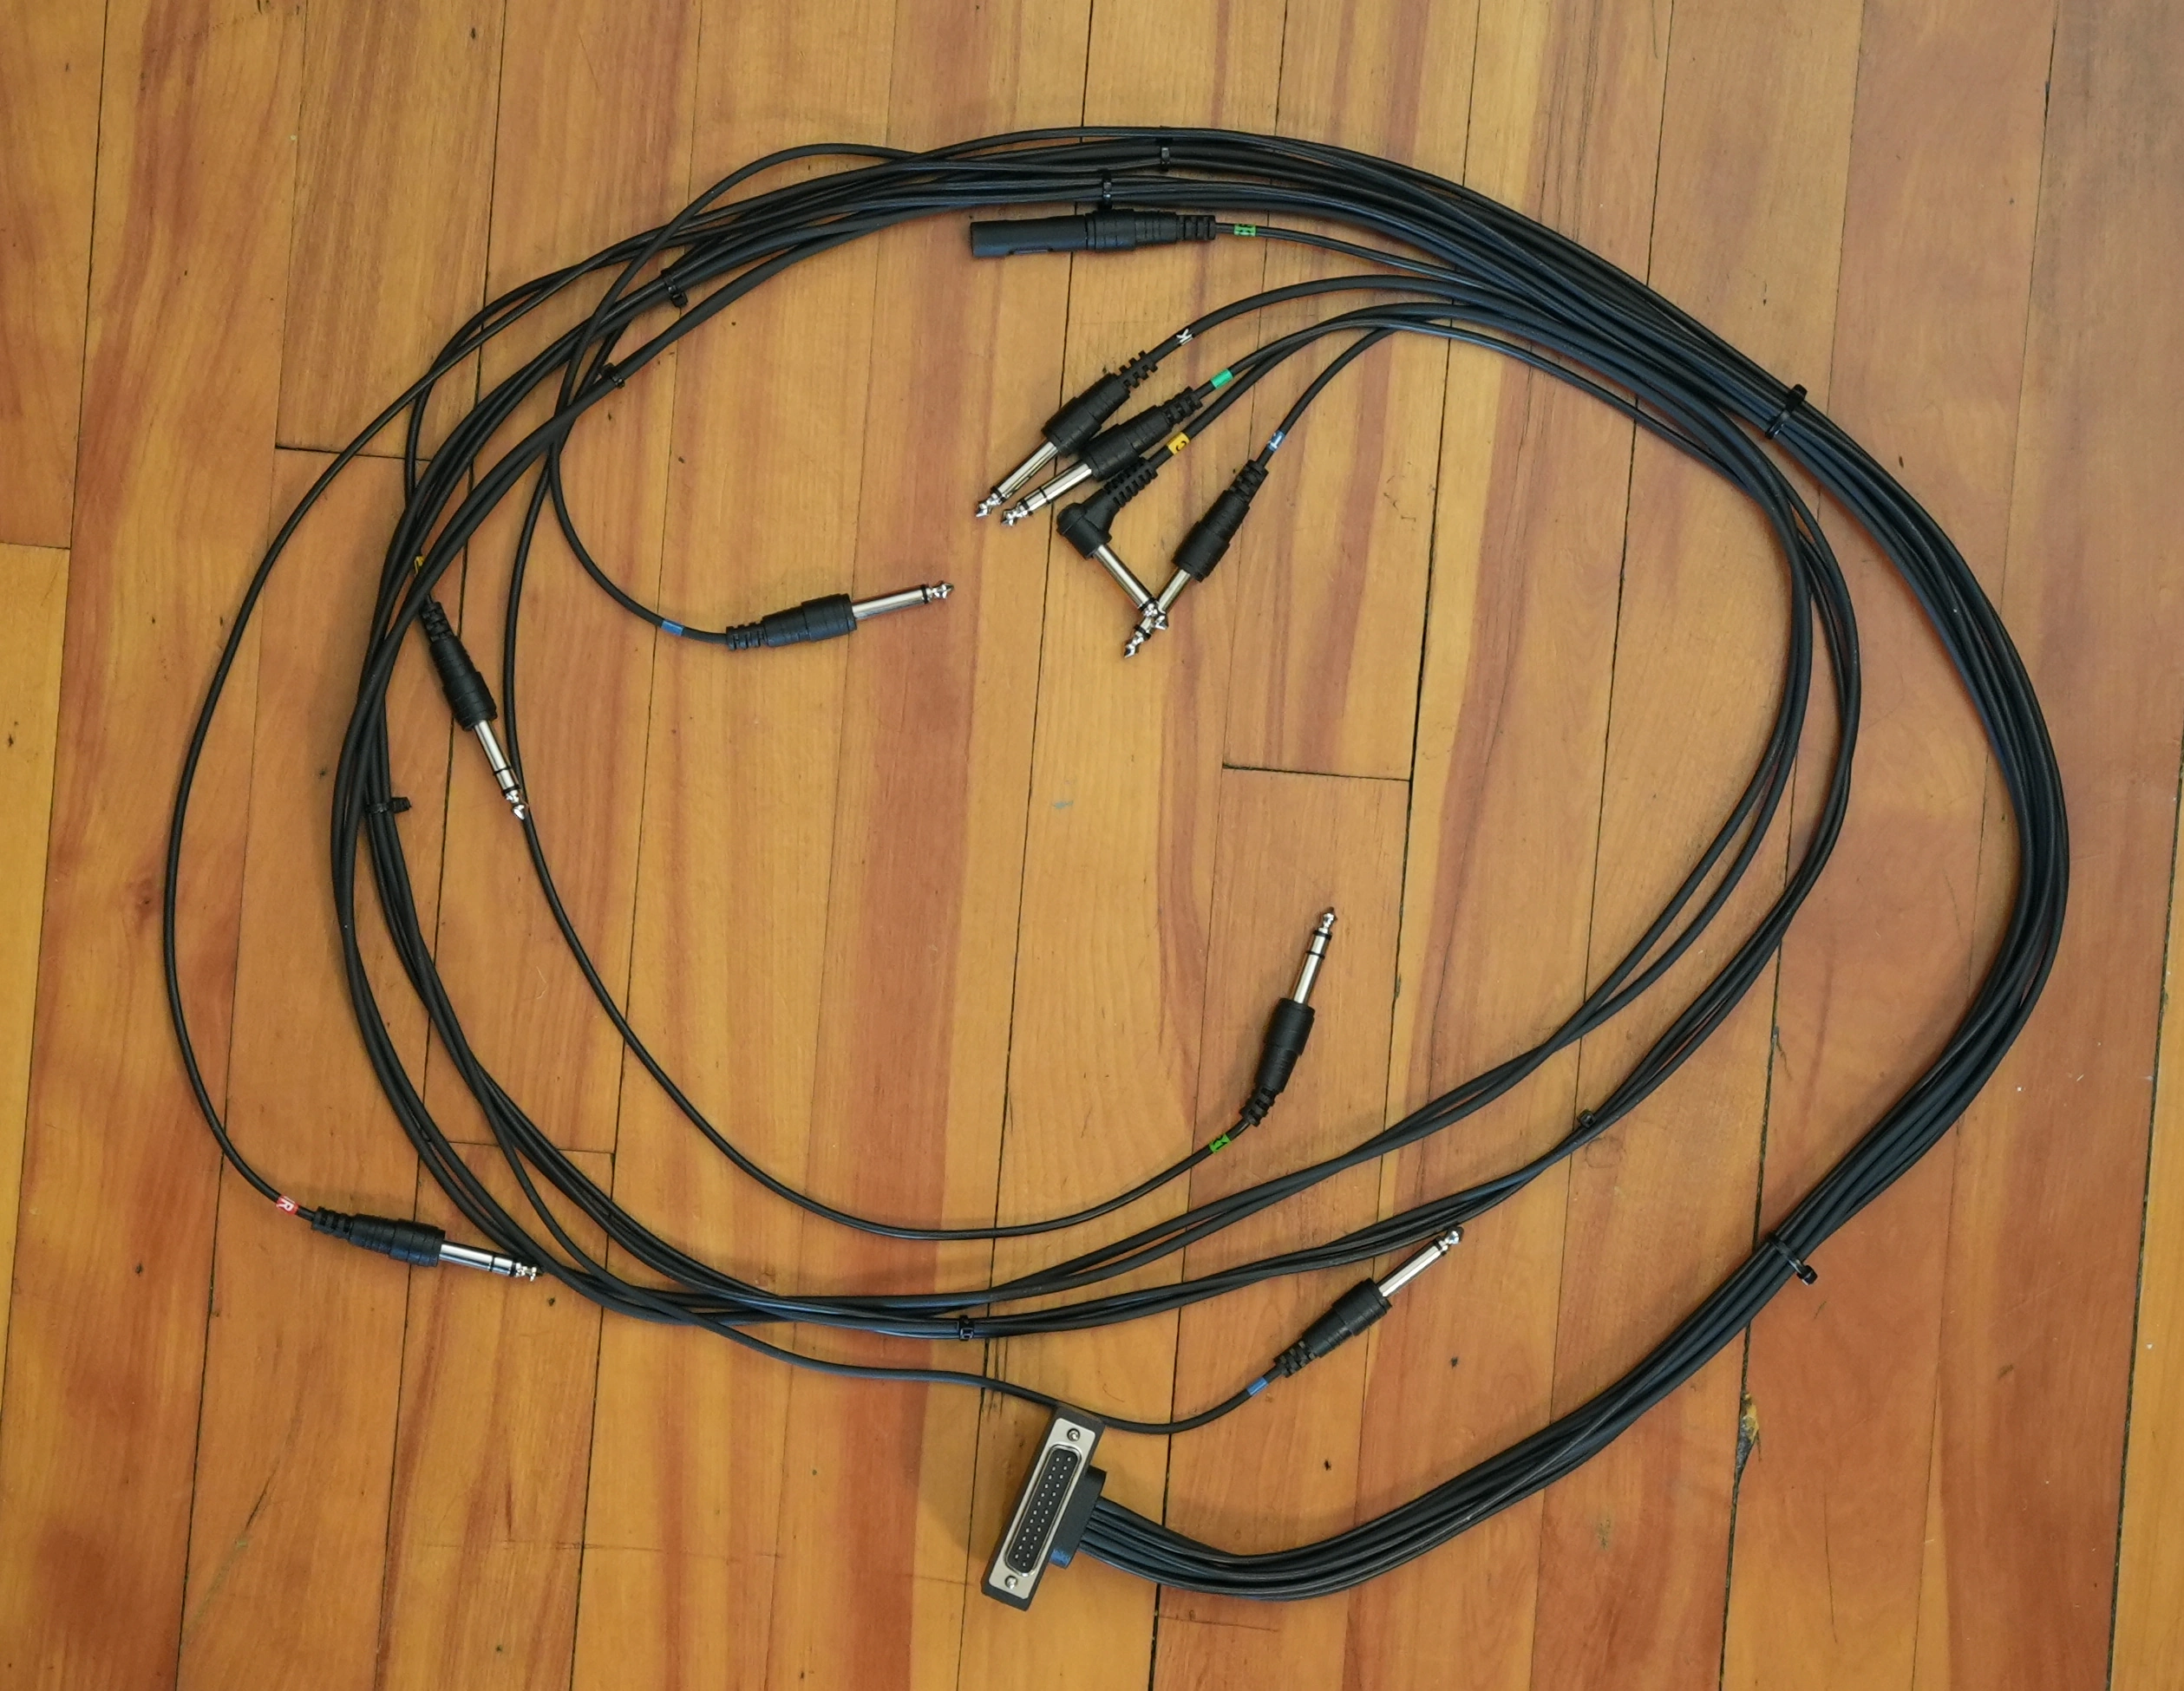
This harness seems like it represents a likely point of failure as well as a potential source of electromagnetic noise. I do not like this connector—mechanically, it is weak, and does not provide a secure attachment, especially when subjected to an off-axis load, such as is provided by the molded plastic right-angle housing. Yes, I know that ‘we have always made them this way’, but big advances in connector technology have been made in the 66 years since 1960, when this connector was first introduced. Backwards and forwards compatibility is nice to have, but when significant advances in reliability have been made, it is time to refresh the physical interface.
Next, I connected the TD-07 drum sound module to the sensors and tightened the round molded plastic bolt heads. This was a good time to optimize the placement of the drum assembly and the drum mat. After everything is connected, you will need to be more careful about moving the drums.
The instructions that indicate what each 1/4" TR / TRS plug should be attached to are only provided in step 5 of the VQD-106 Setup Guide. The YouTube video makes no mention of this, and the TD-07 manual is silent on this topic. Here is the most important diagram from step 5:
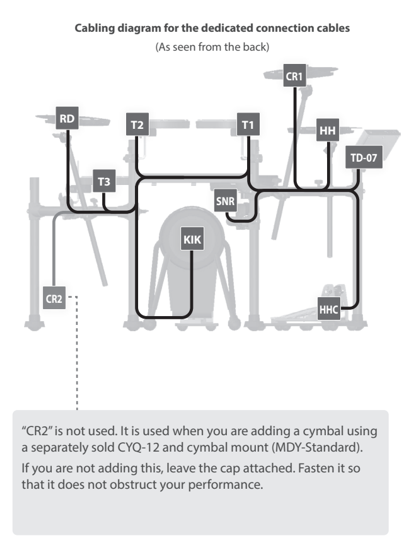
Each cable is a different length, so obviously the longer cables are meant to connect to sensors that are further away from the drum sound module. I measured the lengths from the edge of the plastic housing around the DB-25 connector to the end of the visible portion of the cable when it is plugged in. From shortest to longest:
Length Sensor Color Label TR/TRS 43.5" Left-most tom Blue T1 TR 44" Hi-hat Yellow HH TR 51.5" Snare Red SNR TRS 55.5" Left-most cymbal Green CR1 TRS 59" Right-most tom Blue T2 TR 79" (has a cap on it) not used Green CR2 TRS 79" Right-most cymbal Bright green RD TRS 79" Hi-hat pedal Amber HHC TRS 79" Kick drum Black KIK TR Videos
Roc-N-Soc Nitro Throne
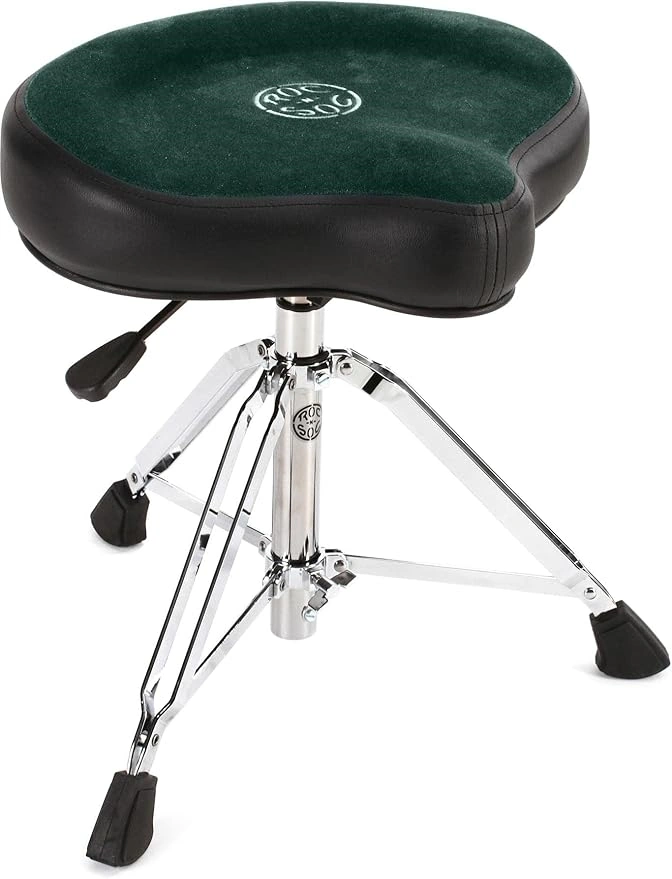
Wow! This green Roc-N-Soc Nitro Original throne was worth the extra money. Motorcycle thrones are much more comfortable than round thrones, no matter how thick, and there is no sense of sliding forward. The Nitro’s gas shock makes the seat float to the proper height.
No instructions were provided with the throne.
This Warning Did Not Apply To My Throne
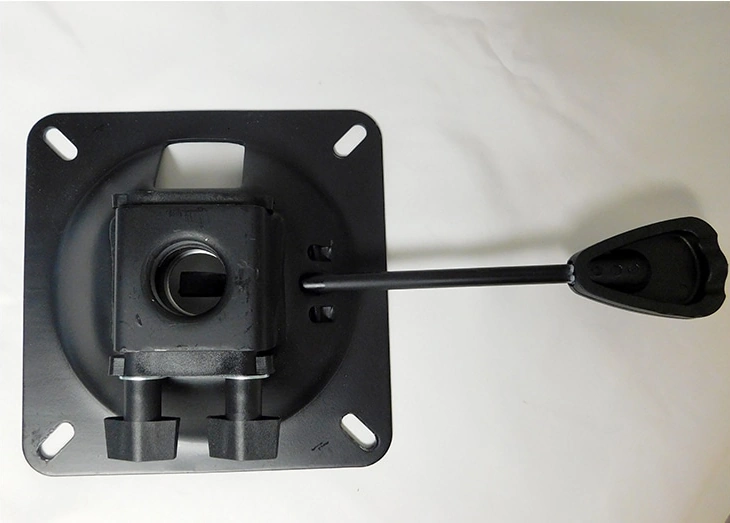
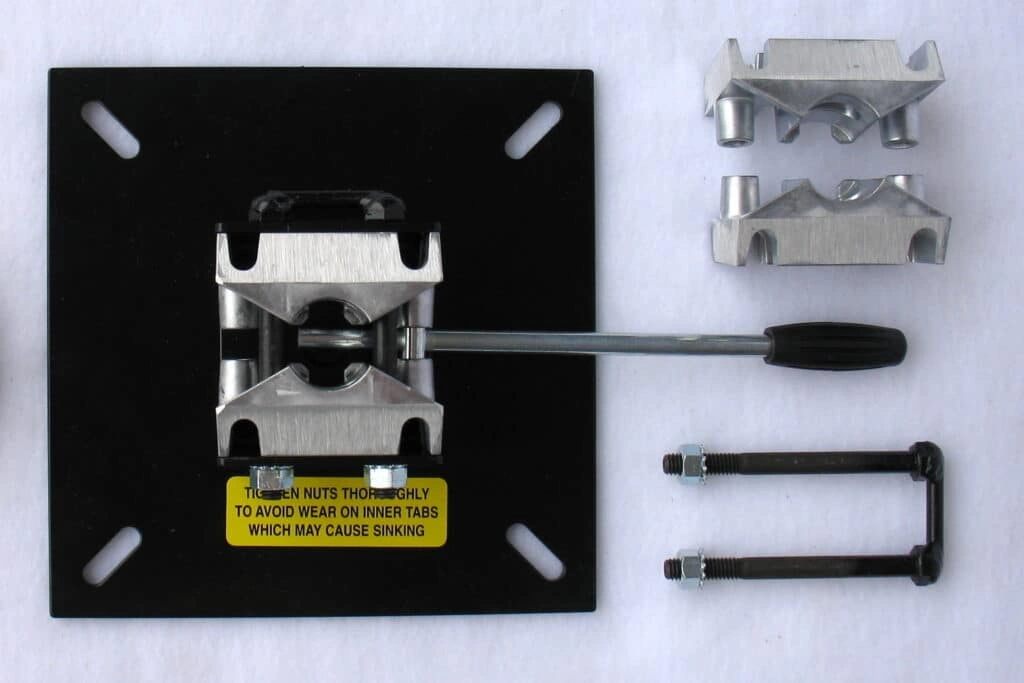
The FAQ says, under Why is my shock sinking?, that if the mount clutch on an older style NR mount is not properly tightened, it will wear out, eventually causing the shock to sink. Below is a photo of my throne, showing the bottom of the seat.
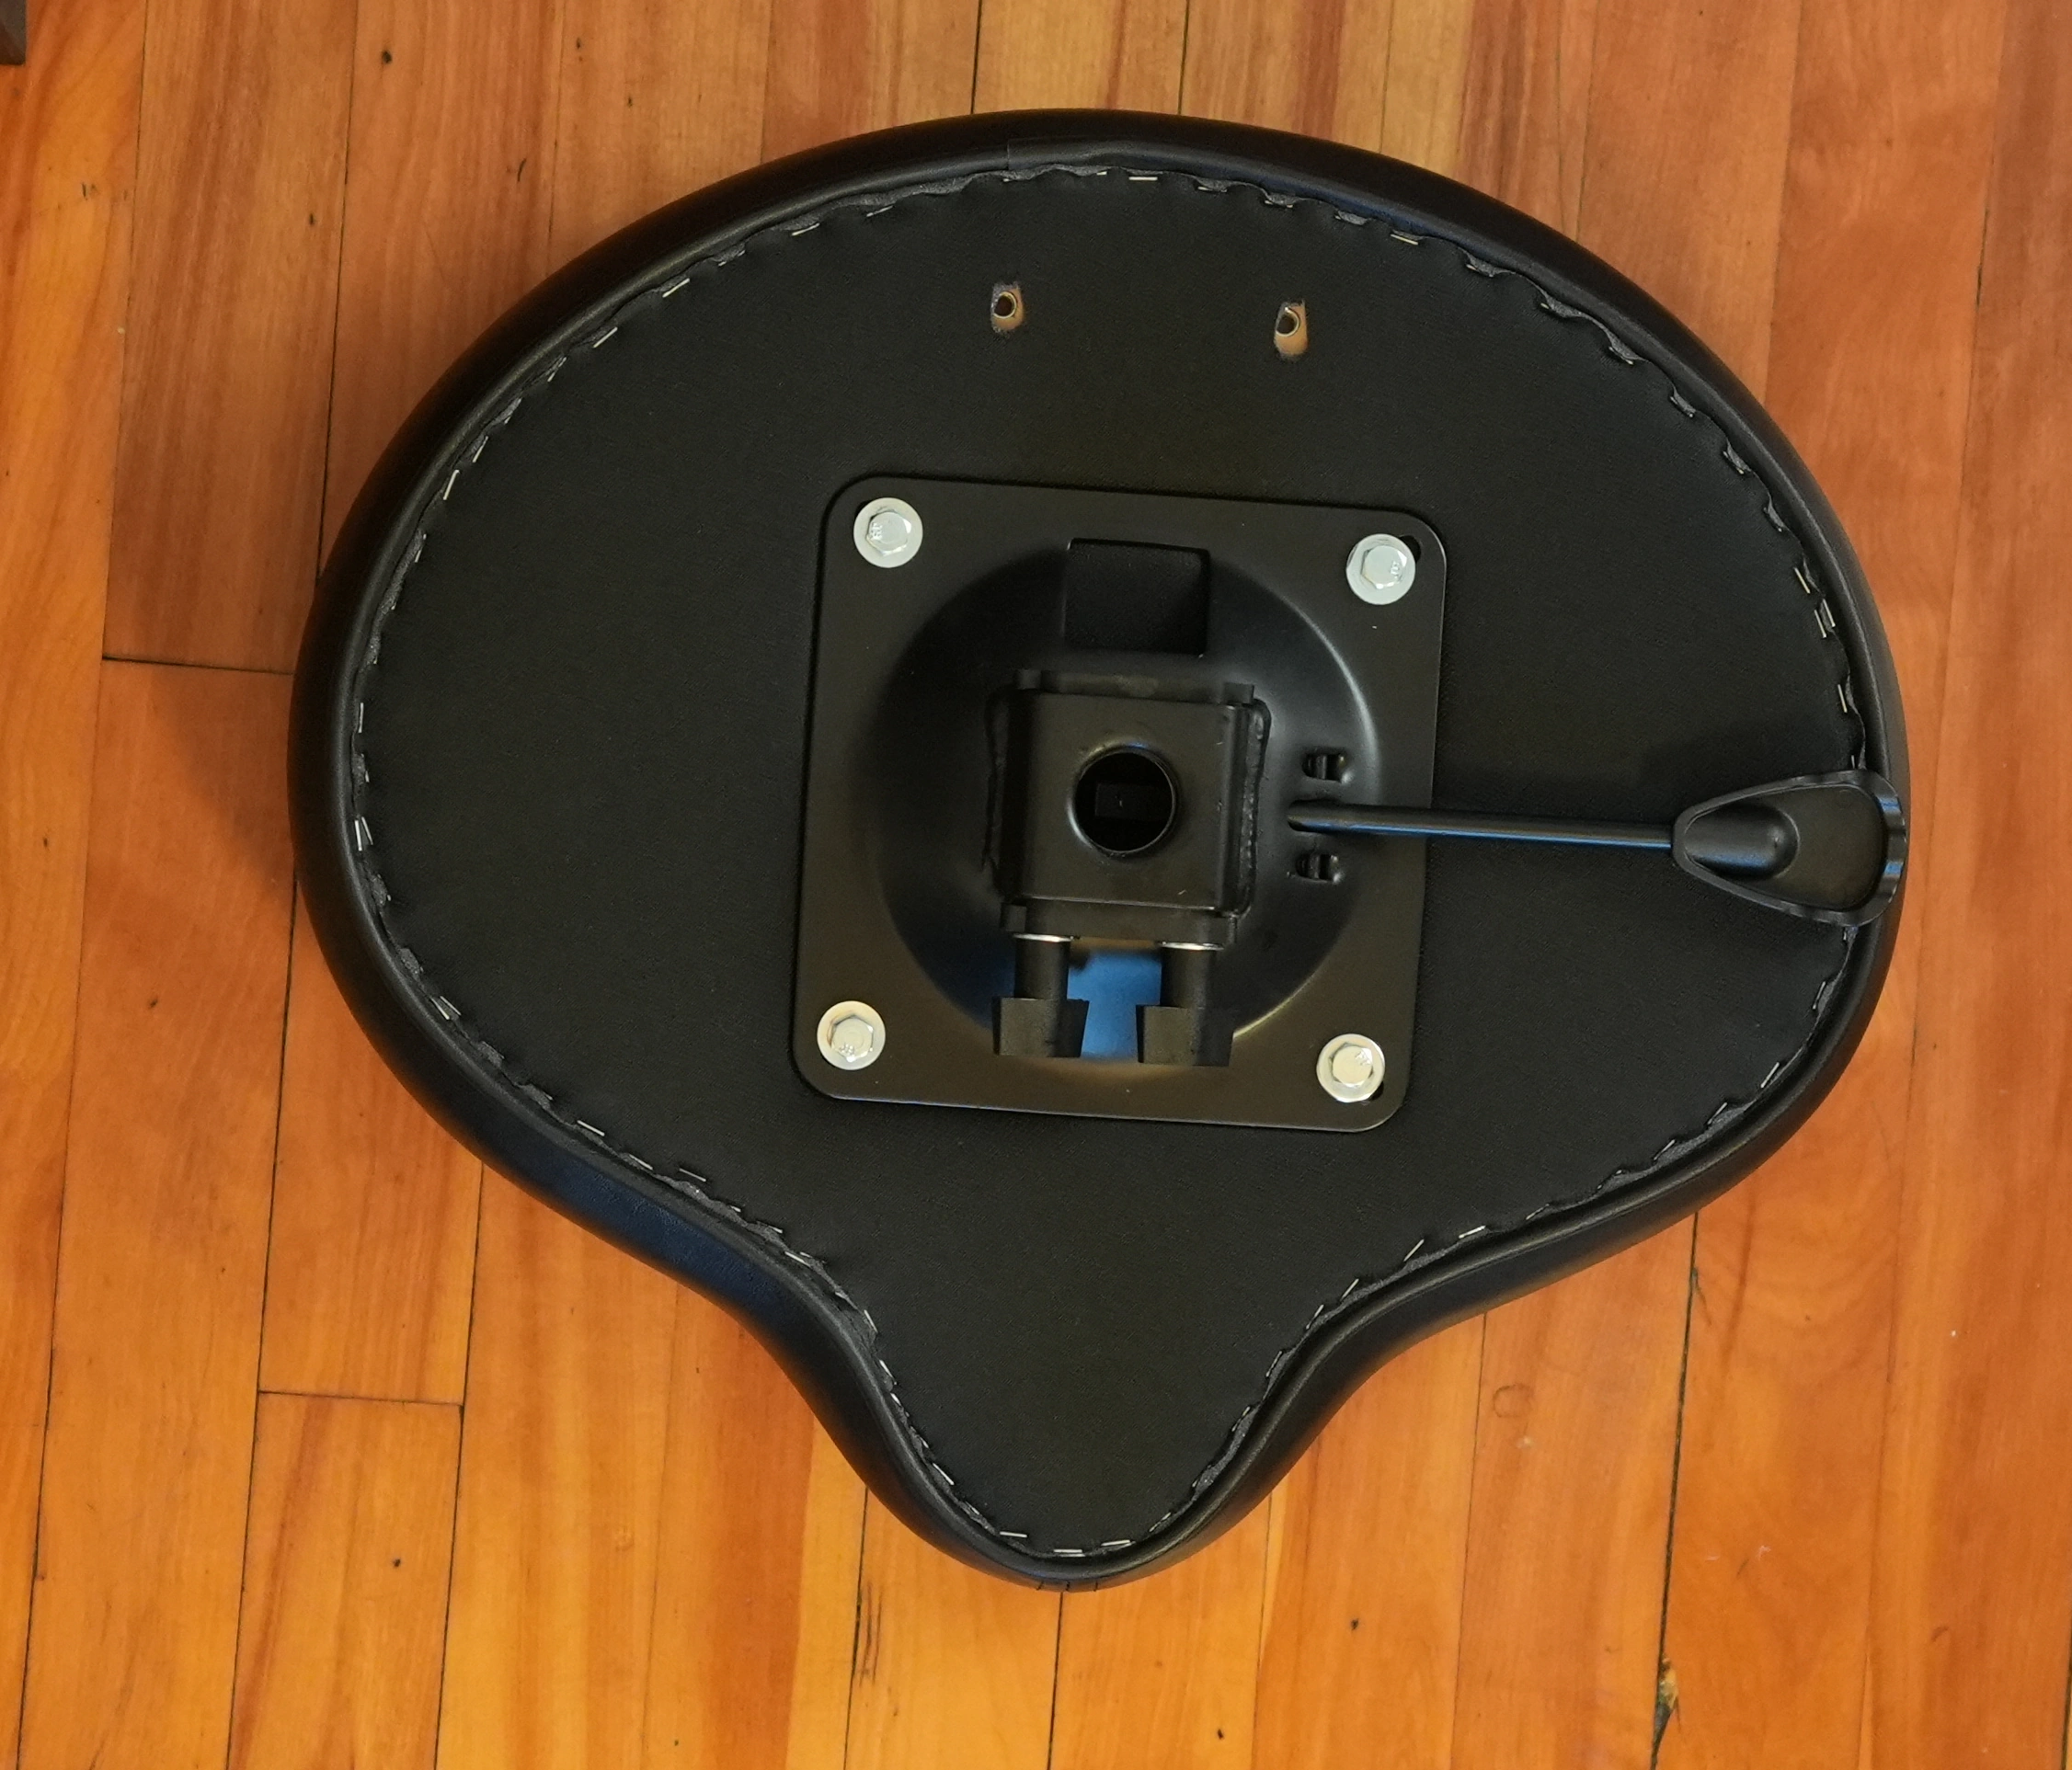
Bottom of my green Roc-N-Soc Nitro Original throne My throne uses this part:
My throne does not use this part:
The above tells me that the warning about the clutch in the FAQ does not apply to my throne.
Warranty
The warranty is two years, and there is no charge for labor for the life of the product, with only minor charges for repairs or upgrades. For all warranty issues and repairs, contact Roc-n-Soc at 828-452-1736. Parts and accessories are here.
Adjusting the Drum Kit
It is important to arrange the drums in an ergonomic manner around yourself. The various drums and cymbals should be easy to reach without having to extend your body much. The videos below show you how to sit, what angle your legs should be, how high you should be sitting, etc.
Recording traditional kits often requires the drums to be spaced out. Electronic drum placement is not limited in this way.
You should sit high enough for your feet to move freely up and down on the pedals. If you sit too low, your leg muscles must work harder. The pedals should be at a comfortable distance.
Sit with your legs apart and the snare centered between them. With relaxed elbows next to your body, hold the sticks out so they are over the center of the snare drum.
Once your body, the two pedals, and the snare are all oriented to each other, then the rest of the kit should wrap around you. Everything should be as close as possible. You should be able to hit all the toms in a smooth arc just by turning your body.
Orient the hi-hat to the snare so you can move back and forth between the two without getting snagged. They should be close to each other, but far enough away not to hit something unintentionally. The relative heights should provide enough separation so your hands can cross, with the left hand hitting the snare.
The cymbals should be placed so you can smoothly transition between the hi-hat and the crash. Adjust the relative heights and angles so your sticks do not catch the underside of a cymbal or something else.
If you have a second crash, adjust it so you can quickly move between it and the ride cymbal.
You want to be able to move back and forth smoothly between the toms and cymbals as well.
Brushes
V-drums do not work well with brushes. I tried some nylon brushes, and the experience was disappointing. Wire brushes would damage the heads. The following video matched my experience.
Sticks
I found I preferred wooden tipped sticks over nylon-tipped sticks, but that is just personal preference. The sticks I tried ranged from 5B to 7A; they all worked well.
I also tried some LED drumsticks. They are a bit longer and a fair bit heavier than 5B sticks. They are fun to play in the dark, but they are longer and heavier than is optimal for most music.
I think it is good to have a collection of sticks of different types and weights. Having a variety of sticks will improve your sound. After playing with the heavier and longer LED sticks, playing with 7A sticks almost seemed surreal. This is because you naturally adjust as you gain experience with something new. The single most important factor to distinguish a musician from all others is their experience.
Verdict
💕 💕After using the drum kit for two months, I am quite impressed with the playable surface that Roland provides. It is responsive, sensitive, durable, expressive, flexible, and generally quite wonderful. I also like the variety of sounds it comes with.
The Roland bass V-drum is a reasonable facsimile of a real bass drum. The cymbals, including the hi-hat, are also quite similar (minus the bell).
For many purposes, the Roland snare is fine. However, it is rather different from a real snare. You should consider the Roland snare drum to be a different instrument than a real snare drum, requiring similar but different skills.
If a classical guitar player picks up an electric solid body guitar like a Les Paul or Telecaster, they will struggle with the difference for some time. One is not a substitute for the other.
The Roland snare is analogous to an electric guitar. The Roland snare does not work with brushes, and is not suitable for being played cross-stick because it is so small.This v-drum is not a substitute for a real drum kit. If you want to reproduce real drums effectively, you will need many mics and mic preamps, and you will not get MIDI. If instead you actually want MIDI from a user interface that somewhat resembles drums, and noise is a problem, then this v-drum is ideal.
The design goal for this kit makes is that quietness is the primary goal. A bell would be much louder than the rest of the kit. If you definitely want a bell on a v-drum, which would require a 3-zone cymbal, then there is no point to paying a premium for super-quiet pads and pedals, so you should consider purchasing something else.
If you intend to use this with a DAW, then upgrading the sound module is not important because the kit just needs to act as a MIDI device, and the sound will come from your DAW instrument patches. On the other hand, if you want a standalone instrument, you might want to upgrade the sound module.
The VQD-106 drum heads are smaller than you would find on a real drum kit. Roland offers other kits if you want MIDI drums with more traditionally-sized drum heads, but they are not as quiet. For example, the Roland TD-50X V-Drums.
About the Photographs
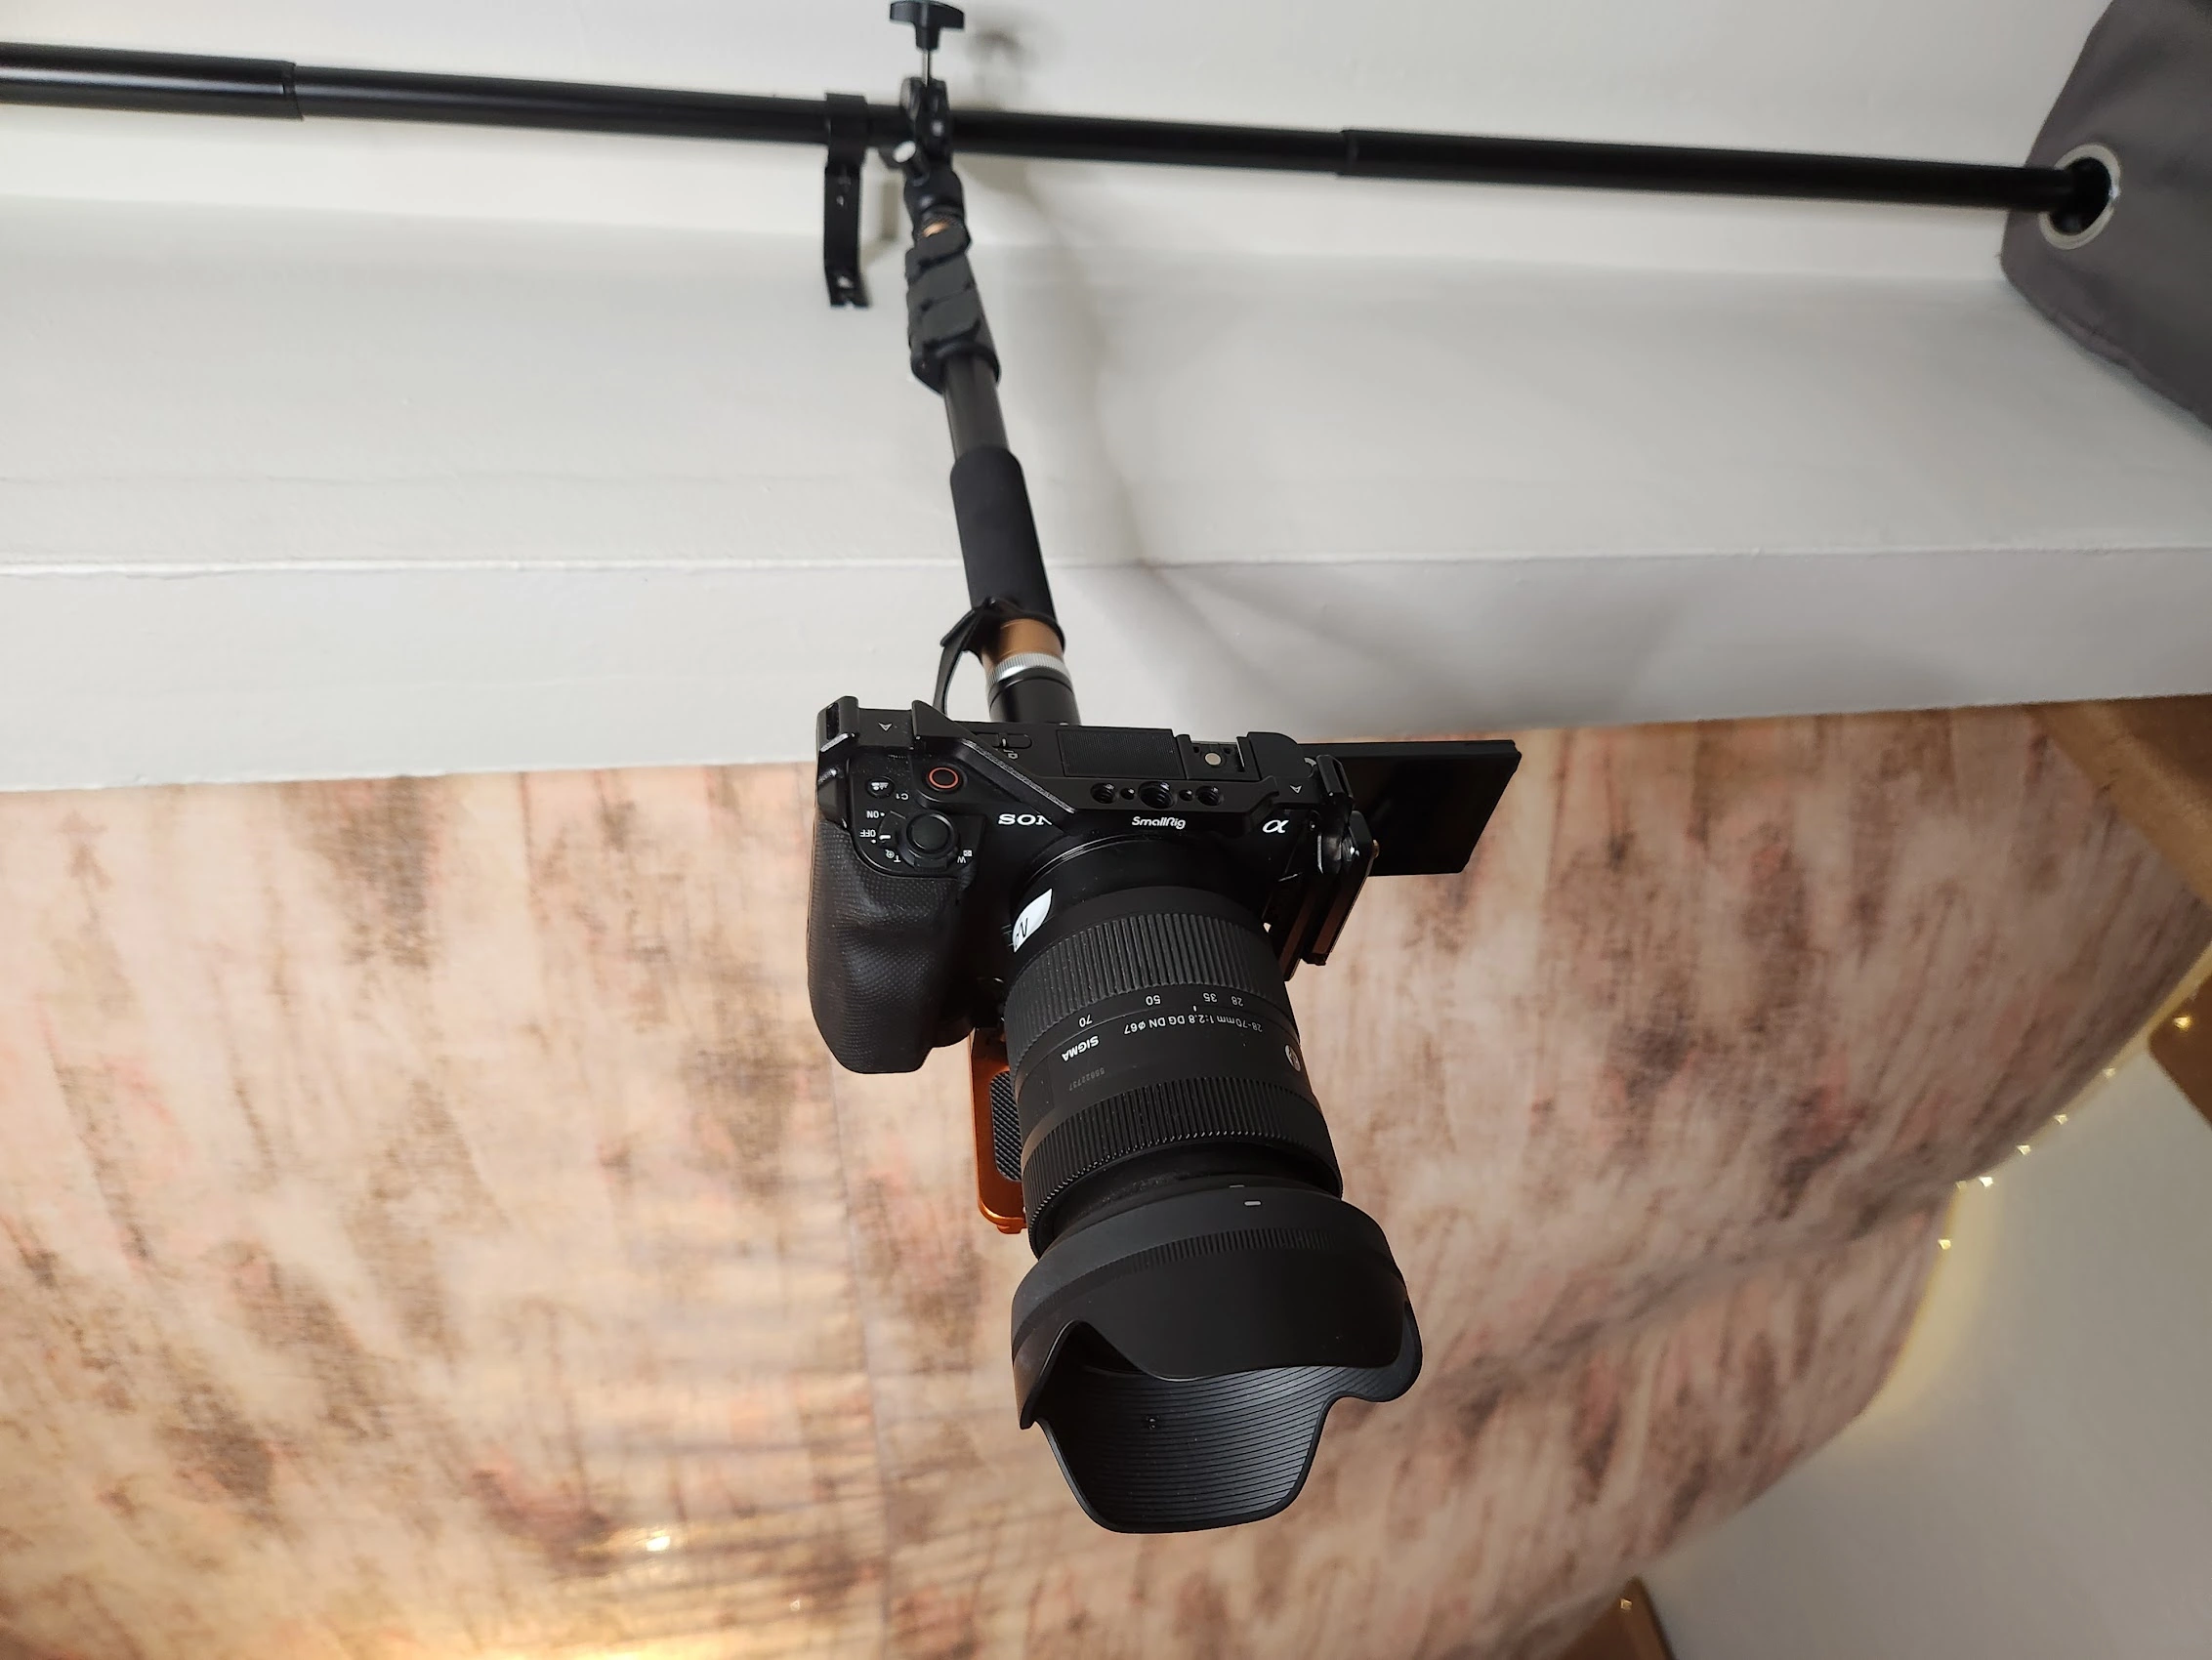
Most of the photographs I took for this article were taken with a camera hung from the ceiling, using a frankenpod:
Working With DAWs
Please read Roland TD-07 And DAWs for information about working with Pro Tools, Ableton Live and EZ Drummer 3 on Windows 10.

