Published 2024-12-02.
Last modified 2024-12-10.
Time to read: 6 minutes.
av_studio collection.
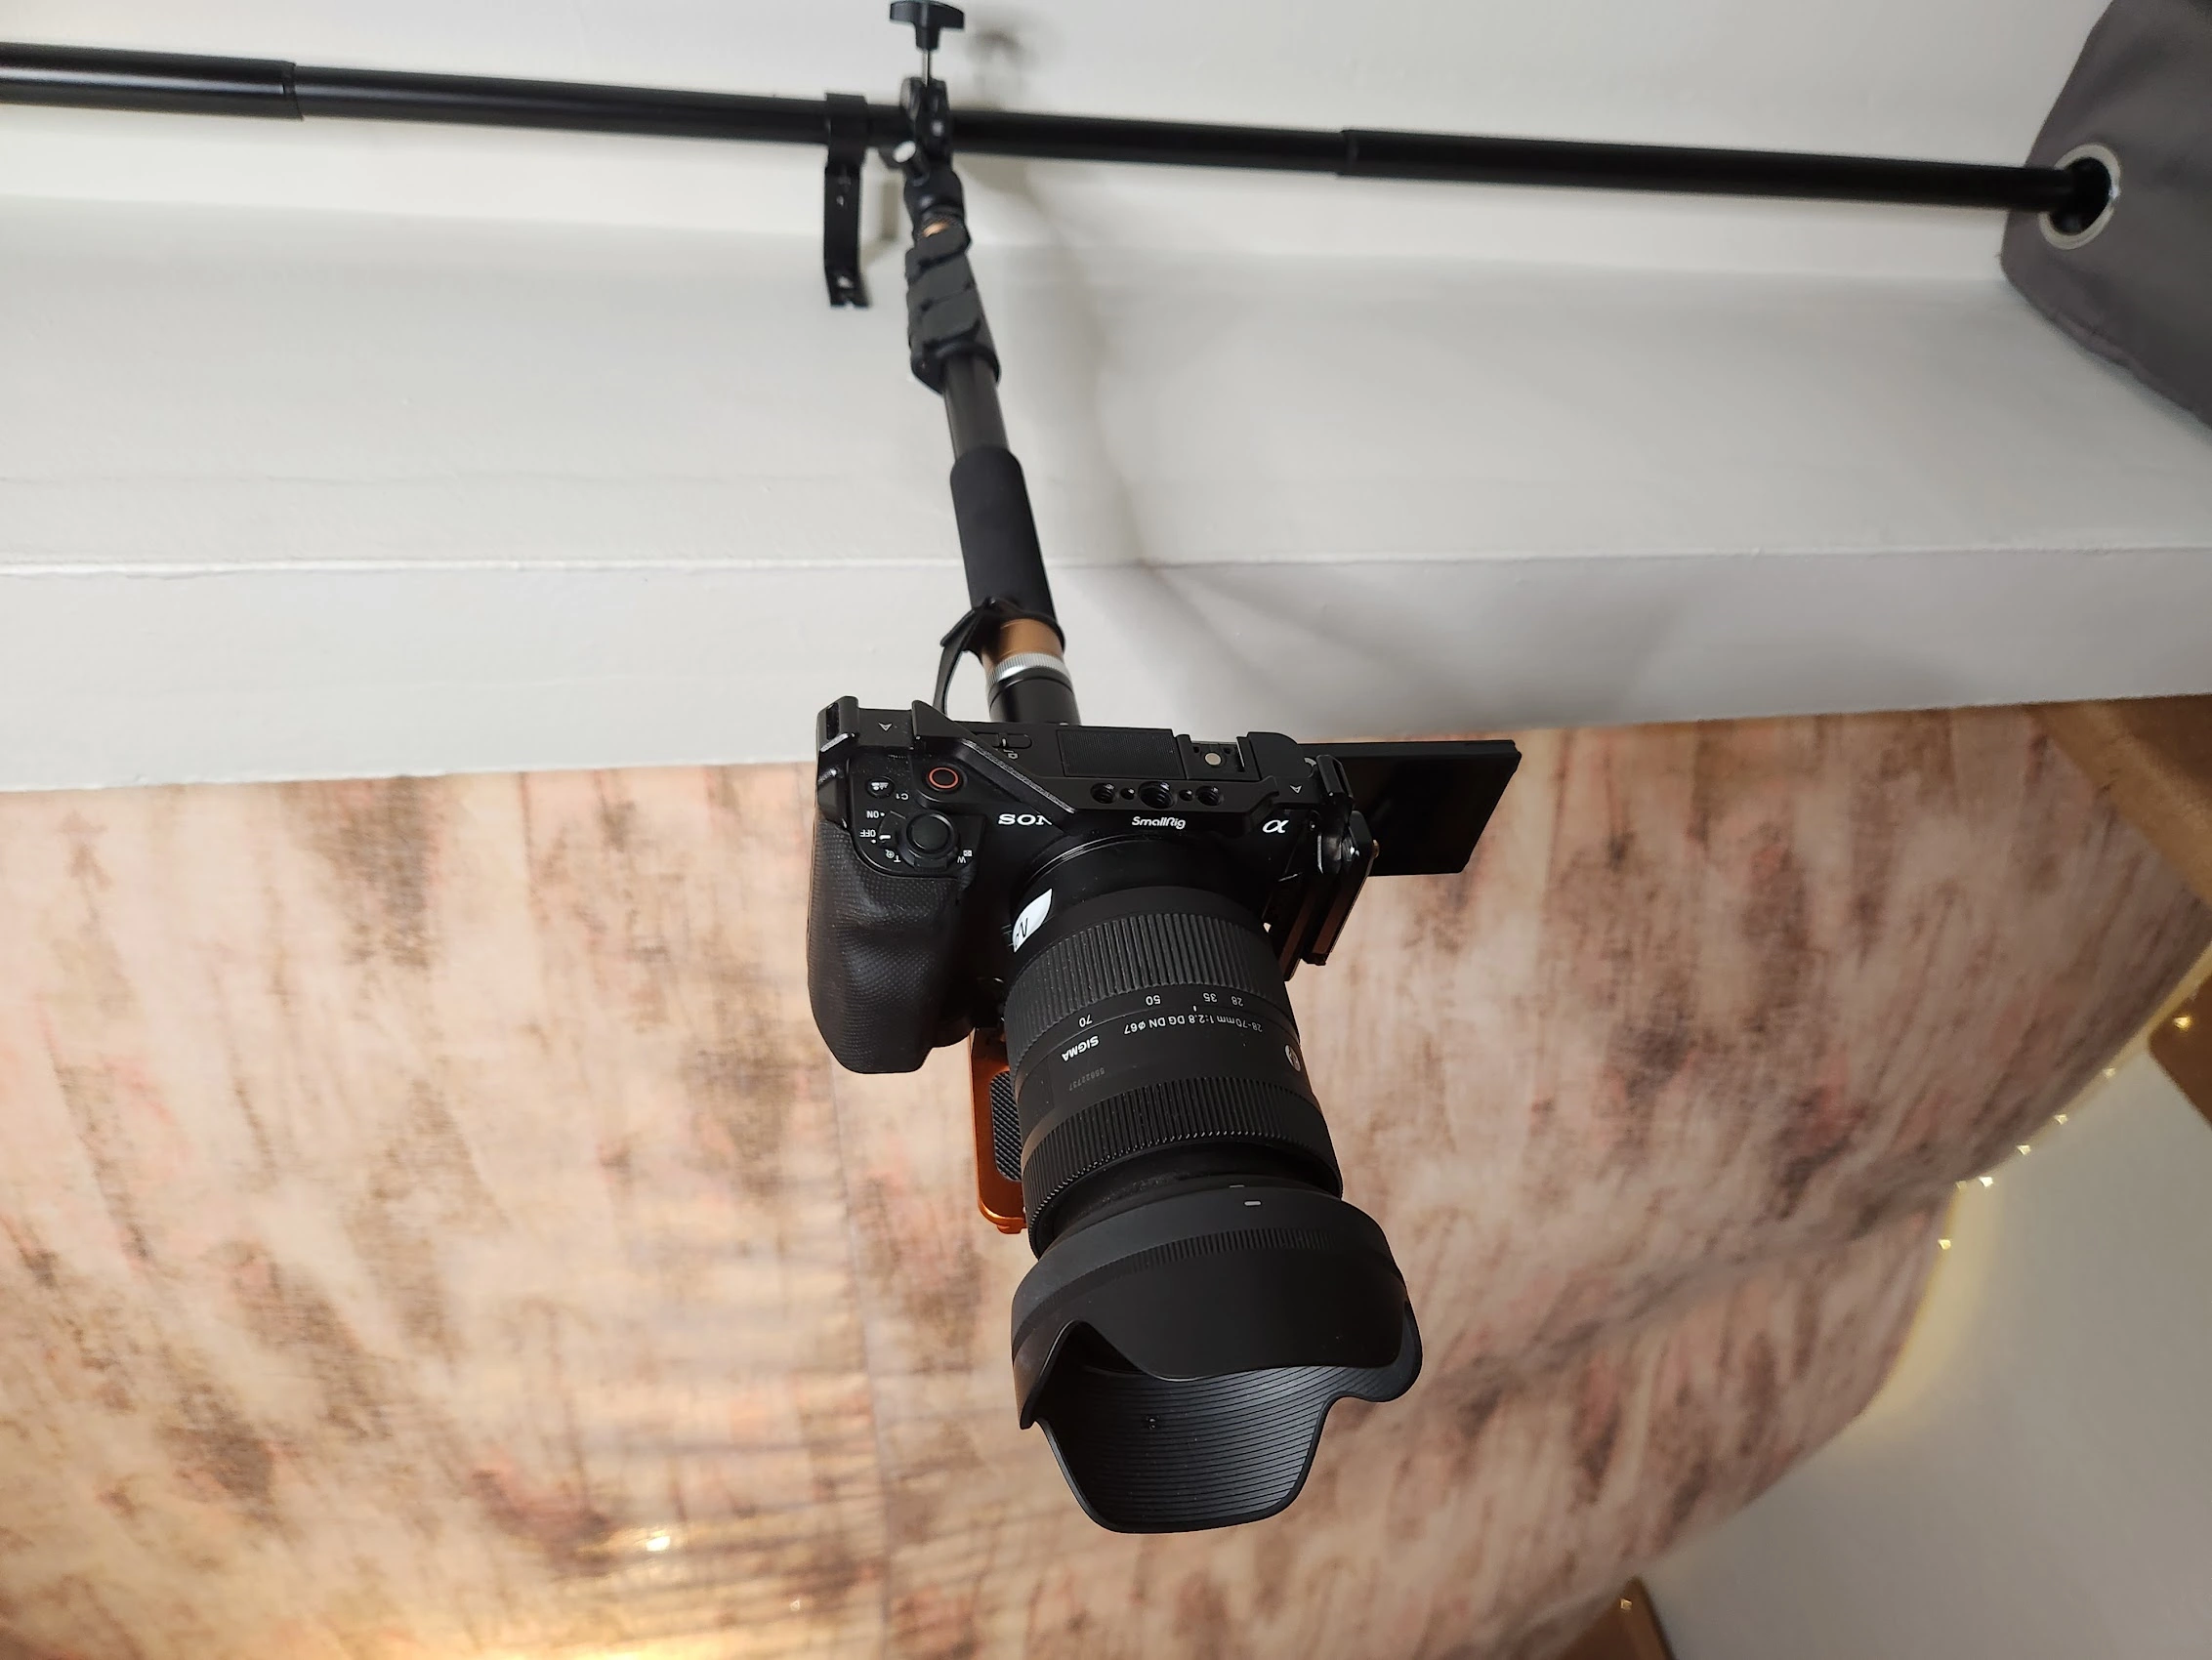
I call this device for hanging a remote-controlled camera a frankenpod. It is versatile, solid, safe, inexpensive, and easy to work with.
Unlike a bulky tripod, the frankenpod uses no floor space to hold a camera. The frankenpod can be located right against a wall, giving maximum space between the camera and the subject.
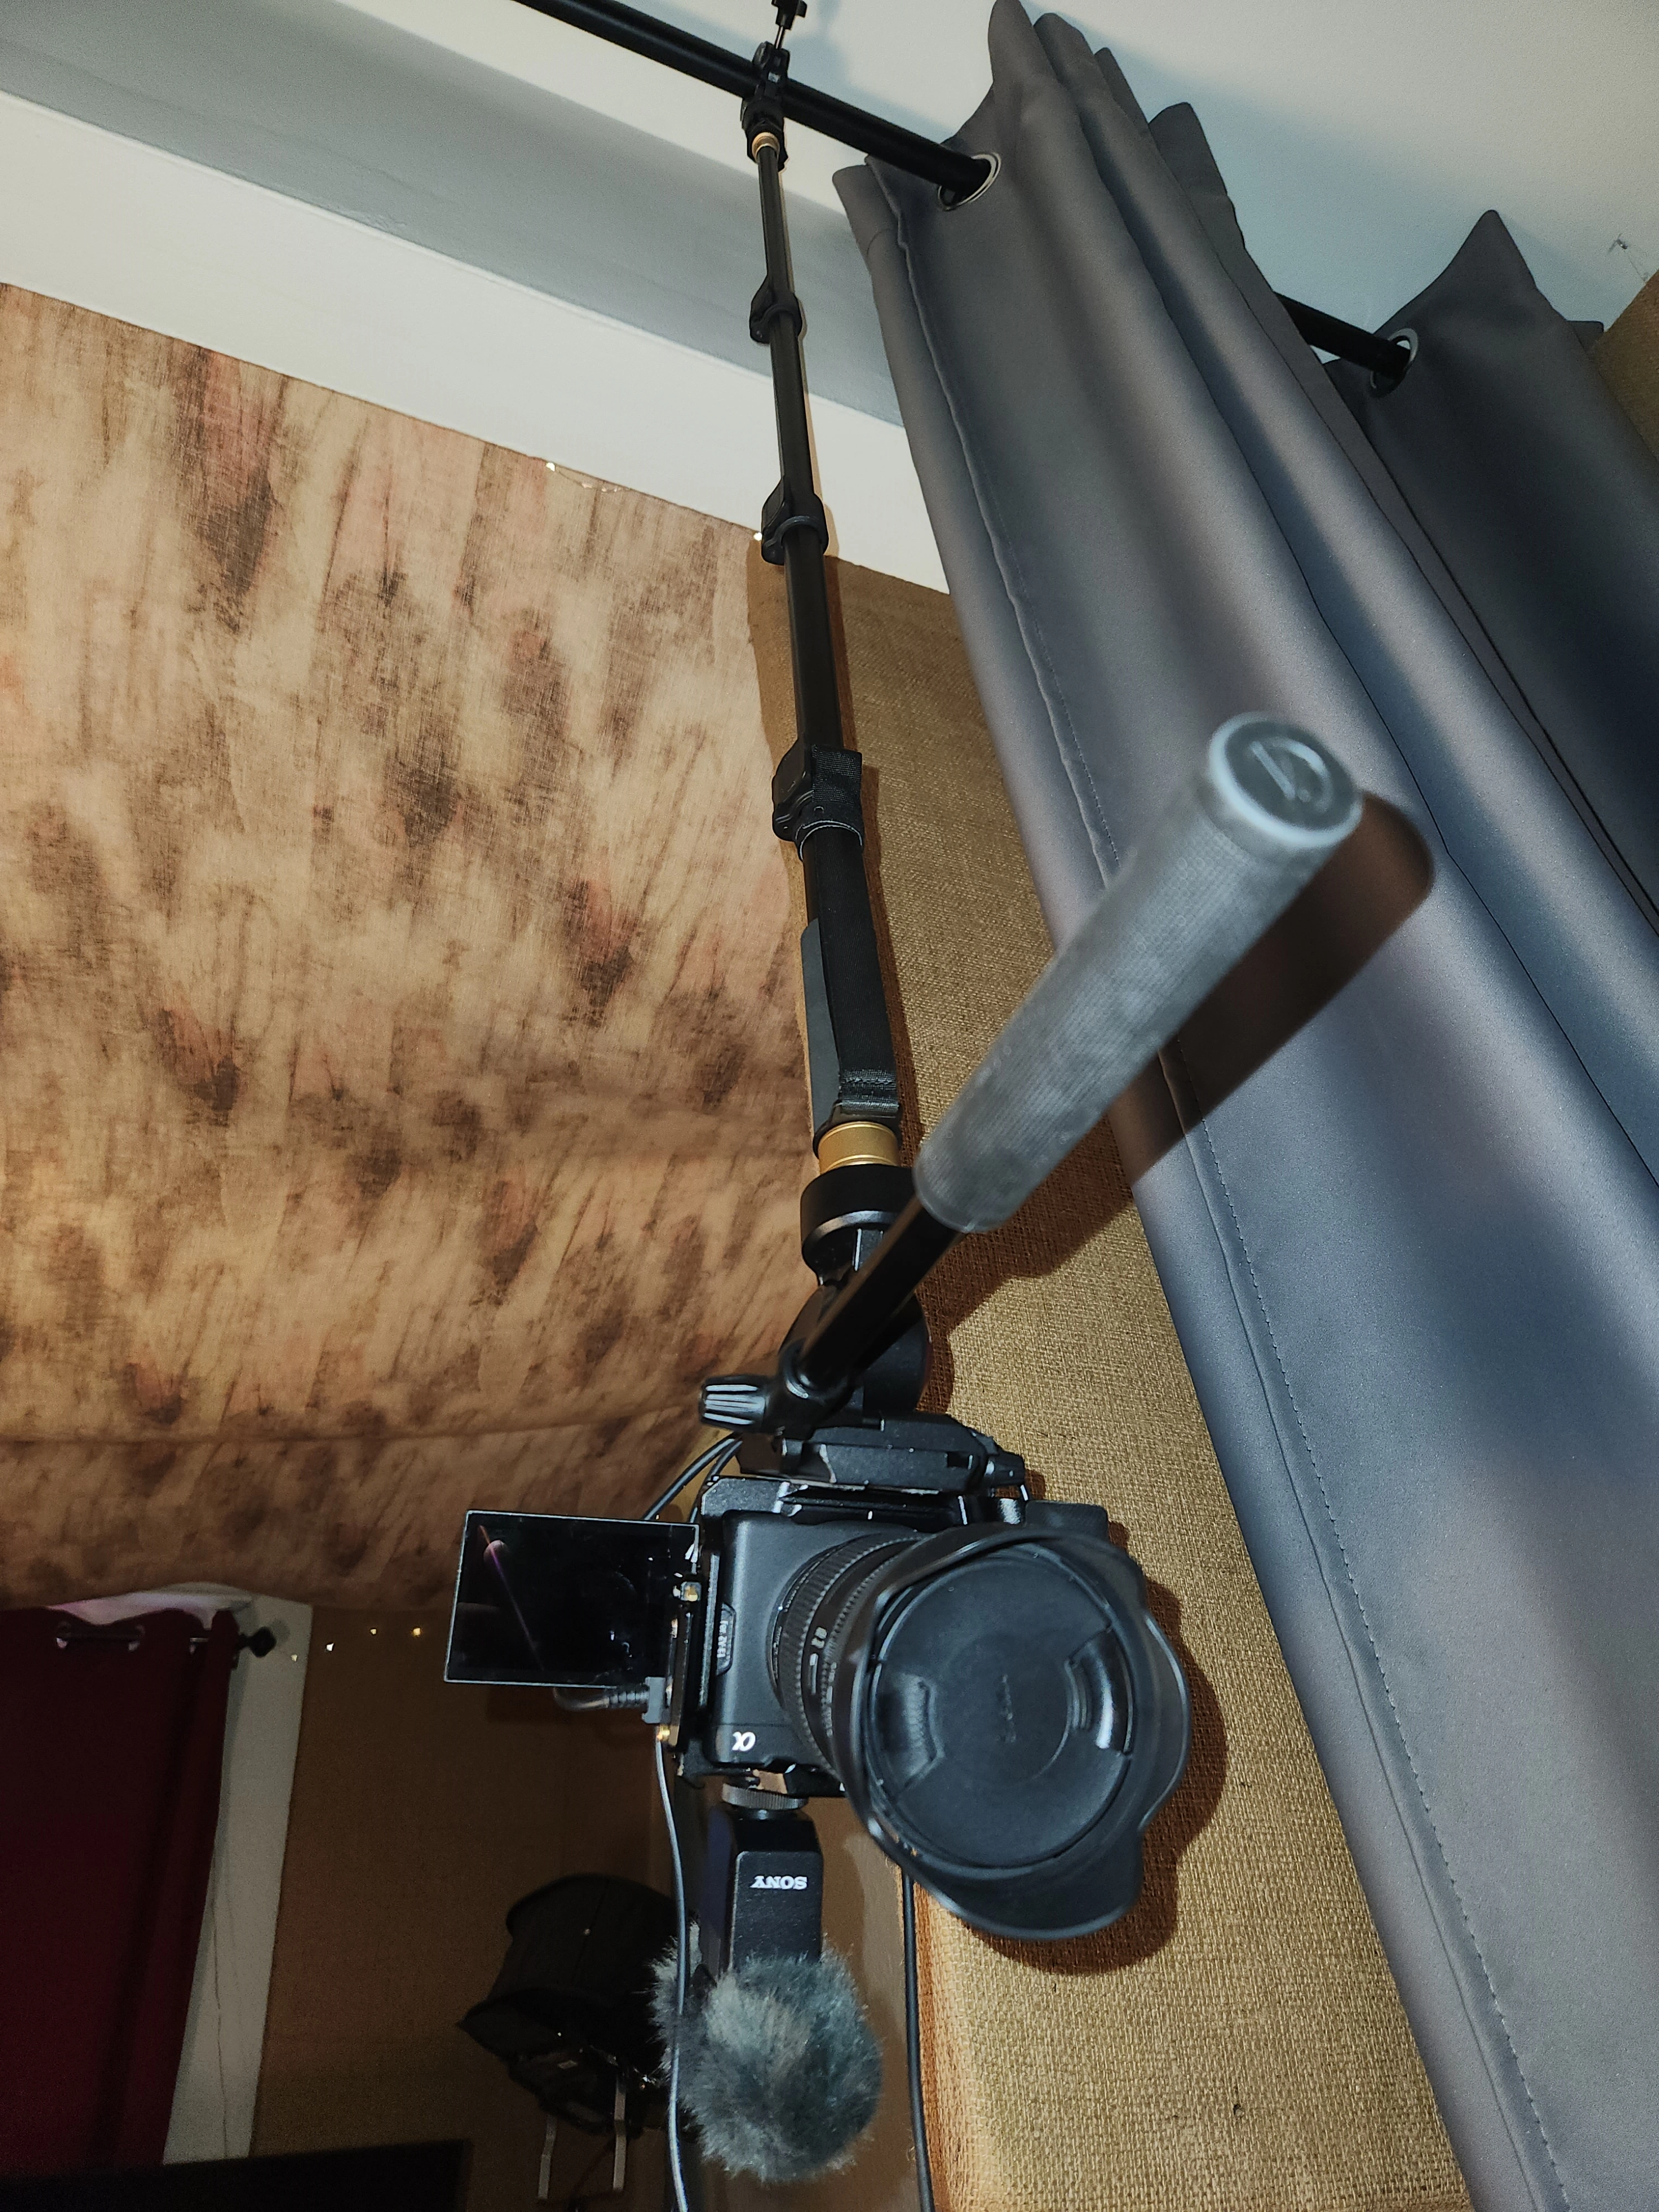
I suspend my frankenpods from 1" metal curtain rods. Frankenpods are easily adjusted to various lengths, which allows the camera to be held near the ceiling or as low as waist height. The camera can be oriented straight down, as shown in the next photograph, or it can be pointed anywhere in the room except up at the ceiling.
The camera shown in these photographs is a Sony Alpha ZV-E1. It can be remotely controled via Wi-Fi from a Windows or Mac computer using Sony Imaging Edge Remote. It can also be controlled by the Sony Creator’s App running on a mobile device.
Components
Metal Curtain Rod
I discuss the metal curtain rod, and various curtains that I use in an article entitled in Studio Backdrop.
Monopod
The main component is an extensible monopod with a 1/4-20 UNC female thread on the bottom, and a 1/4-20 UNC male thread on the top. The female thread on the bottom provides a way for the camera clamp mount to attach to the foot of the monopod. Some monopods have a ball head on top; those can usually be removed.
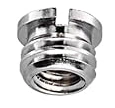
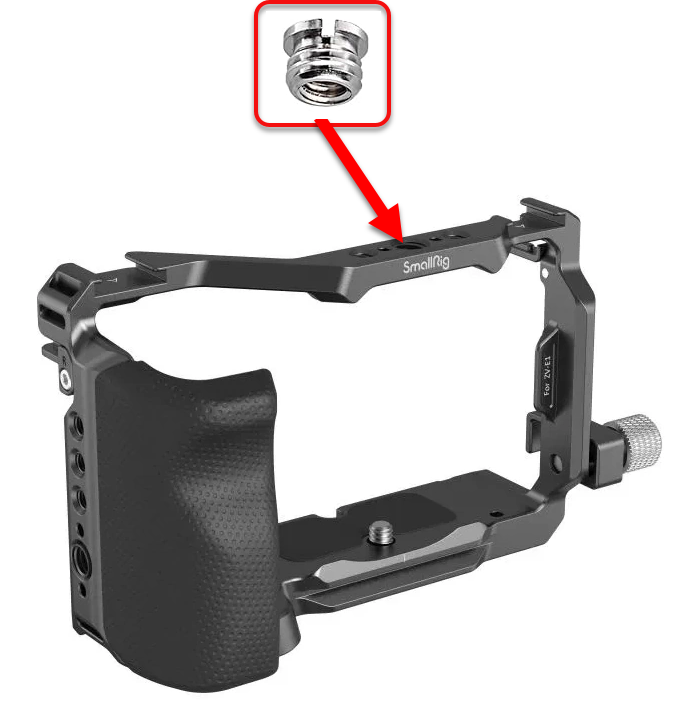
The monopod shown above has a 3/8-16 UNC female thread on the bottom, so it needs a 3/8-16 UNC female to 1/4-20 UNC female reducer, shown in the image on the right, so the camera clamp (shown next) can be attached. If you have a monopod with different threads, no worries, mismatched threads are easily handled with adapters.
Camera Clamp
A camera clamp, like the one shown on the left, attaches to the bottom of the monopod.
Video Head
Frankenpods attach a video head to the top of the monopod. Because the monopod is oriented upside down, the video head also upside down.
Levels do not work upside down. If your video head incorporates a level, the level will not be able to function when used in a frankenpod.
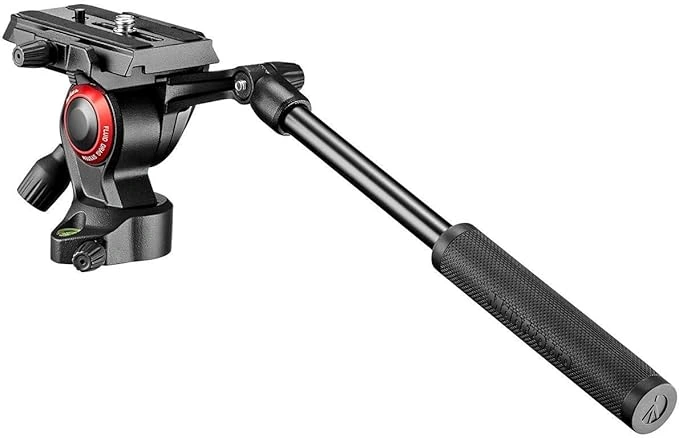
The handle on the video head allows the camera operator to swivel the camera without accidentally misadjusting the lens or touching a button on the camera. As you can see in the images of the assembled frankenpod below, the video head of a frankenpod is oriented backwards from the usual way: the handle points towards the subject, like the direction that the camera lens is pointed towards.
Manfrotto Befree
The Manfrotto Befree Live Fluid Head that I used does not swivel as smoothly as other fluid video heads.
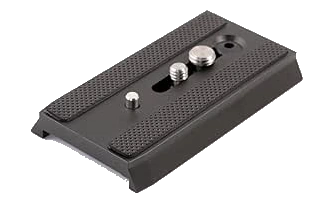
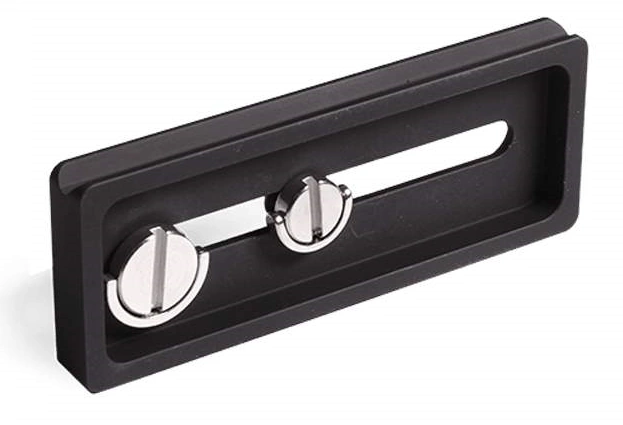
This head includes a useful feature for balancing the camera so it hangs straight: a 90-mm-long sliding plate. Unfortunately, the 501PL sliding plate is proprietary, not a standard like Arca. Many Chinese vendors provide compatible sliding plates that kinda-sorta fit.
The Manfrotto Befree video head has a 3/8-16 UNC female thread on the bottom.
Slik Envy
I have an very old Slik fluid video head that features a handle that locks and unlocks when the handle is turned. That video head is much nicer to use than the Manfrotto Befree, but it also uses a proprietary plate.
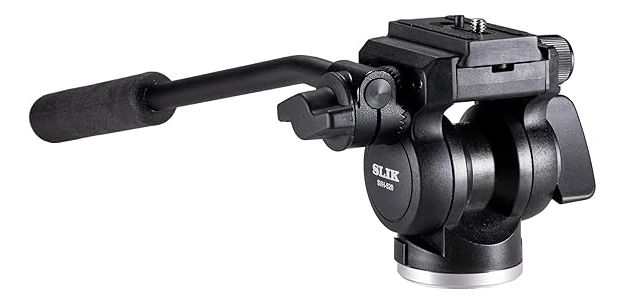
I am thinking of purchasing a Slik SVH-520 Arca-compatible fluid video head. I hope that the Slik SVH-520 works as nicely as my old Slik head.
The top stage of the Slik SVH-520 is Arca compatible, and I have other Arca compatible hardware, so that is synergistic. The sliding plate that comes with the Slik SVH-520 is 35% shorter than the sliding plate that comes with the Manfrotto Befree. Longer Arca plates are available.
Thread Adapters
Like the Manfrotto Befree, the Slik SVH-520 base features a 3/8-16 UNC female thread. Unlike the Manfrotto Befree, the Slik SVH-520 includes a 1/4-20 UNC female to 3/8-16 UNC female reducer. One of these reducers is required to attach the monopod to the bottom of the video head, and another reducer would be required if you decided to attach the top of the camera cage to the top of the video head. More on that in a moment.
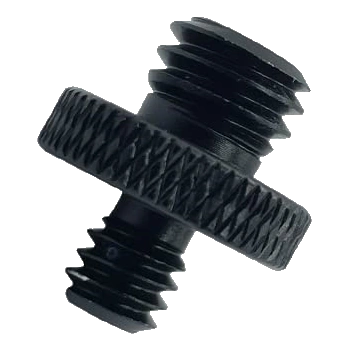
The monopod that I used to make the first frankenpod came with a ball head that attached with a male 1/4-20 UNC thread. After removing the ball head, the monopod required a 1/4" male to 3/8" male thread adapter between the top of the monopod and the bottom of the video head.
Camera Cage
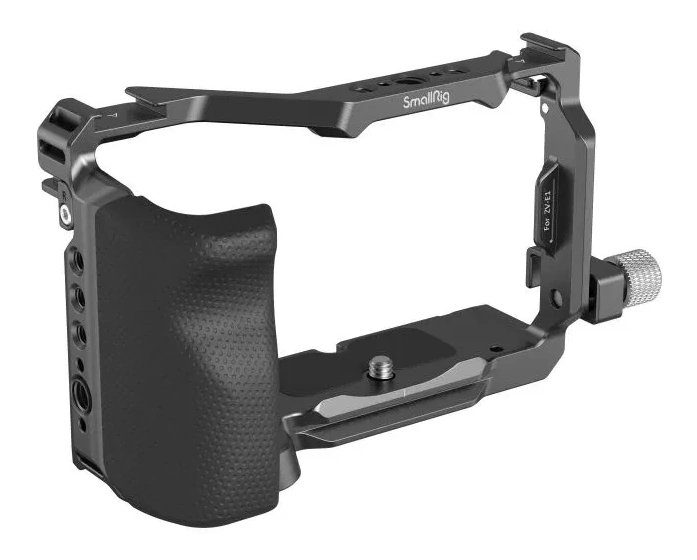
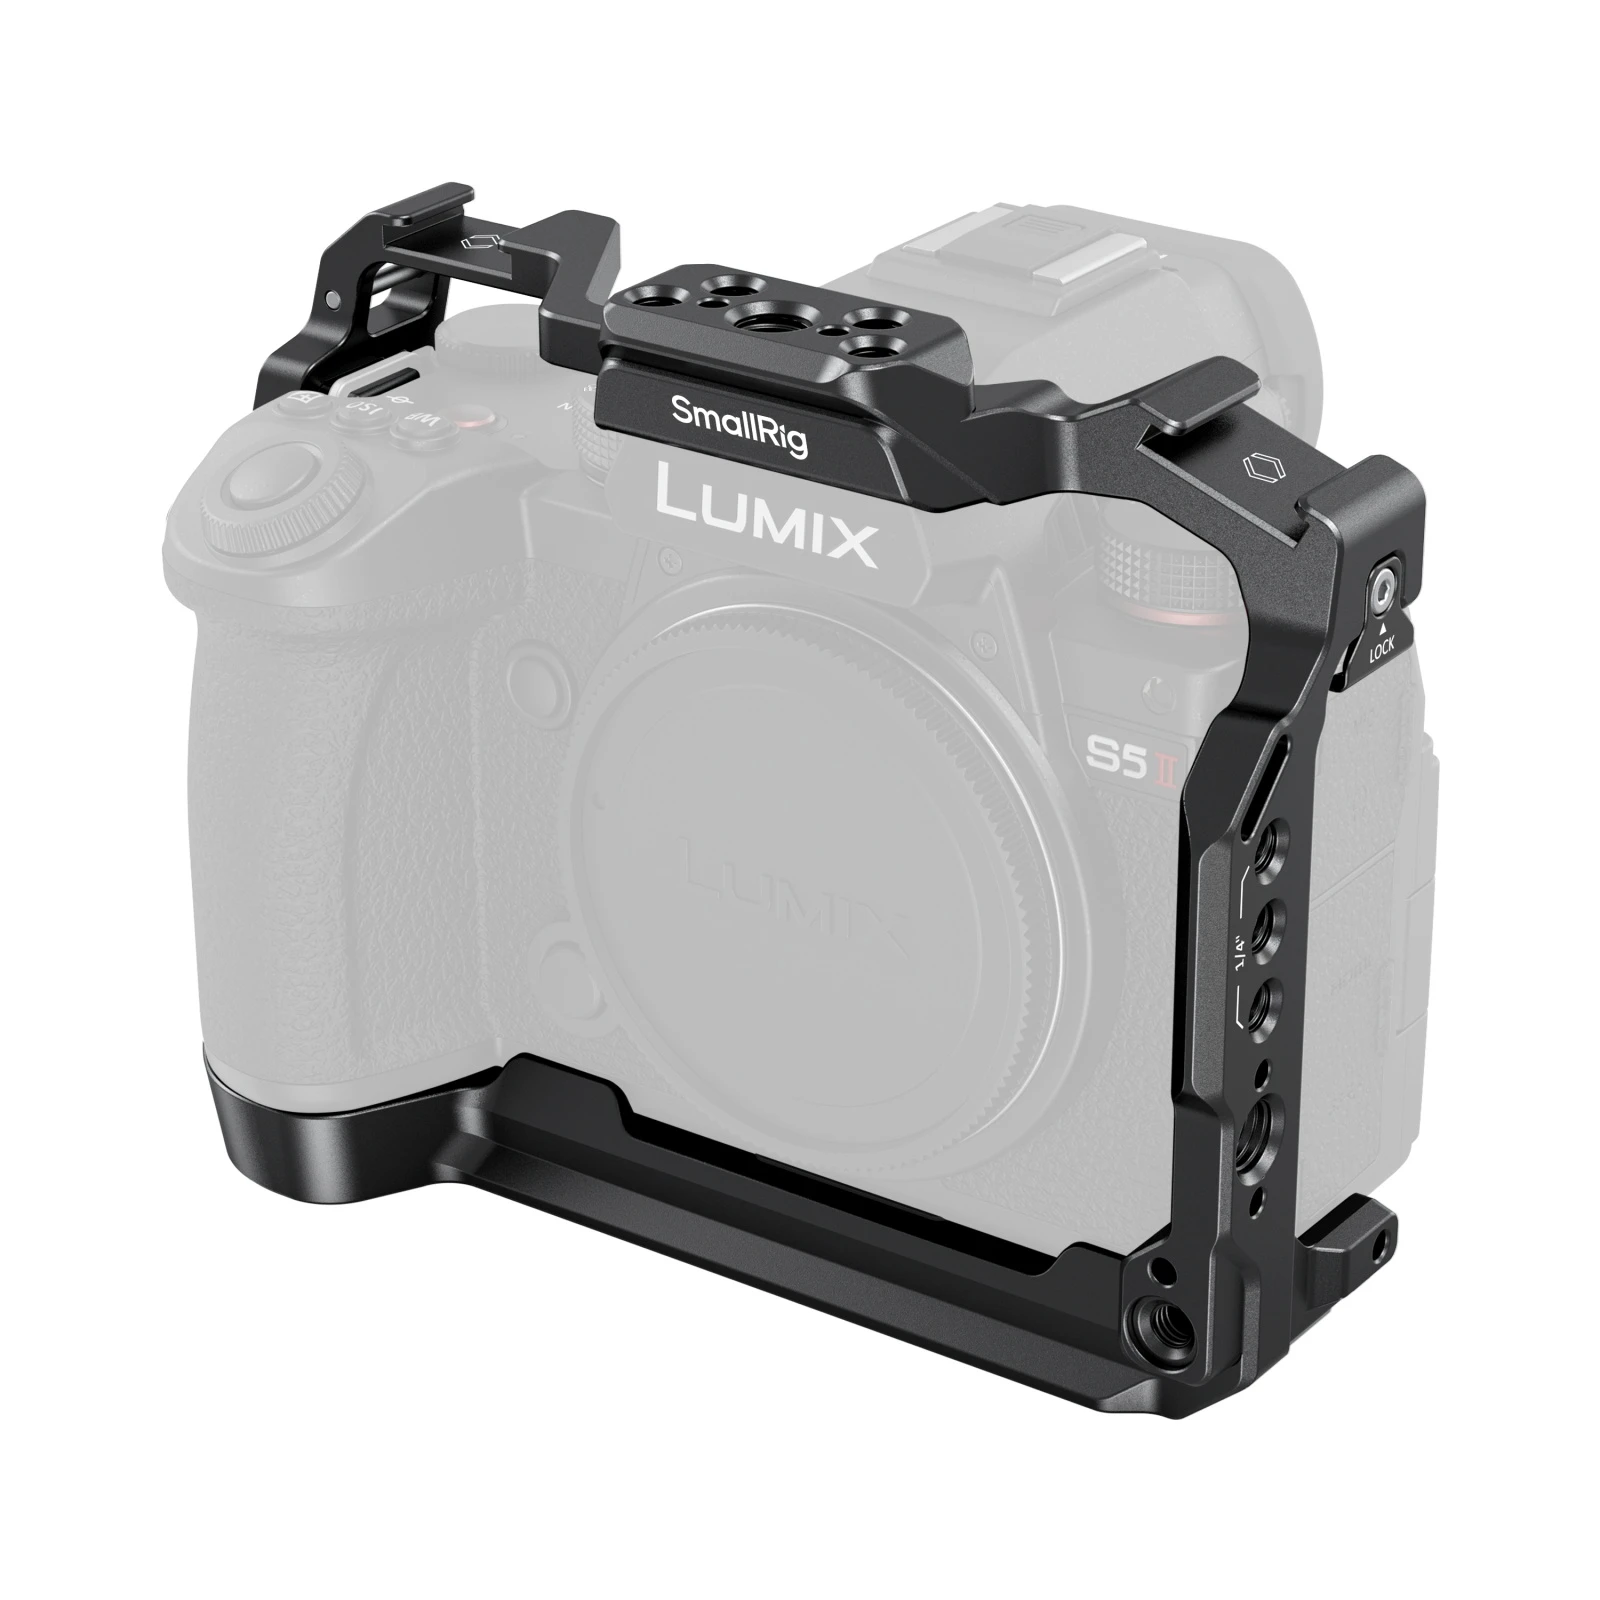
All the photographs in this article show the camera housed in a camera cage. The Sony ZV-E1 camera uses a SmallRig 4257 cage, and the Lumix S5 II uses a SmallRig 4022 cage. A camera cage provides a good way to hold the camera right-side-up. Without the camera cage, the frankenpod can only hold the camera upside-down.
BTW, the above camera cage contributes to the well-known problem of the Sony ZV-E1 camera overheating in a warm environment, More on this later.
Assembled Frankenpod v1
Frankenpods should be assembled and modified when lying on a flat surface. Your camera may fall if you try to make structural changes to a frankenpod while it is hanging.
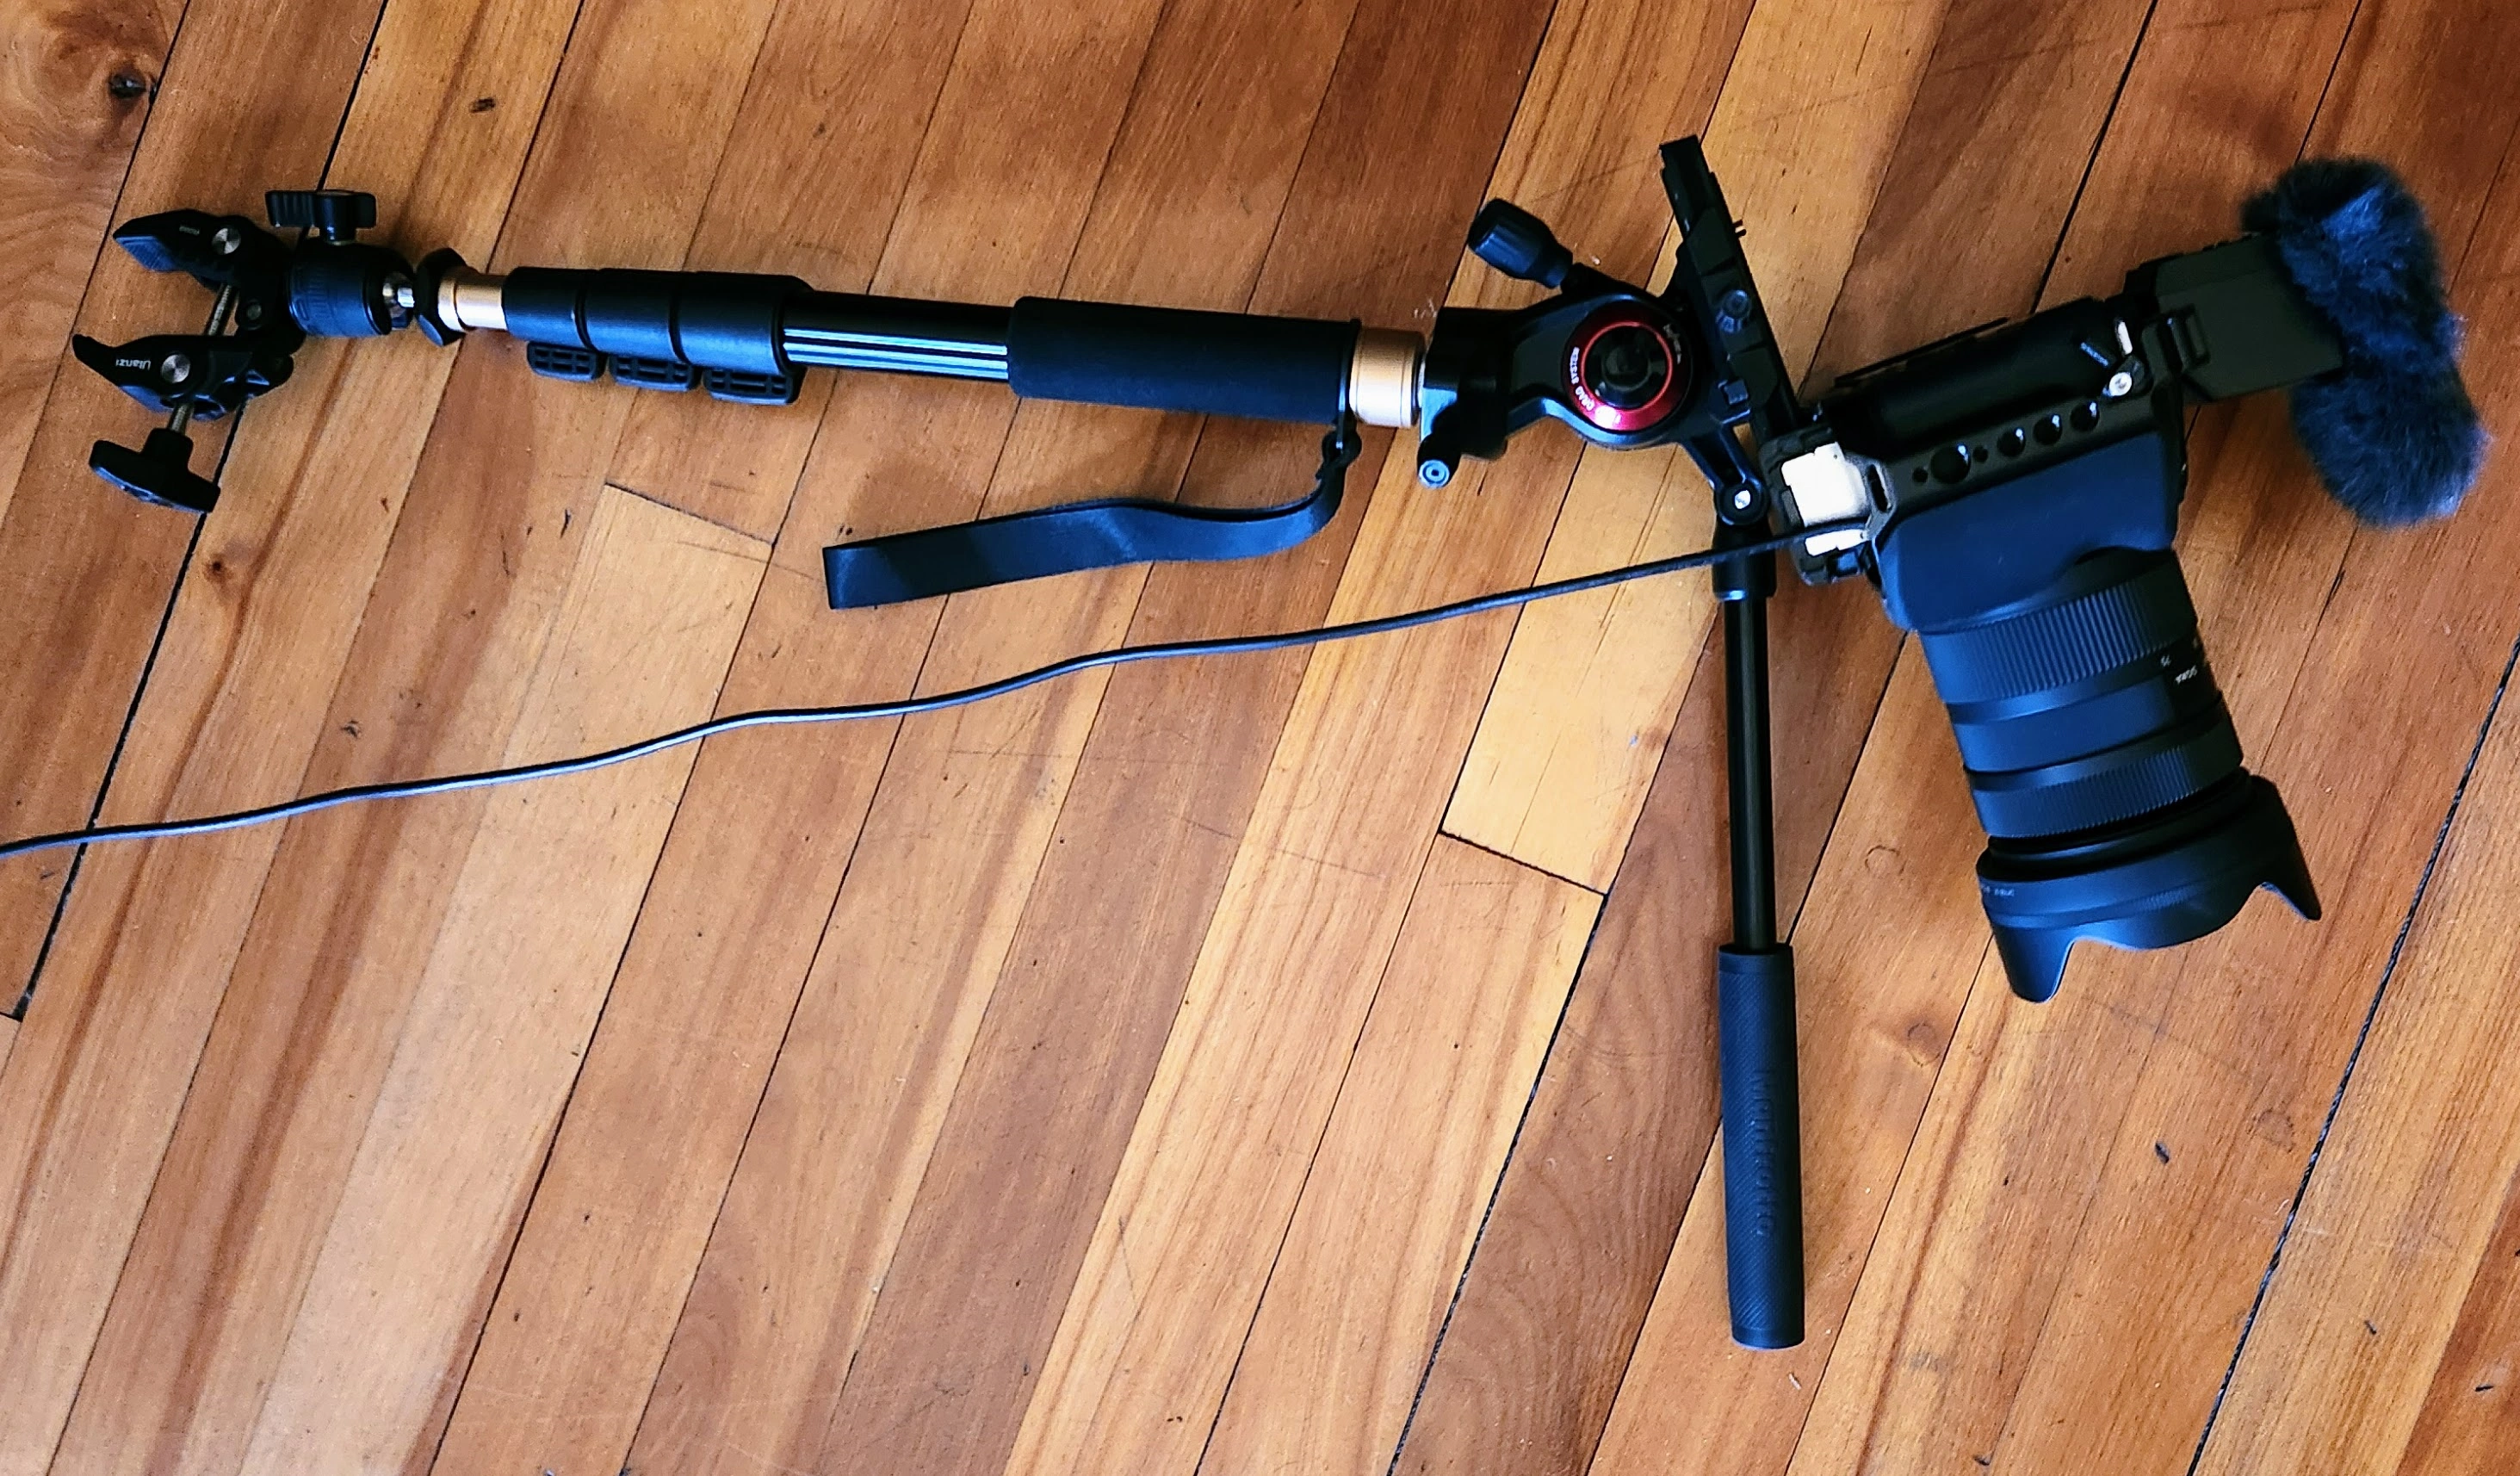
This next image shows all the pieces put together such that the camera would be operated upside-down. You can see the 90-mm-long 501PL sliding quick-release plate, which helps balance the camera so it hangs straight.
I pulled the sliding plate holding the camera as far forward as I could for this photograph so you could see it better. As you will see in the photographs later in this article, the sliding plate is best used when pushed to the other extreme, so the weight of the lens is centered around the monopod.
I oriented the camera viewscreen so it can be seen when looking at the camera. This camera has a dummy battery power supply, so I can leave it turned on for long periods.
DAW Audio Feed
I often want to record video with a mix from the DAW instead of using the audio from the camera’s microphone. This lets me record a video of a musician playing their part against the other parts of a song while capturing the audio of their performance in the DAW and recording a video with an audio mix from a live feed from the DAW.
To achieve this, I route an audio feed from RME TotalMix to the camera using a stereo audio cable, terminated on one end with a stereo 1/8" jack, and the other end terminated with a Y-splitter to two male 1/4" mono TR plugs.
Upside-Down Camera
I include these next photos because the camera is held upside down unless a camera cage is used. If the camera is upside down, the photographs and videos are also made upside down. An upside-down Sony ZV-E1 camera automatically orients the image on the viewscreen so it is right-side-up, but this does not affect the orientation of photographs or videos.
Sony Imaging Edge can correct the orientation of the displayed video preview, and your NLE (such as DaVinci Resolve) can flip photographs and videos right-side up once they are placed on a timeline.
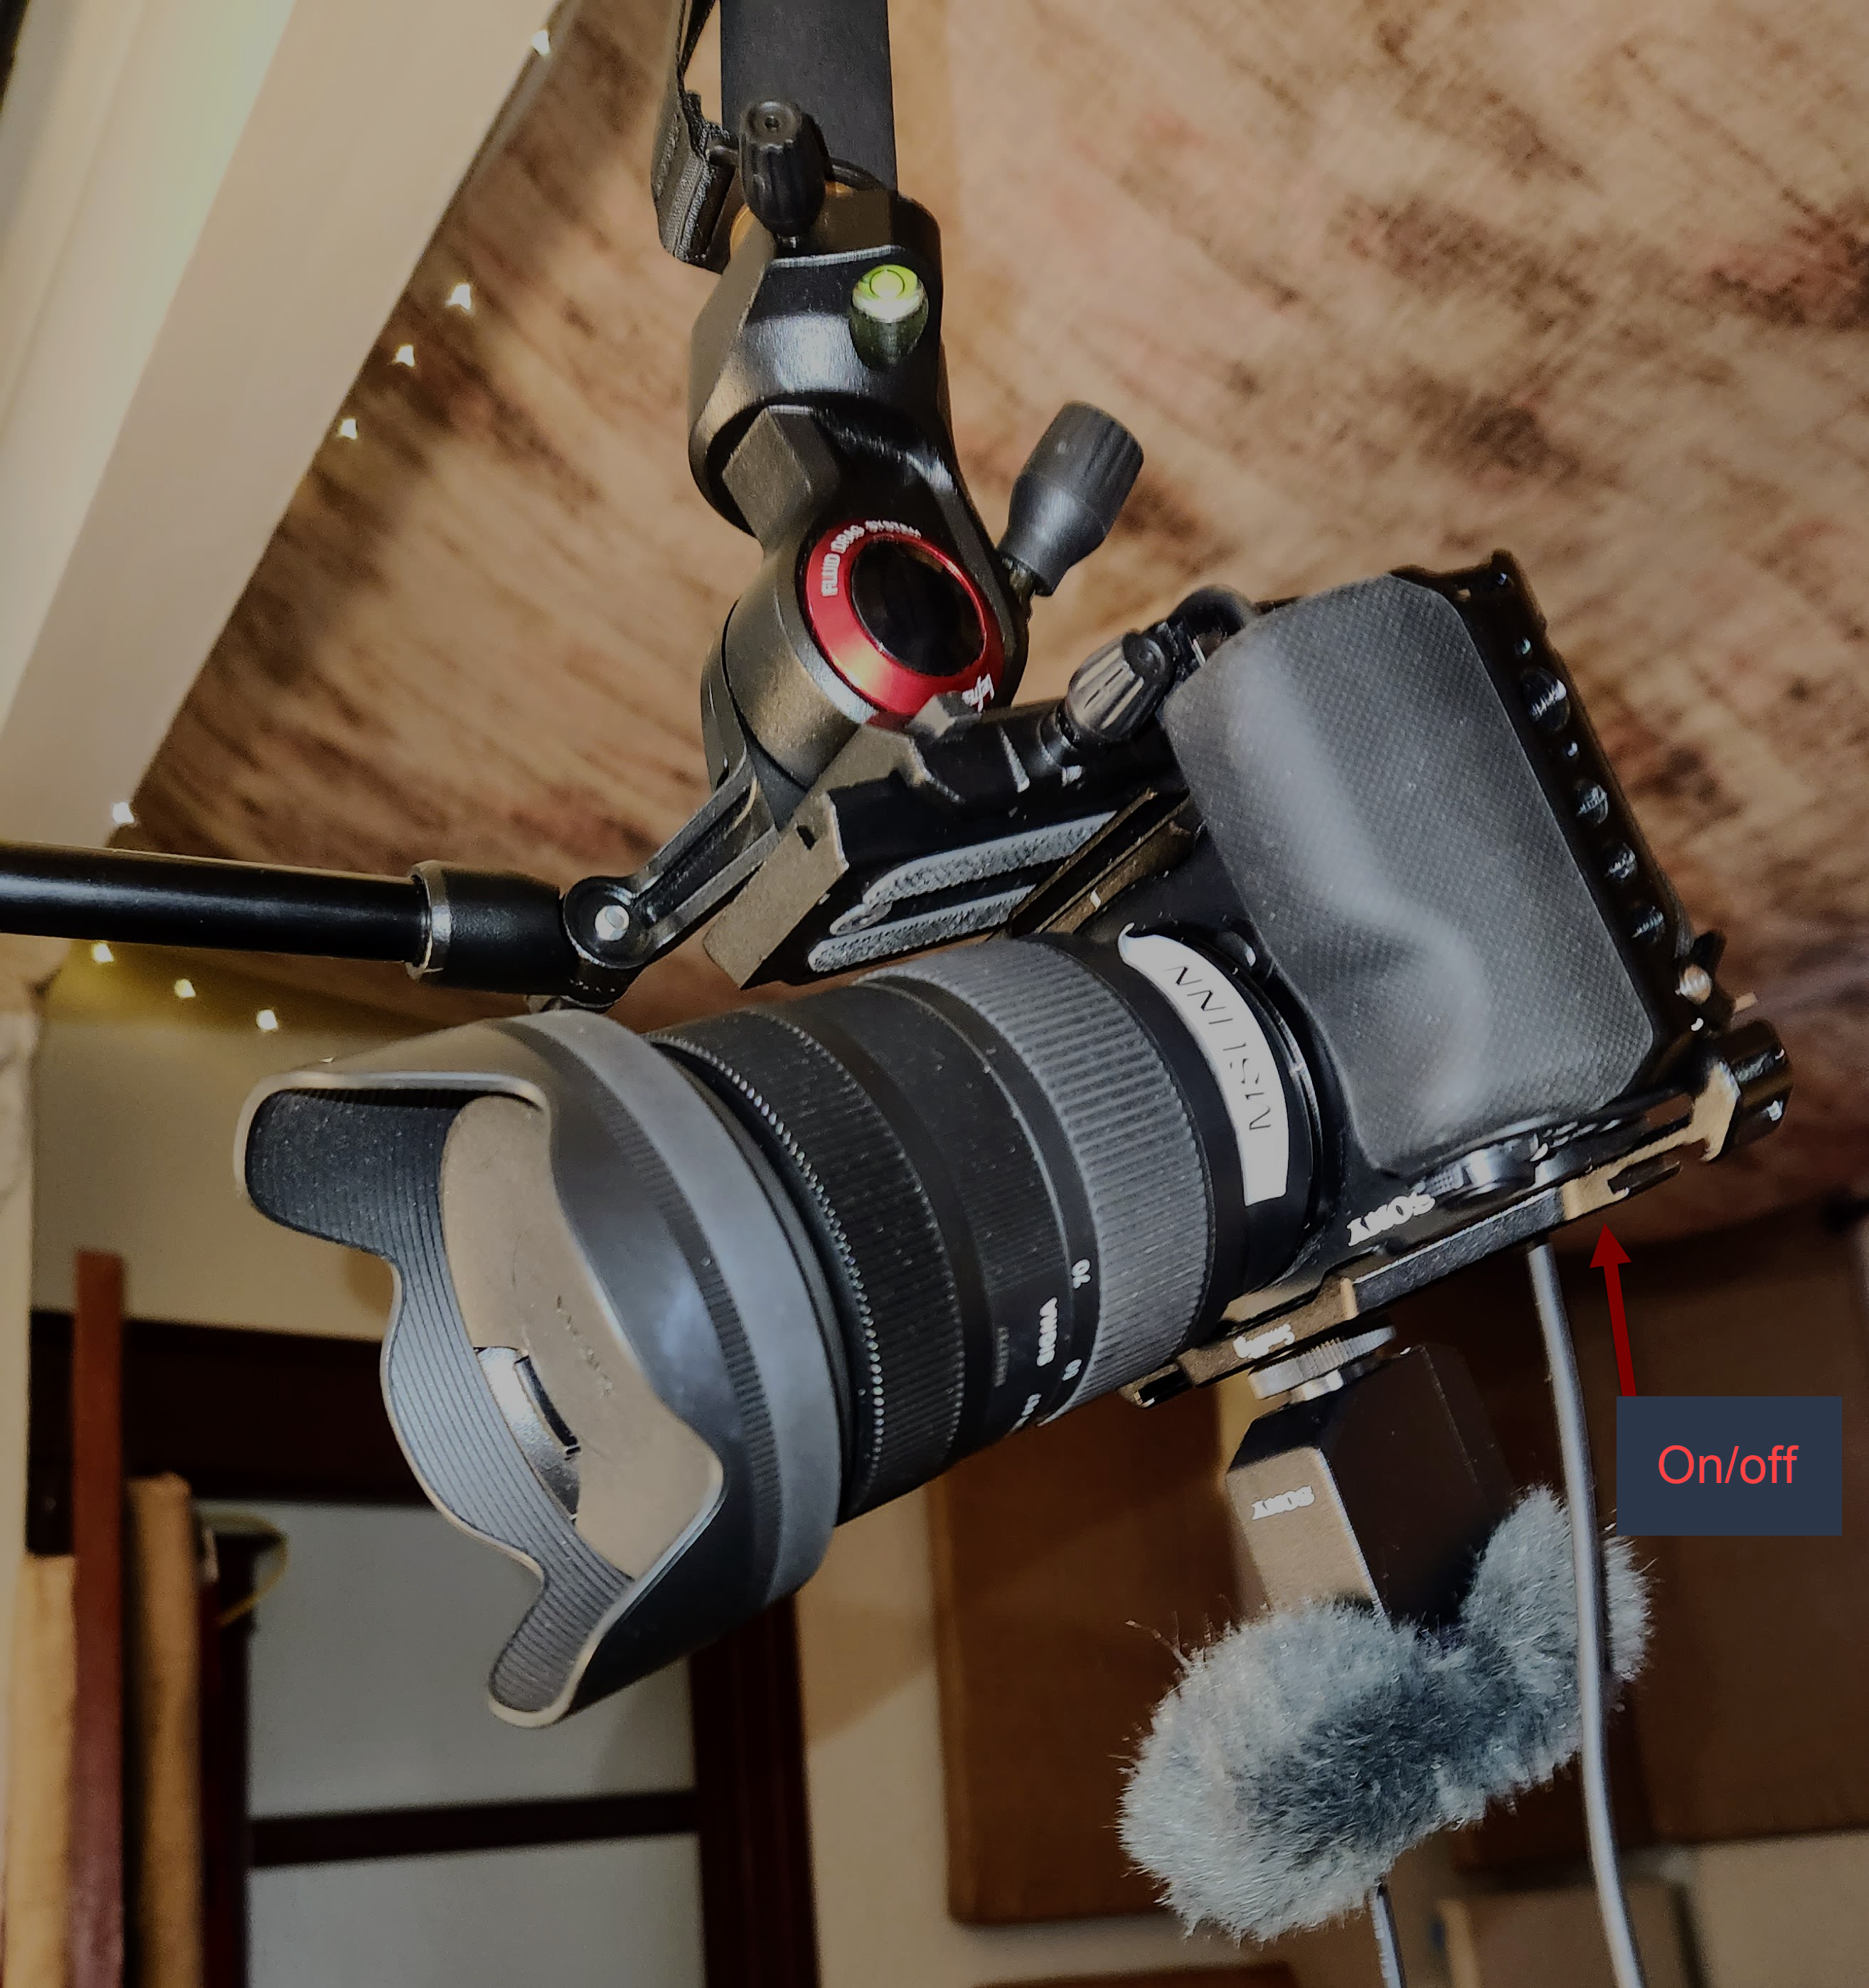
If the camera is upside-down, the operator might have trouble finding the on/off switch, the memory card bay, and the audio input jack. The camera’s audio input jack has a red circle around it, only visible when the jack is unused.
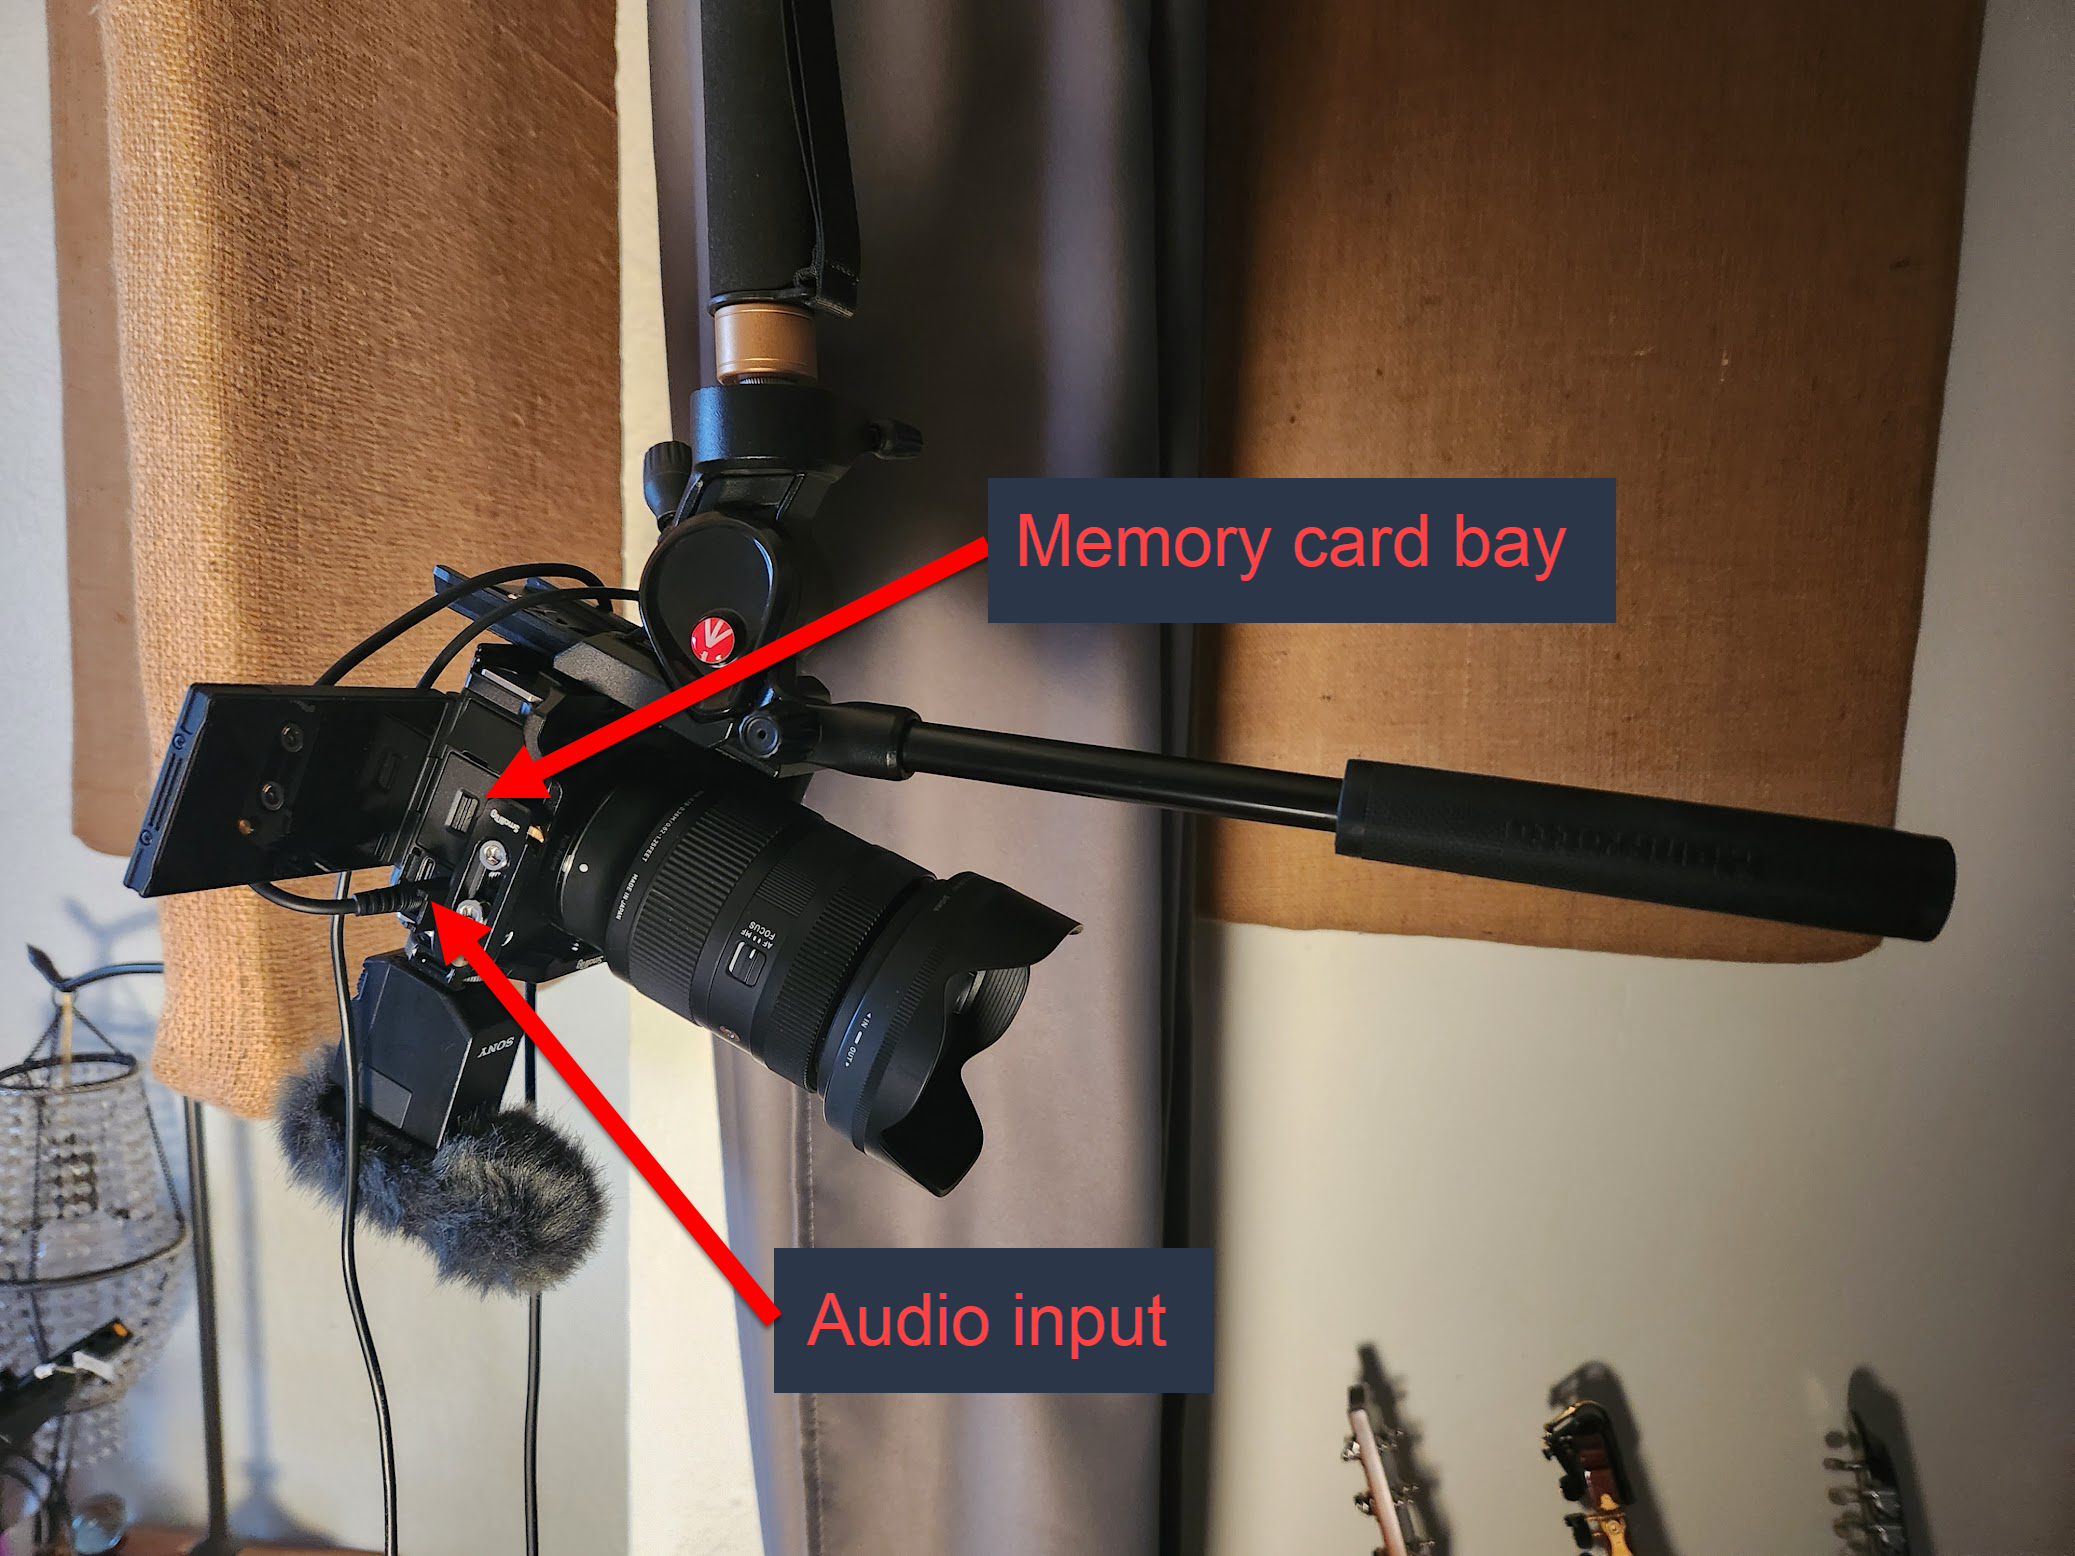
For upside-down Sony ZV-E1 cameras, this next photograph shows the location of the camera on/off switch, and it also shows an optional Sony ECM-B10 compact camera-mount digital shotgun microphone. This is only engaged when the external audio feed from RME TotalMix discussed in the previous section is not desired.
Right-Side Up Camera
Most camera cages have a female thread on the top that could be used to hold the camera right-side-up. I just had to use a 1/4-20 UNC female to 3/8-16 UNC female reducer, as shown in the photograph to the right. This enables the top of the camera cage to be mated with the sliding plate in the video head.
The camera balanced quite well when mounted via the top of the cage:
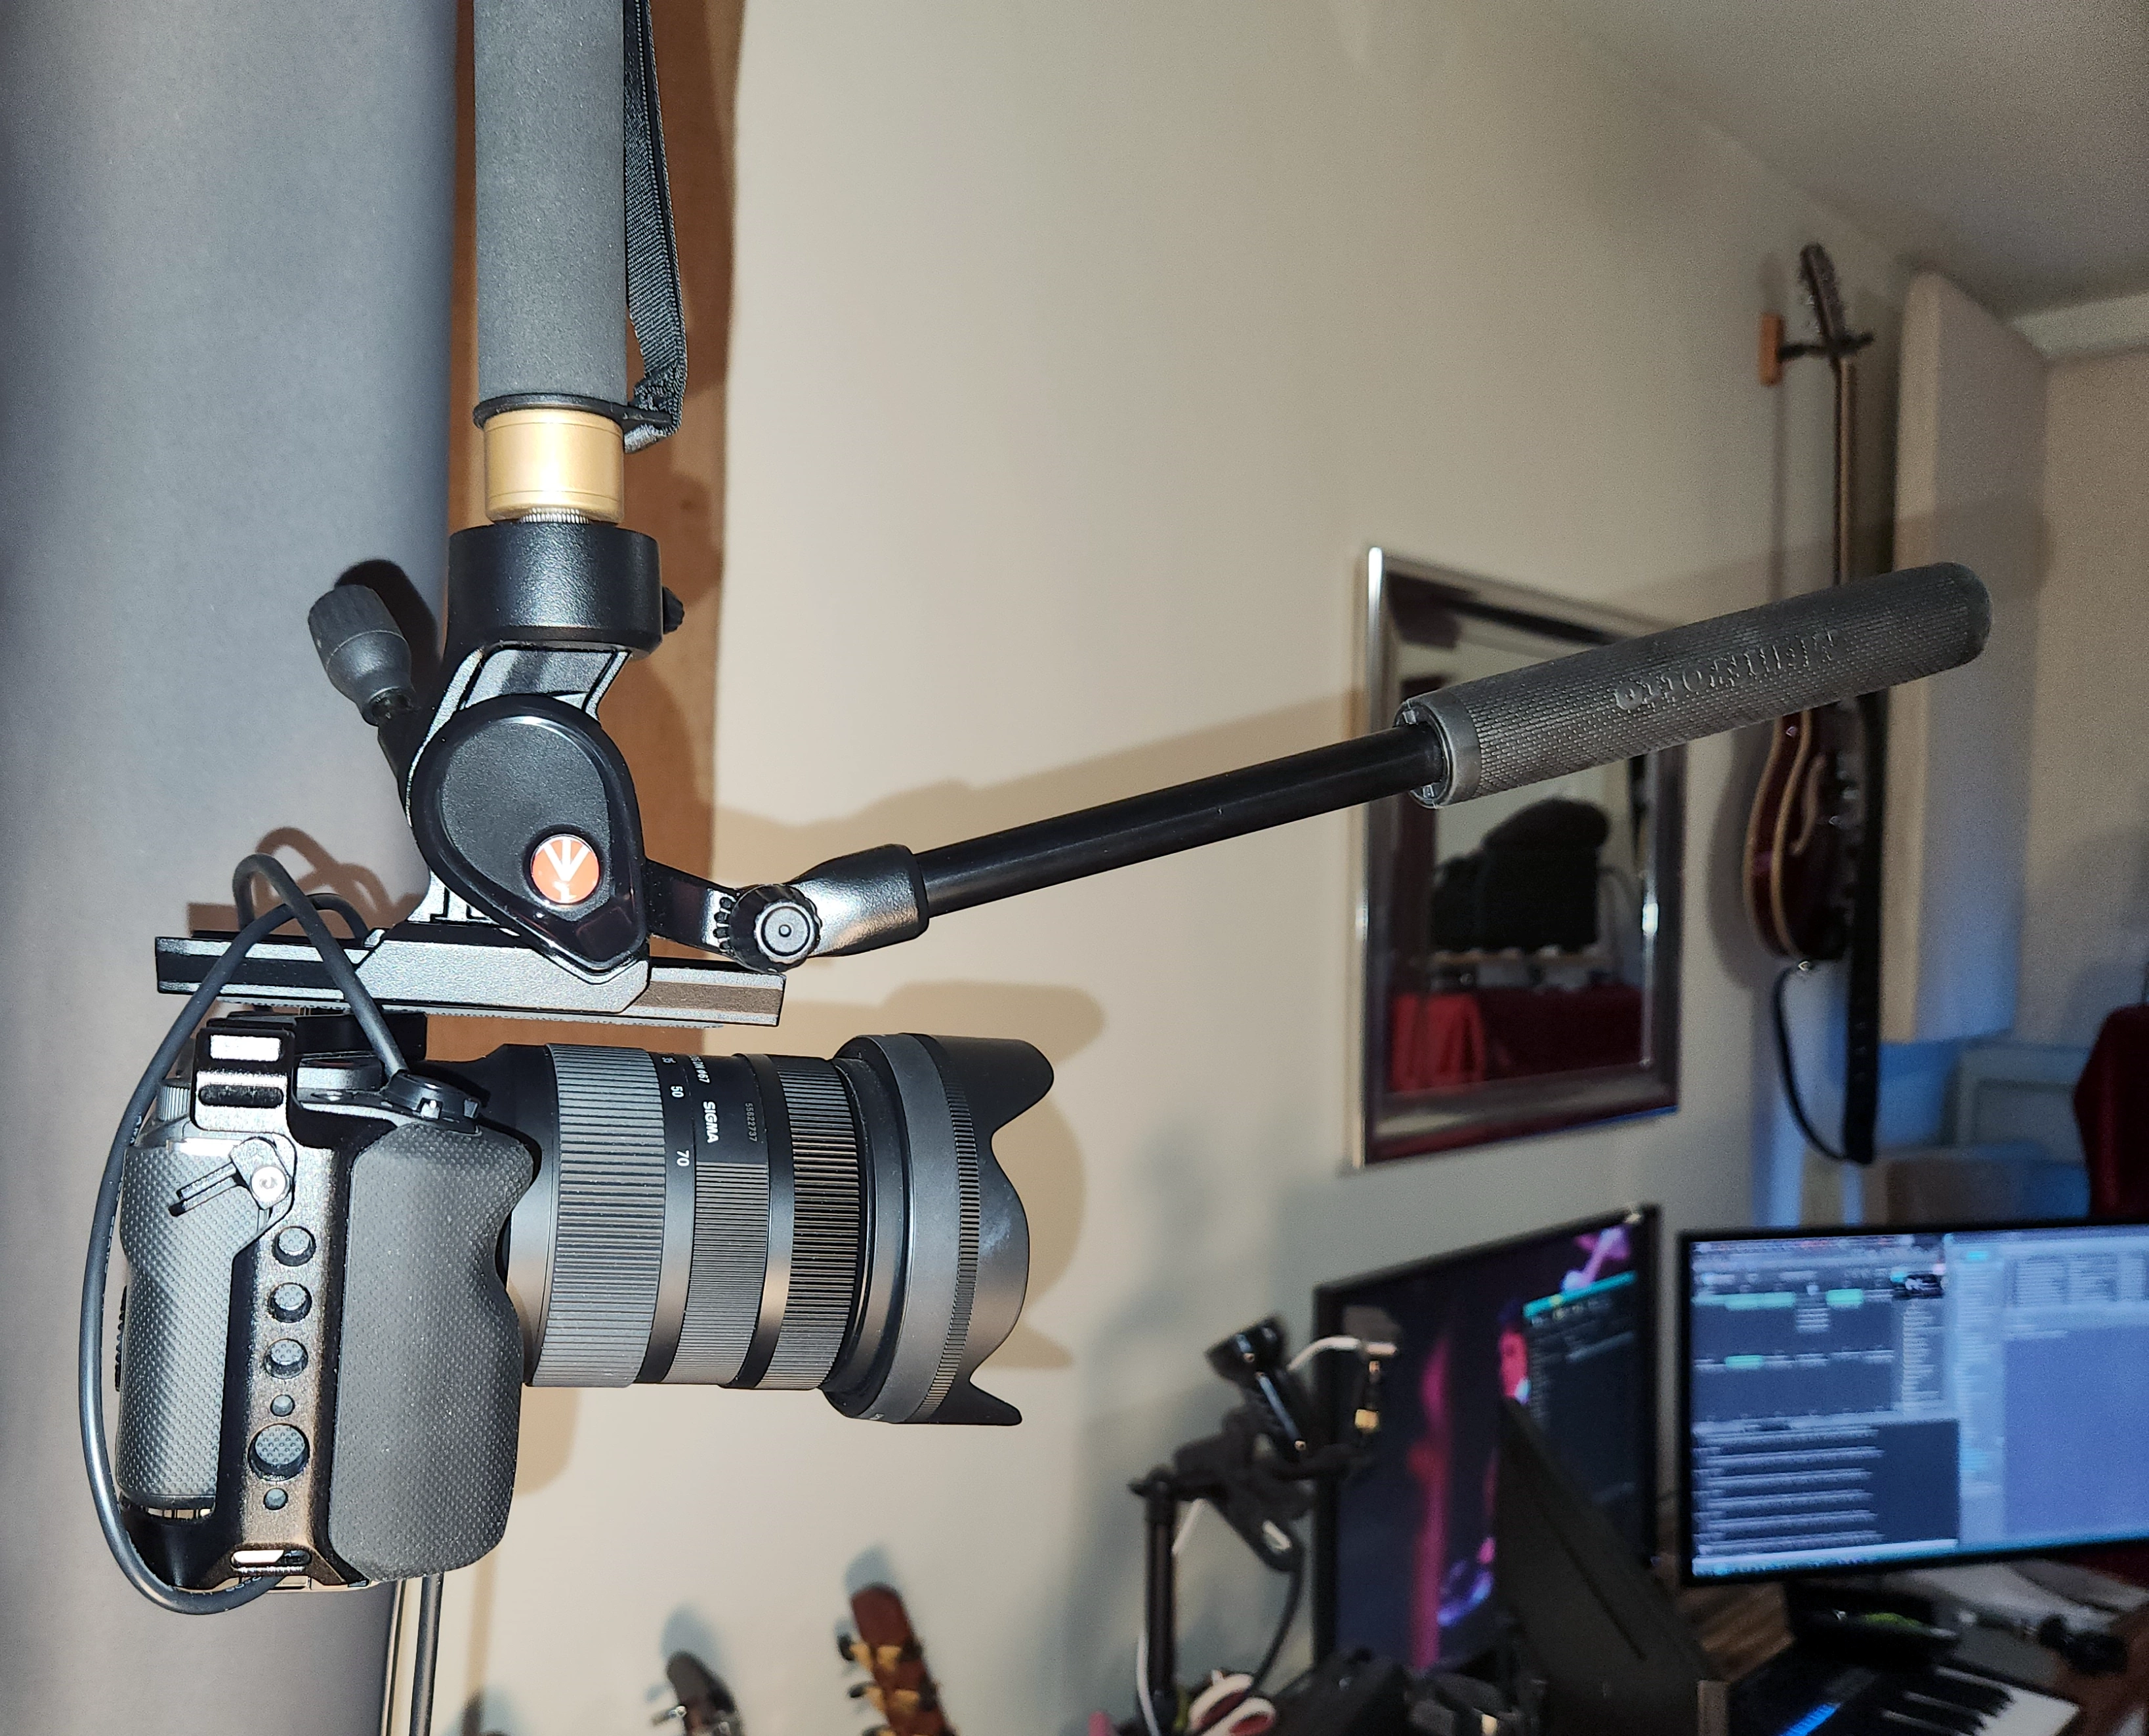
Once balanced, however, the external microphone could no longer be attached to the shoe. This is not a problem for my needs.


The first frankenpod worked so well that I made another.
Lumix S5 II Frankenpod
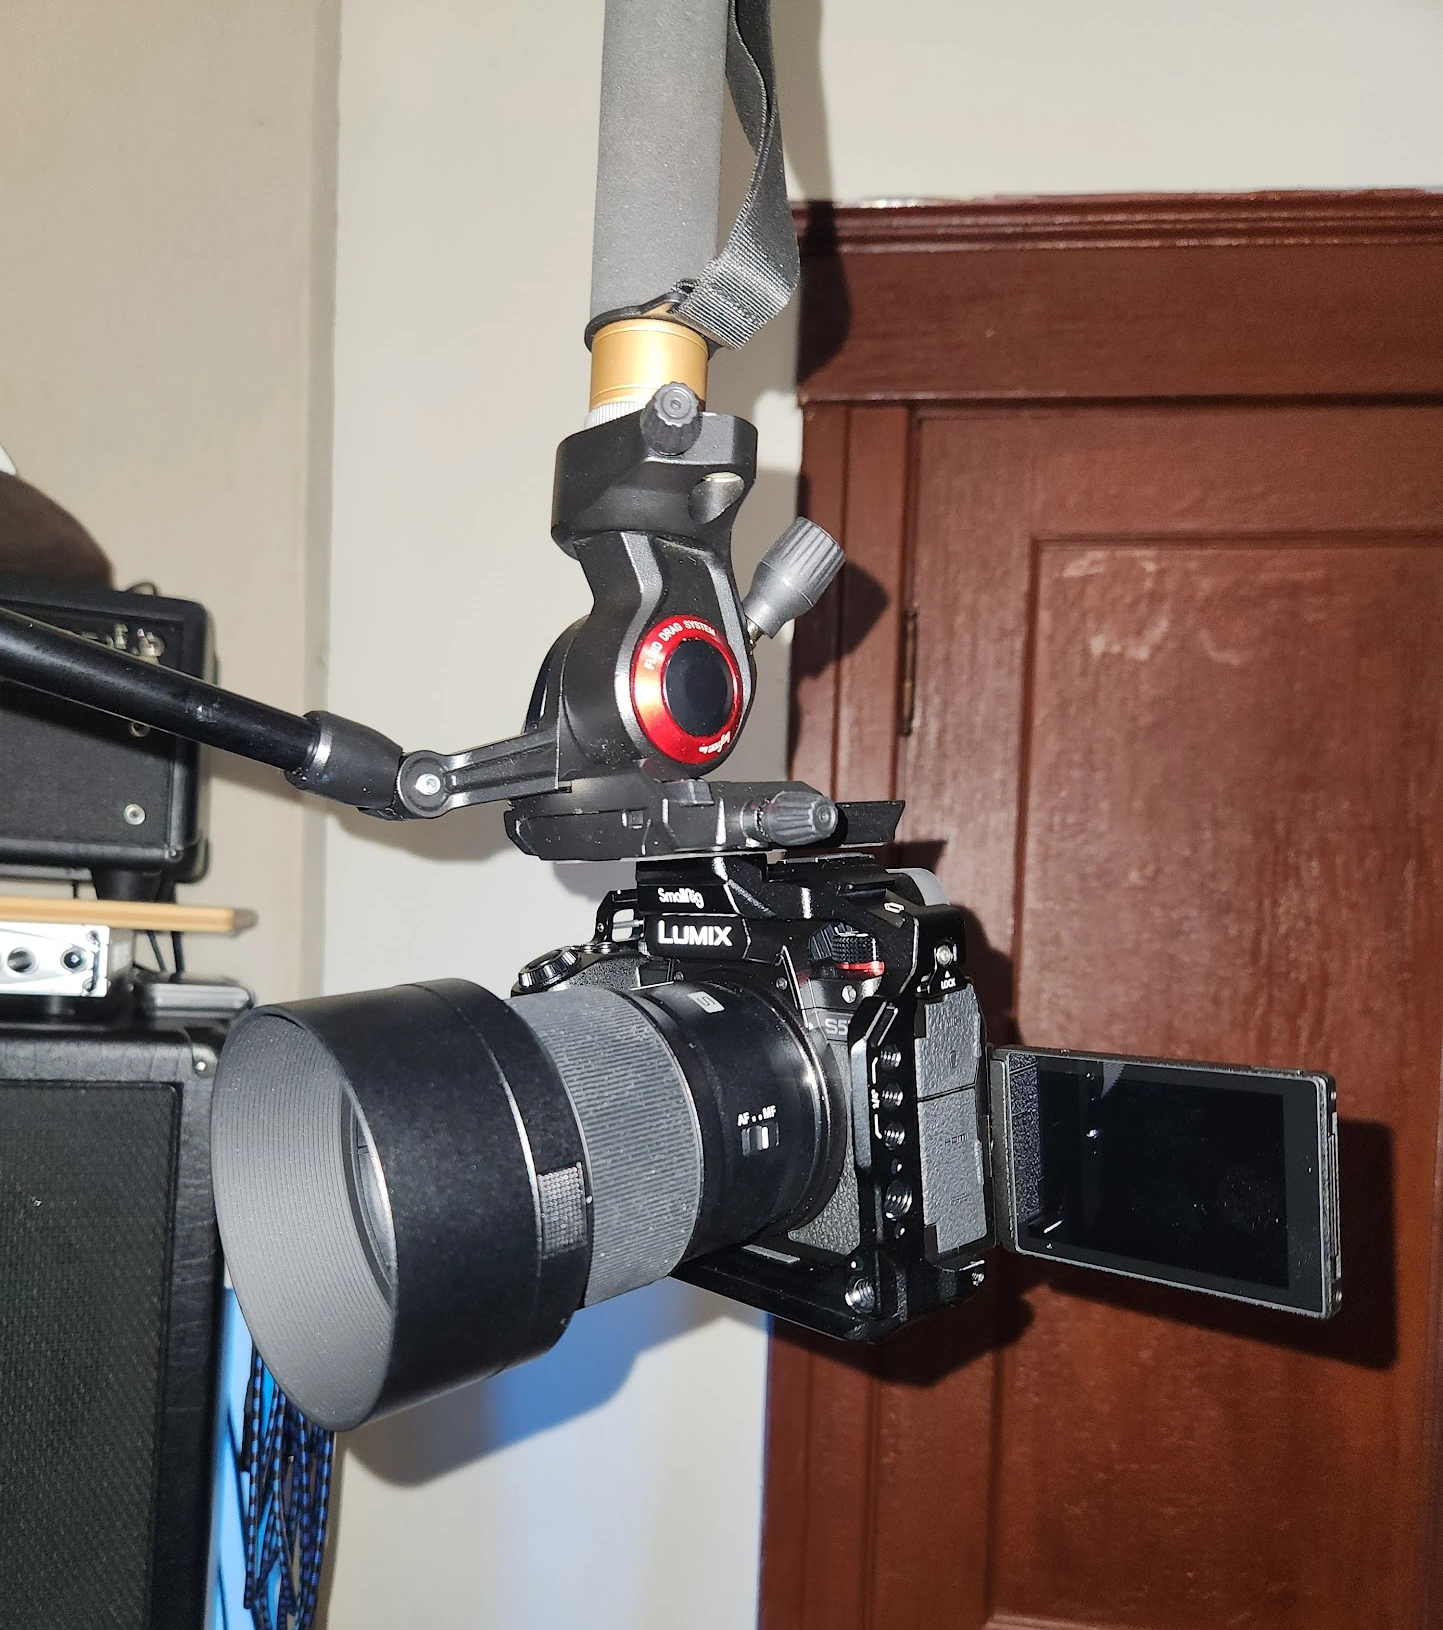
This frankenpod is holding a Lumix S5-II camera body (right-side up) with a S Series 50mm F1.8 L-Mount lens and a SmallRig 4022 cage.

