Published 2022-08-13.
Last modified 2025-07-04.
Time to read: 8 minutes.
av_studio collection.
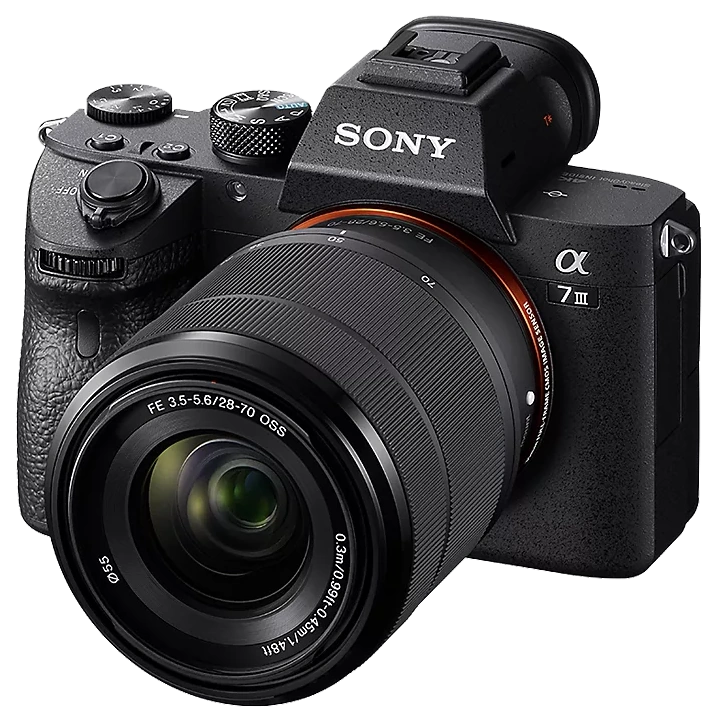
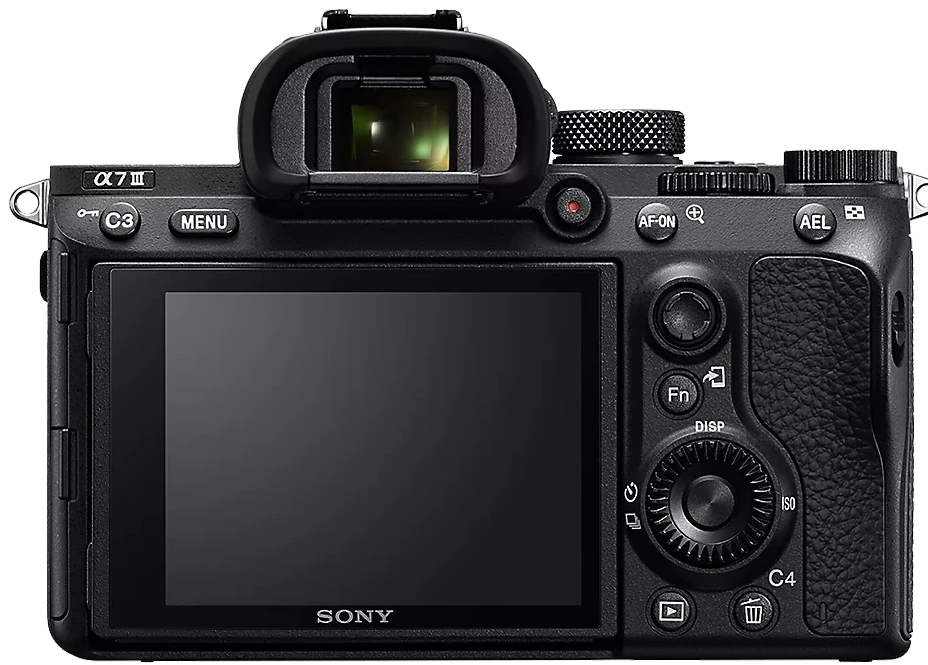
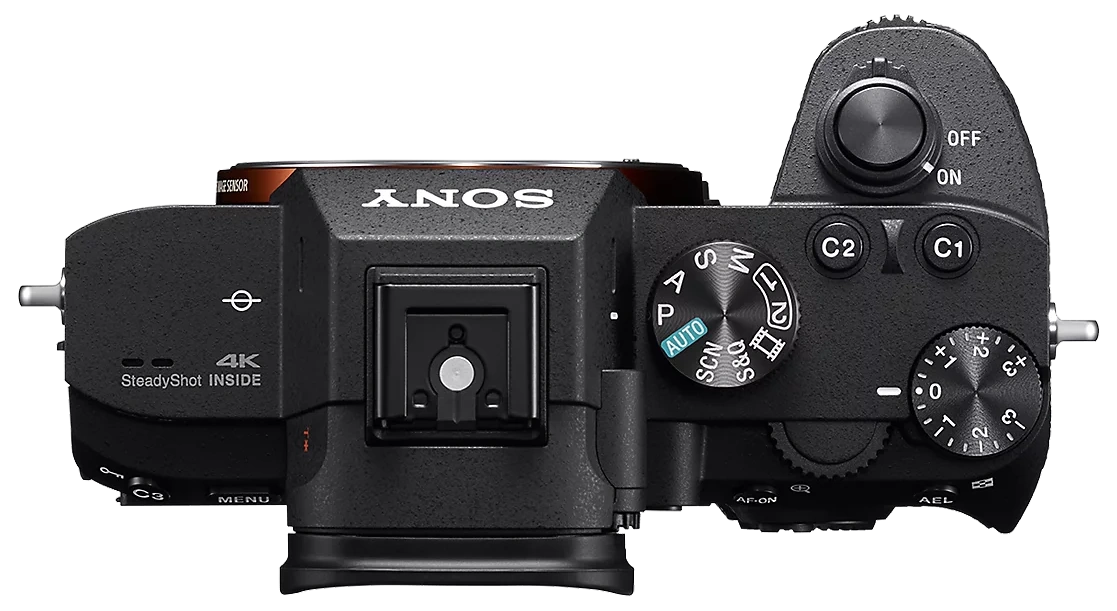
ILCE-7M3/ILCE-7M3K product page.
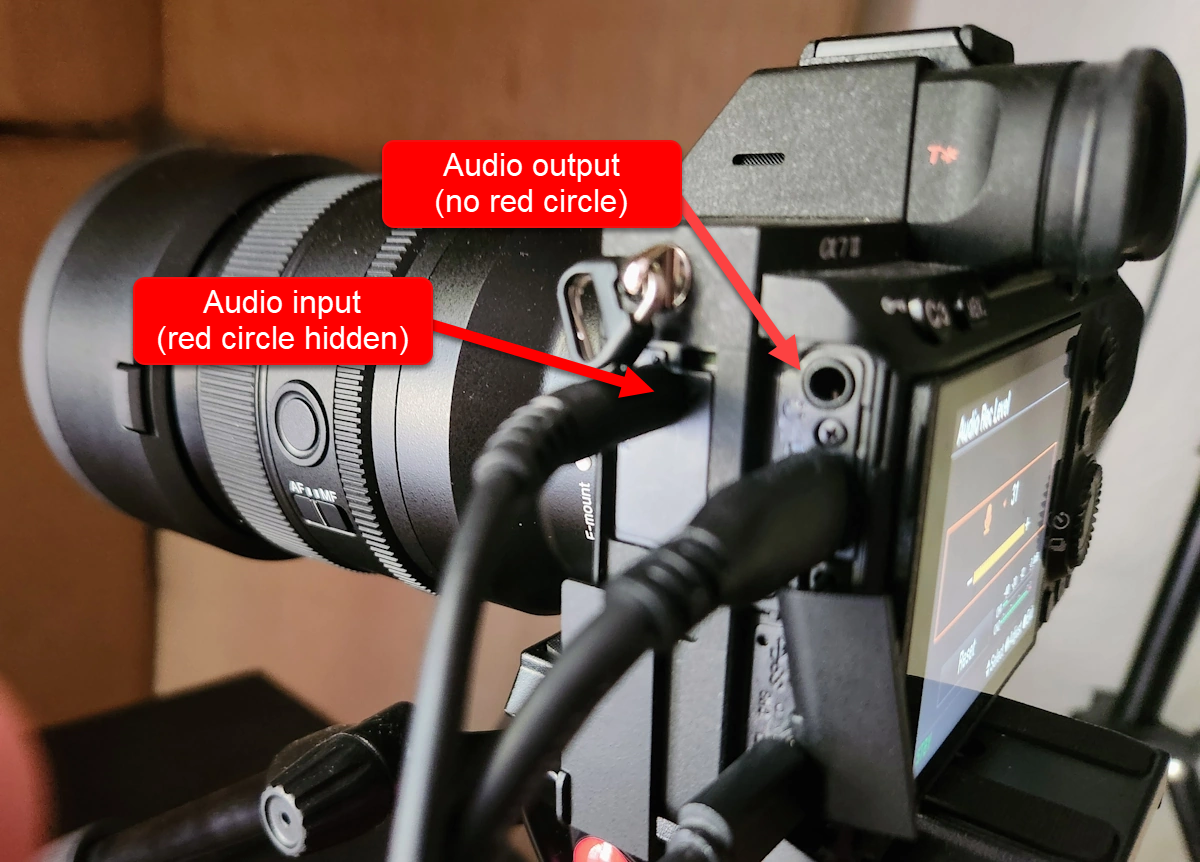
Audio Input and Output Jacks
The external audio input jack has a red circle around it, and it is in the bay in front of the headphone jack. It is easy to mix these two jacks up! Remember: the audio input jack has a red circle, whereas the headphone output jack does not.
Sigma 28-70 Contemporary f2.8 DG DN
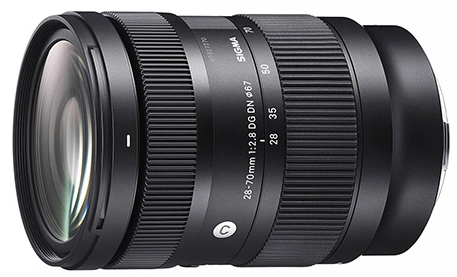
I also purchased a Sigma 28-70 Contemporary f2.8 DG DN Sony model C2870DGDNSE wide-angle zoom lens instead of the Sony lens shown above. The Sony lens is less expensive, but it is much slower than the Sigma. Sony makes better zoom lenses, but at a higher price.
- Brochure
- Manual
- Firmware (Windows and Mac versions)
-
Support
US: (800) 896-6858 x3
148 S. Victory Blvd, Burbank, CA 91502
Canada: Gentec International
905-513-7733
90 Royal Crest Court, Markham, Ontario, L3R9X6, Canada
info@sigmacanada.ca
Sigma Lens Firmware Update
The Sigma lens was shipped with firmware version 01, and version 03 was current on 2023-09-21. The firmware update instructions required some experimentation for my Sony A7 iii; however, I could not get this to work with my Sony ZV-E1:
- Enable USB Mode Mass Storage on the camera if it is not already enabled.
- Remove the memory card from the camera.
- Launch the Sigma Lens System Software Updater program.
- Turn on the camera.
- Connect the USB cable directly to the computer without a hub.
- Click Next on the Sigma Lens System Software Updater.
- When the update is complete, the Sony A7 iii camera says “Lens update complete. Remove the battery and finish updating.” Removing the battery turns off the camera, so you might want to shut off the camera before removing the battery. Presumably, the battery needs to be removed for a few seconds to discharge the camera's internal capacitors.
- Re-insert the battery and the memory card.
- Turn on the camera and verify that the firmware version has been updated. For the Sony A7 iii, this means navigating the menu system:
Sony A7 iii Manuals
Videos
Really great Sony A7 iii tutorial videos on YouTube:
Sony Callback Support
Web page ilce7m3.
The US employees who answered my calls have been patient and knowledgeable.
The Asian call center employees are useless;
they have never seen the products they attempt to support, are not personally experienced with cameras,
and merely read documentation.
Sony Warranty Support
I wrote this paragraph nine months after purchasing an extra Sony NPFZ100 Rechargeable Battery. The battery stopped working. I called Sony Warranty support. Within 15 minutes they had what they needed to ship me a free replacement. The original battery cost me $120 CAD plus taxes, but apparently that includes free shipping of a free replacement for 365 days.
😁I was pleased.
Autofocus
This camera has different focus settings for videos and photos. The ‘auto’ setting assumes that photos will be taken, not videos.
This camera has good autofocus capability, but continuous autofocus (AF-C), which is important for video recordings, is not enabled by default. Instead, single-shot autofocus is the default.
I often perform alone, without a cameraperson. These are the camera settings that I am using, which are my attempt at optimizing for video:
- Rotate the round dial on top to movie mode (the icon looks like a little filmstrip).
- On the Camera 2 / Movie1 setting screen (1/9), Exposure mode is set to Program Auto.
- On the Camera 2 / Movie2 setting screen (2/9), AF drive speed is set to Fast.
- On the Camera 1 / AF1 screen (5/14), Focus Mode is set to Continuous AF.
- Still on the AF1 screen, Focus Area is set to Center.
Before a performance, the camera is pointed at where my face will be.
Sony Wireless Remote Controls
Remote control of focus is only possible when the lens is in AF (autofocus) mode and the camera is in manual focus mode. I find that counter-intuitive.
To get a video that is in focus at the start of a recording, the AFC on button must be pressed before starting the recording. This camera only engages automatic focus while recording or when the AFC ON button is pressed. Because of this, my normal behavior is to set the scene, press the AFC On button on the remote control, and then start recording. When the subject moves out of focus, automatic refocusing takes less than a second, but it can be noticeable.

Sony RMT-P1BT
This is a Bluetooth device. Before it can control the camera, the camera must have Bluetooth enabled, and the RMT-P1BT must be paired with the camera. Pairing can be done before or after Bluetooth remote control is enabled.
Within the Bluetooth Settings menu, two settings should be managed:
While the camera is in Bluetooth pairing mode, pair the RMT-P1BT by holding down the big round button (on the remote) and the + button (on the remote) together for 7 seconds.
This remote has an indicator that shows when a video recording is in progress.
In order for the Sony RMT-P1BT to function, the Bluetooth remote control must be enabled and the infra-red remote control must be disabled.
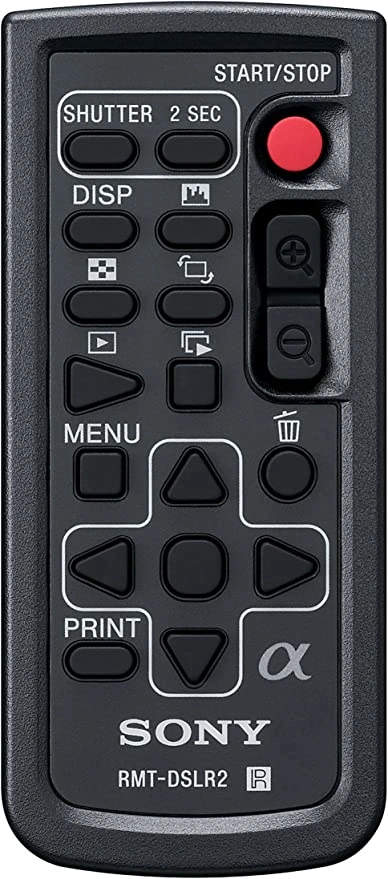
On the Remote Commander, press and hold the Shutter-release/REC button and either of the - or + buttons at the same time for at least 7 seconds.
When a confirmation message appears on the camera's screen, select OK. A Bluetooth symbol appears, and pairing begins. When pairing is complete, [Paired.] appears.
Sony RMT-DSLR2
This is an infrared device. I only operate the camera remotely when I am directly in front of it. This remote worked okay for me, comparable with my experience with all other IR remotes. (One could imagine a more responsive device.)
This remote does not have an indicator that shows when a video recording is in progress.
In order for the Sony RMT-DSLR2 Wireless Remote to function, Bluetooth must be disabled and the infrared remote control must be enabled.
Sony RMT-P1BT vs. RMT-DSLR2
The Sony RMT-P1BT is double the price of the Sony RMT-DSLR2 in Canada, but it lacks most of the RMT-DSLR2 controls. The only feature that it has that the RMT-DSLR2 does not have is an indicator on the remote that shows when a video recording is in progress.
I wish that Sony would be more generous with enabling multiple remote controls. What would be so wrong about allowing multiple devices to control a given camera? Problems with priority could be resolved by establishing a hierarchy of control protocols, governed by a timeout.
Based on the above, I believe that the Sony infrared remote control (RMT-DSLR2) is in almost every way better than the Sony Bluetooth remote control (RMT-P1BT), except that I do prefer using the Bluetooth interface over the infrared interface. Line-of-sight propagation is problematic by nature. Bluetooth, for all its issues, is not line-of-sight because it uses the 2.4 GHz ISM spectrum band. I would much prefer a Wi-Fi remote controller, but such a device that works reliably with this camera is only a fever dream.
PC Remote / Streaming / Webcam
I use a USB cable because Sony’s wireless Wi-Fi connection is extremely awkward to use. In fact, it is a useless feature. Tragic, actually. Sony, you got this very wrong. For shame!
Desktop Control vs. Streaming
The camera can have desktop control enabled, or streaming enabled, but not both at the same time. Again, this type of restriction severely limits the usefulness of the camera and is frustrating.
Leveler Display
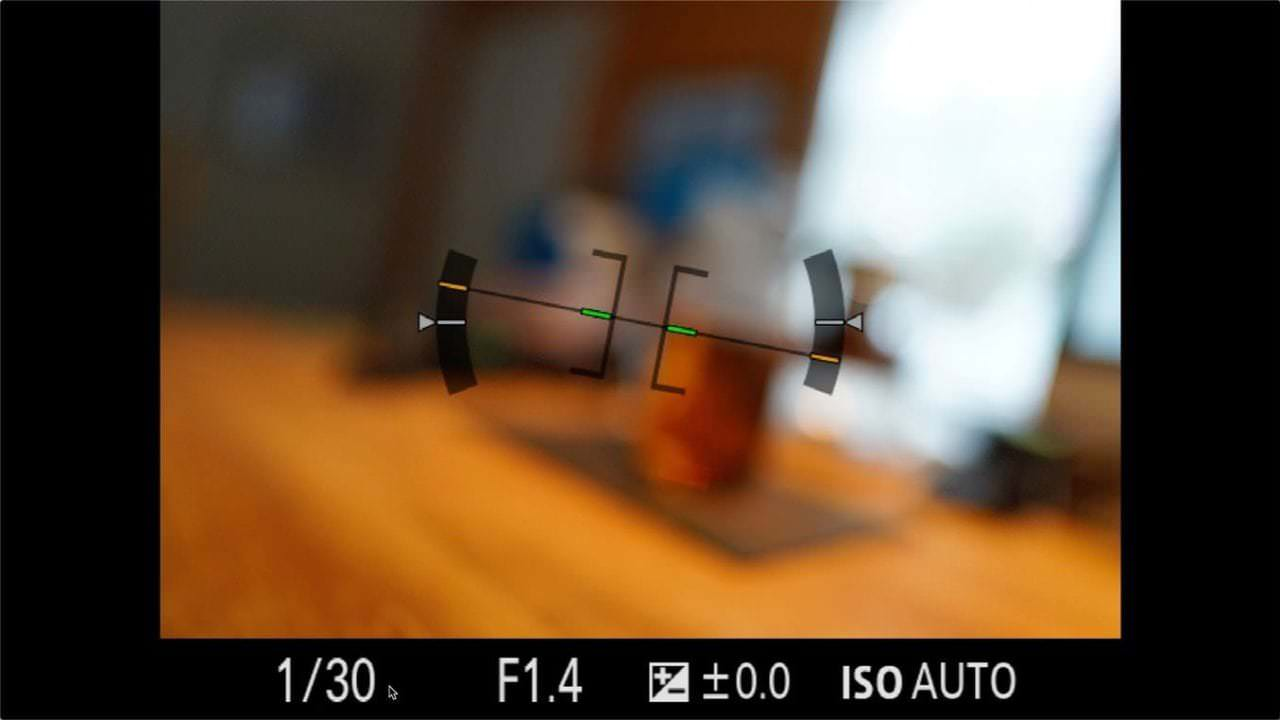
Leveler display: enter that mode by pressing the wheel where it says DISP twice.
Testing the Memory Card and Reader
- 90 MB/s write speed
- 160 MB/s read speed
- C10 — Class 10
- U3 — UHS speed class 3
- V30 — video speed class 30
Initially, I used a SanDisk 256GB Extreme microSDXC UHS-I Memory Card (SDSQXA1-256G-GN6MA) with a Transcend Information USB 3.0 Card Reader (TS-RDF5K).
I tested the performance of this combination using CrystalDiskMark when connected via USB 2 and USB 3.0. When tested with USB 3.0, throughput was better than with USB 2, but read performance was still only 60% of the rated speed.
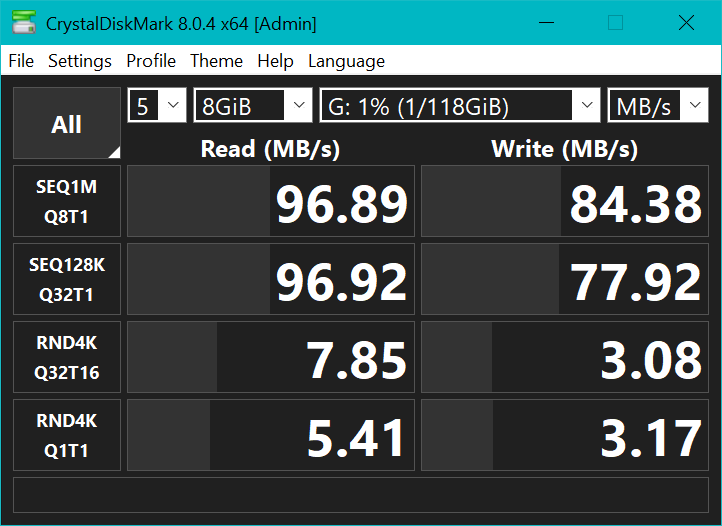
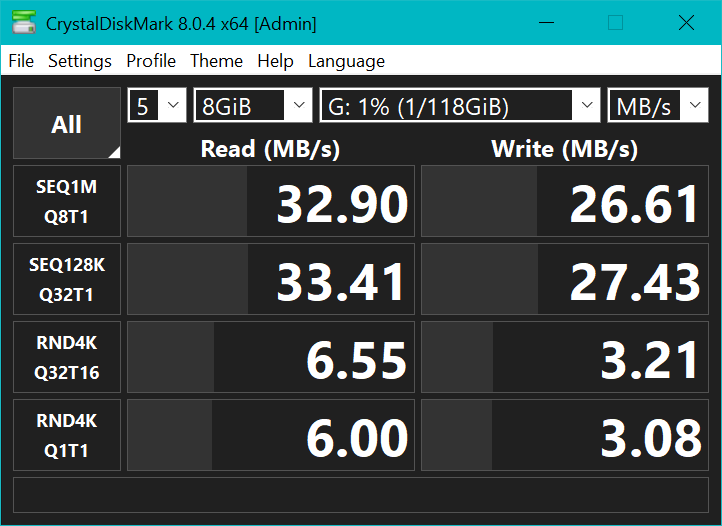
USB 3.0 is capable of up to 500 MB/s speed, so it is not the bottleneck. The memory card has been widely tested, and the published specs are reasonably accurate.
The Transcend Information USB 3.0 Card Reader is the bottleneck. While the product listings on various sites, such as Amazon and NewEgg, do not show the rated transfer speed, Camera Memory Speed tested this card reader and got similar results as I did.
I purchased a Kingston FCR-HS4 card reader; it performs much better with a UHS-II card.
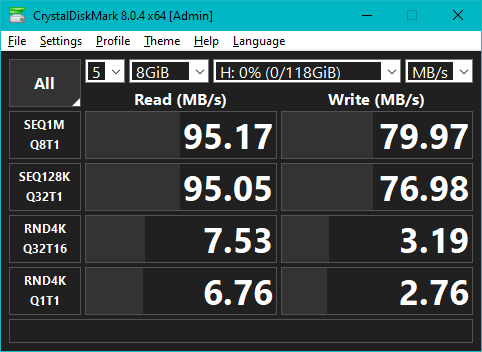
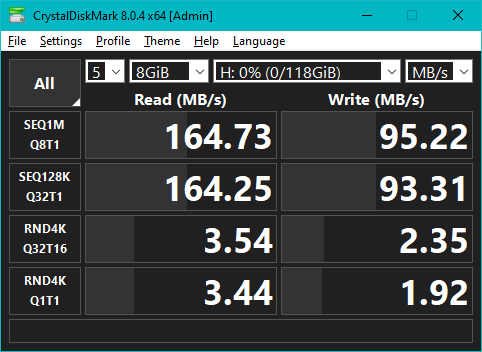
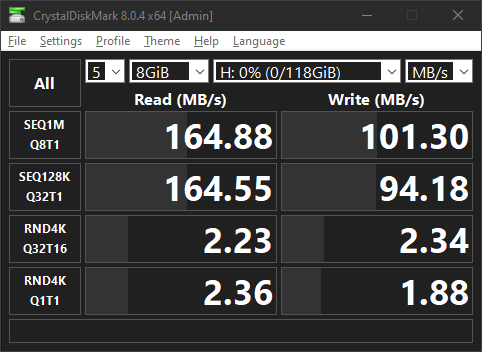
Oddly enough, when connected via a 15-foot-long USB 3.0 extension, the Kingston FCR-HS4 benchmarked faster. Perhaps another process was running during the previous benchmark test.
2025-07-04: I have been using the Kingston FCR-HS4 card reader for a while now. It is a good card reader, but today it was unable to read the memory card that was in the Sony ZV-E1. Normally there is no problem with this card reader. The memory card played fine in the camera, but no in the Kingston FCR-HS4. I used a no-name dumb reader and that worked, although the transfer took longer than usual.
I copied the files from memory card at P:\PRIVATE\M4ROOT\CLIP.
Then I replaced the memory card into the camera, and reformated the memory card.
Hopefully that will fix the problem.
Format Memory Card
To format the card:
Video File Names
For years, many Sony cameras have not provided a way to set a video file name prefix.
Video files are all named C0___.MP4, and ___ defaults to 000.
This is a problem when using more than one memory card or after formatting a memory card.
To provide a different value for ___, make a file called H:\PRIVATE\M4ROOT\CLIP\C0___.MP4,
where ____ is the starting number of the desired sequence.
Unfortunately, the file name will roll over after 999 videos, so be careful!
Each video has three files:
H:\PRIVATE\M4ROOT\CLIP\C0001.MP4H:\PRIVATE\M4ROOT\CLIP\C0001M01.XMLH:\PRIVATE\M4ROOT\THMBNL\C0001T01.JPG

Set File Name Prefix
Set the first three characters of the file name for images saved in the camera. This feature does not work. Sony does not care.
Select the entry field for the file name to display by using the virtual keyboard that appears next, and then enter three characters of your choice. The file name will be applied to both slots 1 and 2.
Feed TotalMix Output to Camera
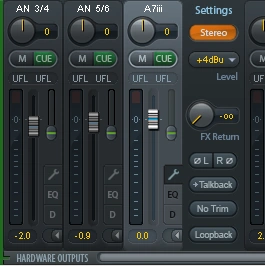
The microphone on the Sony Alpha 7 Mark iii is excellent. However, I wanted to provide the output of Pro Tools / TotalMix directly to the camera, so the video from the camera had the right audio mix. It turns out that this is easy to do.
Outputs 7 & 8 on the back of the RME UFX are provided as mono 1/4" jacks. I used a Y-combiner to convert them to a stereo 1/4" connector, then I attached a stereo cable with a 1/4" connector on one end and a 1/8" connector on the other end. The stereo cable is plugged into the camera connector for stereo microphones.
The TotalMix output was set to +4 dBu as shown in the image to the right.
Always use headphones to check that the audio feed to the camera is working and that the audio level is properly set. In a live setting this might require noise-canceling headphones.


