Published 2024-03-13.
Last modified 2024-11-24.
Time to read: 3 minutes.
av_studio collection.
A venue that I used to frequently perform music at has a Behringer X32 Producer console mixer. I often found myself having to adjust the mixer, so I wrote up these notes in self-defense.
About the X32

40-Input, 25-Bus rack-mountable digital mixing console with 16 programmable Midas preamps, 17 motorized faders, a 32-Channel audio interface, and an iPad/iPhone remote control.
This review mentions the following:
- Numerous complaints that the Behringer X32 app lags and jumps when using the faders
- The USB replay option fails to recognize iPhones, iPads, and MP3 files. The only thing that will be linearly played back is a WAV file. This must already be saved and stored within the folders of the root directory.
Videos
Channel Assignments
Each channel is set up with specific gain, EQ, and effects for typical instruments.
The snake only has 16 tracks, so channels 17 to 32 in the console are not available.
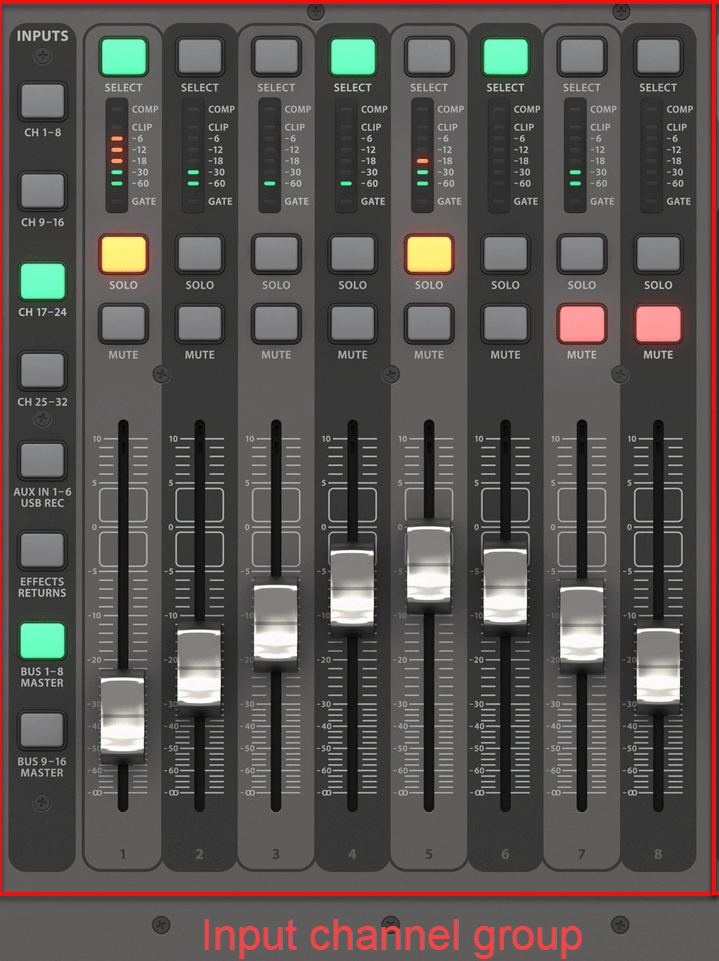
Inputs 1-8: Instruments
Some of these channels are mono, and some are stereo. Stereo channels have a light gray box around them to remind you that they move as a unit.
- Kick drum microphone
- Left channel
- Right channel
- ---
- Saxophone
- ---
- Ableton Push 3 Left
- Ableton Push 3 Right
Inputs 9-16: Voice
- Female voice
- Male voice
- ---
- ---
- ---
- ---
- ---
- Not present; this input does not exist
BUS 1-8 (Outputs)
Some of these channels are mono, and some are stereo.
- Stage monitors (1 mono channel is fed to both monitor speakers)
- Not present; this output does not exist.
- Downstairs left speaker
- Downstairs right speaker
- Not present; this output does not exist.
- Not present; this output does not exist.
- Not present; this output does not exist.
- Not present; this output does not exist.
BUS 9-16 (Outputs & Effects)
- Output not present; does not exist.
- Output not present; does not exist.
- Output not present; does not exist.
- Output not present; does not exist.
- Effect: Vintage reverb
- Effect: Hall reverb
- Effect: Stereo delay
- Effect: Stereo chorus
Procedures
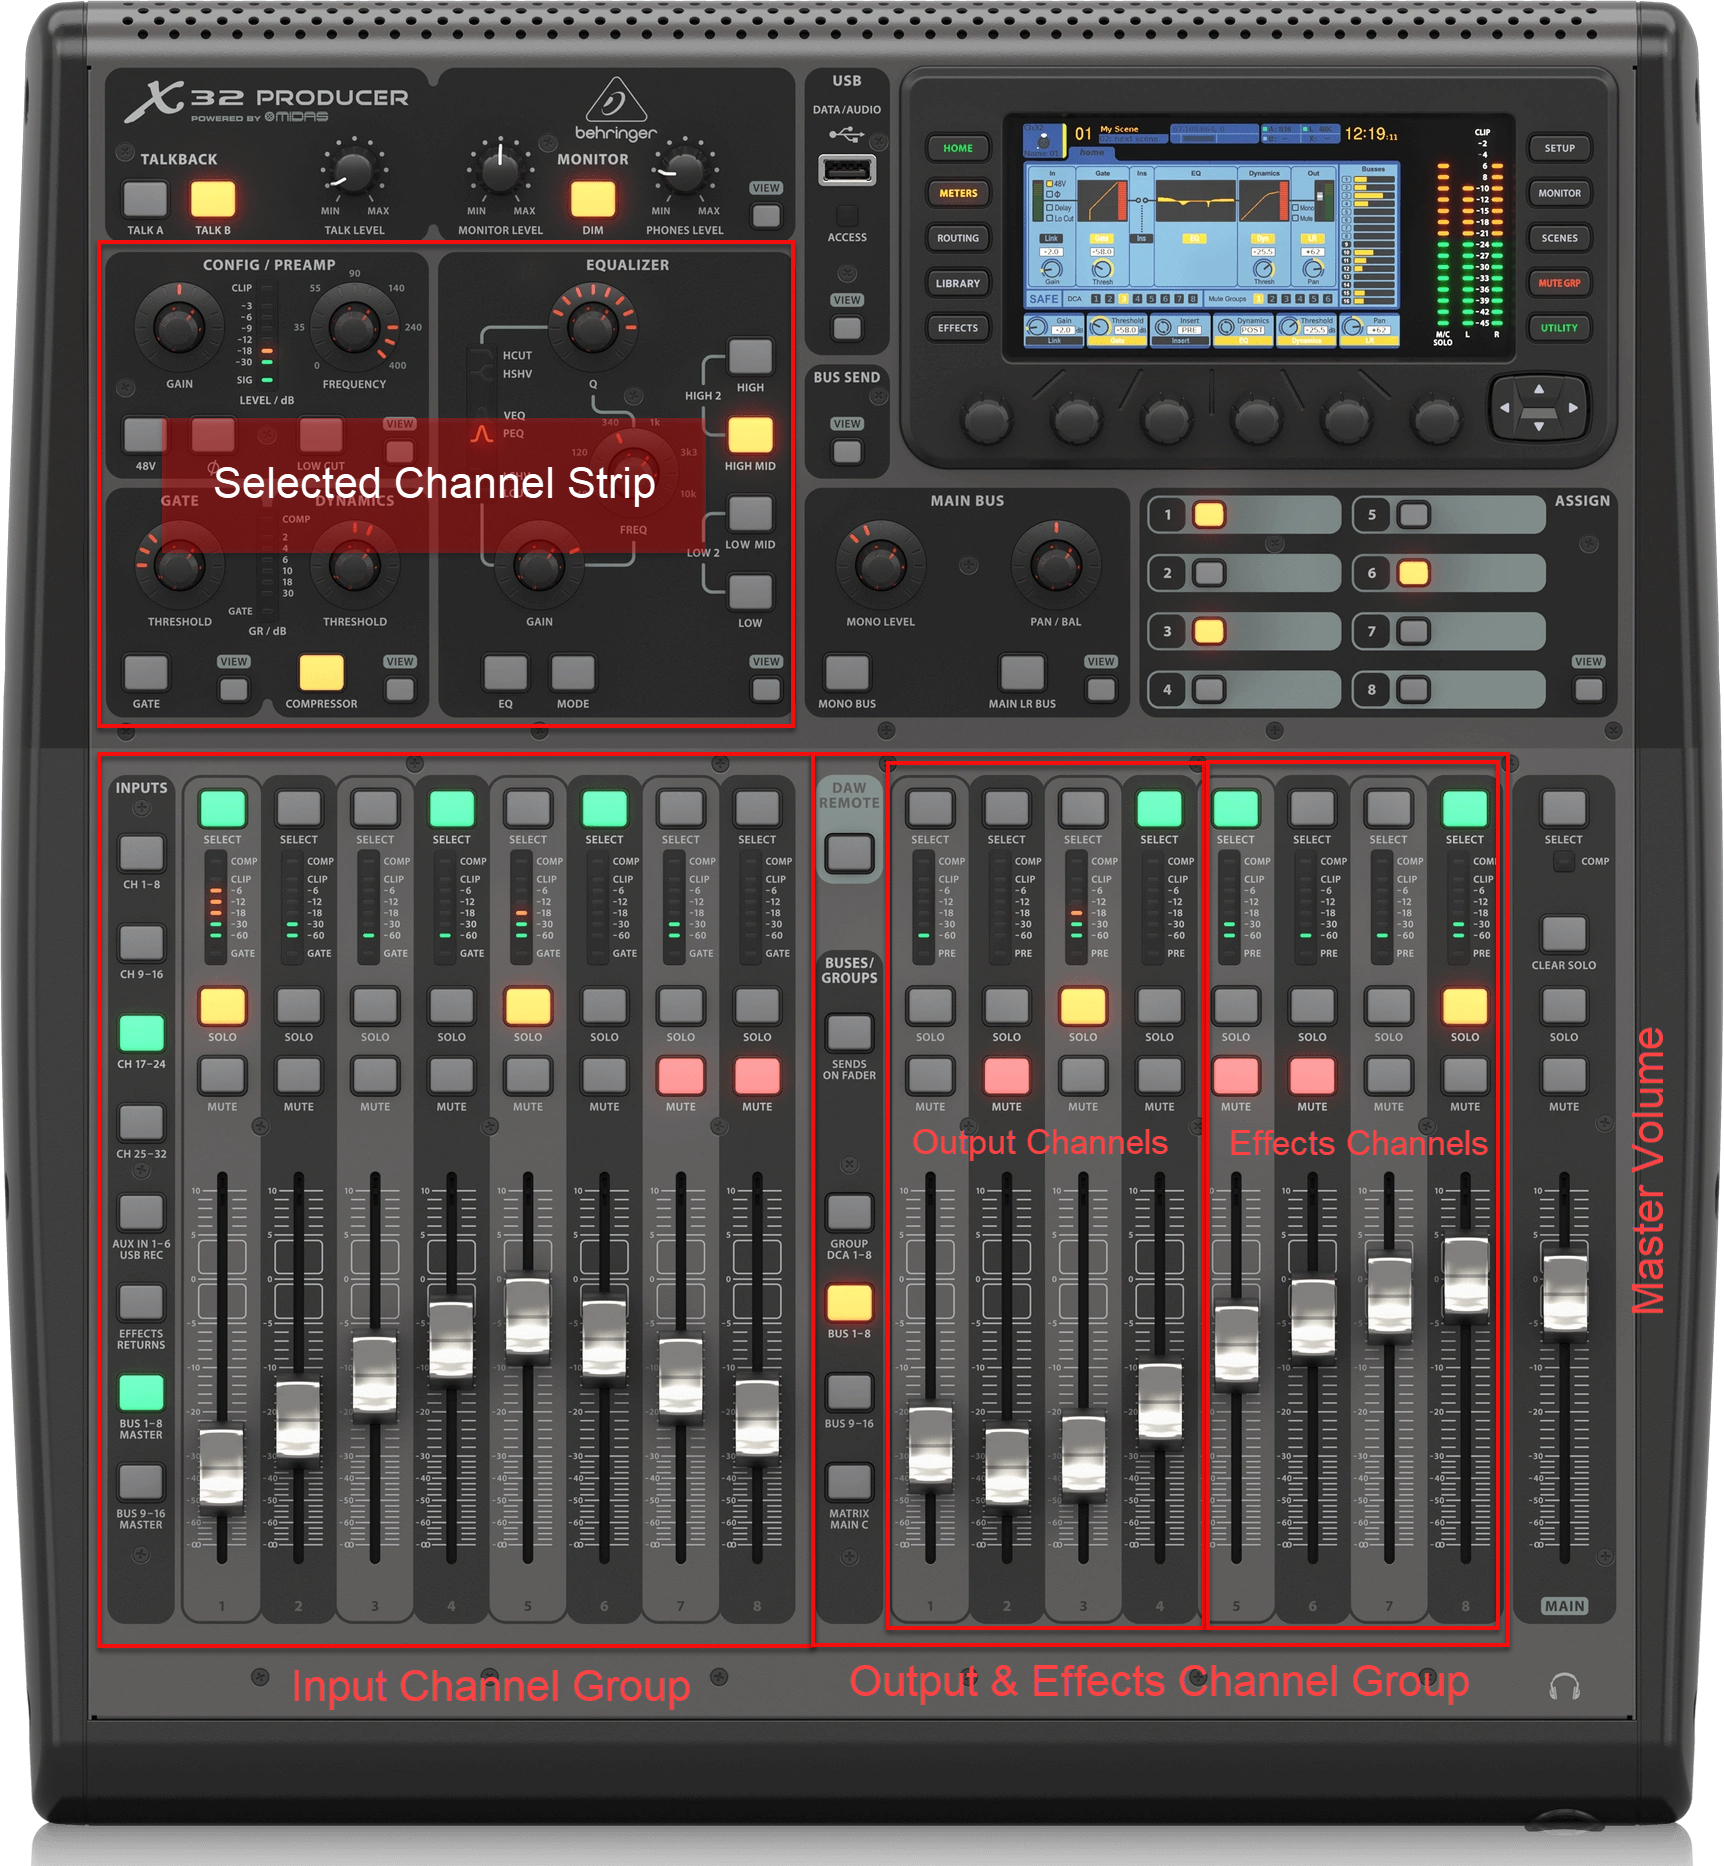
LHS means “left-hand side”. The Input Channels section of the console is located on the LHS, and offers 8 input channel strips.

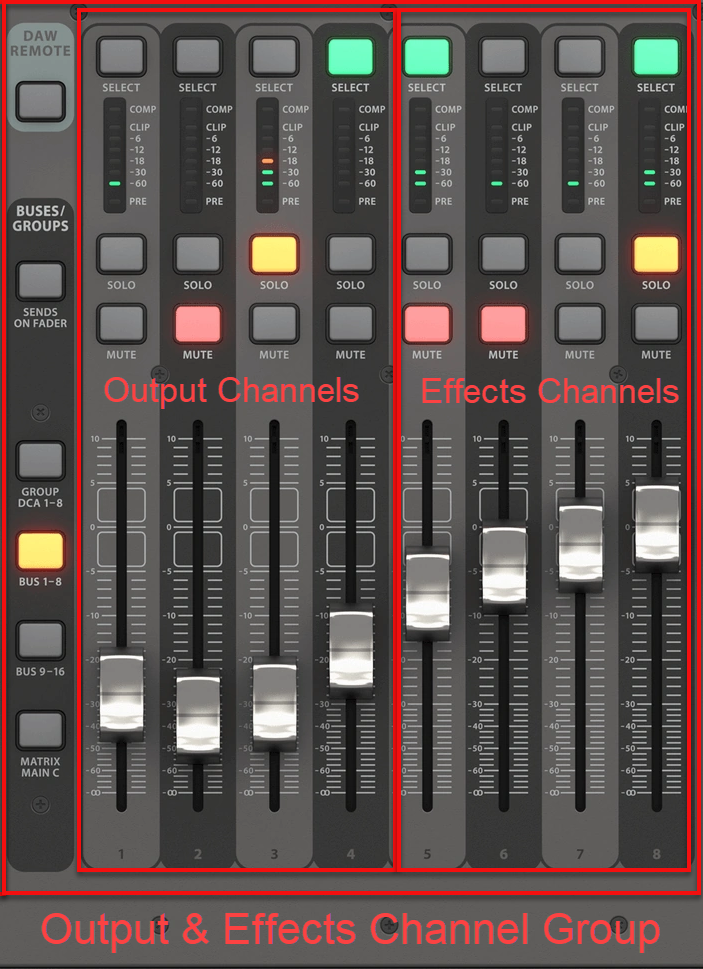
RHS means “right-hand side”. The Output and Effects Channels section of the console is located on the RHS, and offers 8 input channel strips. This installation does not have any Output Channels.

The Master channel strip is on the far right.
Set Channel Volume
In general:
- On the LHS section, light up the button for the desired channel group: CH 1‑8, CH 9‑16. Remember that the snake only has 16 channels. Do not attempt to use buttons CH 17‑24 and CH 25‑32; because channels 17-32 do not exist.
- Light up the Select button for the channel you want to affect.
- Make sure the MUTE button is not lit.
- Position the slider to the desired volume.
- If the maximum volume is not loud enough, cautiously increase the gain. Normal values for gain are 30-35. Avoid clipping.
For example, to set the volume on channel 5 (saxophone):
- On the LHS section, light up the button for the first channel group: CH 1‑8.
- Light up the Select button for the channel strip labeled "5".
- Make sure the MUTE button is not lit.
- Position the slider to the desired volume.
For example, to set the volume on channel 9 (female vocal):
- On the LHS section, light up the button for the second channel group: CH 9‑16.
- Light up the Select button for the channel strip labeled "9" (channel 8+1=9).
- Make sure the MUTE button is not lit.
- Position the slider at the desired volume.
Control a Channel's Reverb Effect
- On the RHS section, light up the button for channel group BUS 9‑16.
-
Light up the Select for the desired effects.
The effects are on channels 13..16.
CH 13: Vintage Reverb
CH 14: Hall Reverb
CH 15: Stereo Delay
CH 16: Stereo Chorus
- Ensure the effect channels are all set to 0 dB.
- Light the Sends on Fader button.
- On the LHS section, light the Select button for the Input channel you want to apply the effect to.
- Still on the LHS section, position the input channel slider to the desired strength of the effect.
Set Monitor Volume
In general:
- On the RHS section, light up the button for channel group BUS 1‑8.
- Select BUS 1 (monitor volume)
- Ensure the volume for BUS 1 is set to zero dB.
- Light the Sends on Fader button.
- On the LHS section, light the Select button for the Input channel group you want to apply the effect to (CH 1‑8 or CH 9‑16).
- Still on the LHS section, position the output bus slider to the desired strength of the monitor.


